XT2640 Operating Manual
13 July 2016
Page 128 of 187
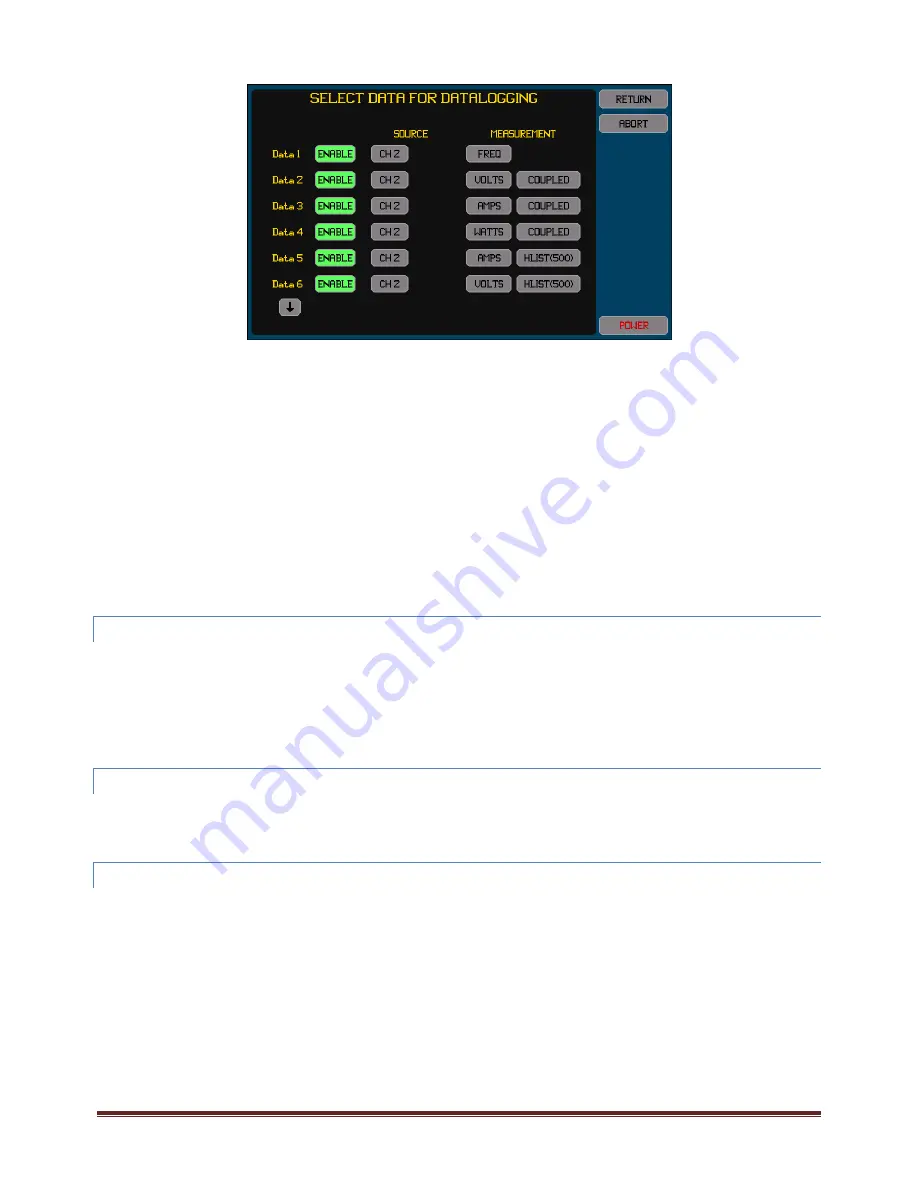
Pressing the SELECT DATA button starts a screen which allows you to enable or disable each of the 16 data selections and,
if enabled, to select what data to log for each data selection. The screen shown below is an example of this screen.
Only measurements which are presently configured to be measured can be selected while in this screen.
Each ENABLE button is highlighted (green) if the data is enabled; otherwise the ENABLE button is not highlighted and is
colored grey.
If the SOURCE is selected to be from a VPA then there is a second SOURCE button which selects whether the total for the
VPA or that from a specific phase of the VPA is to be used.
If a harmonic list is selected as the MEASUREMENT then you must also enter the number of harmonics to be listed. The
listing always includes the fundamental up to and including this entered harmonic. If a harmonic is not being measured at
the data log time then the respective data recorded is zero.
Typically each enabled entry is one field in the data log; however if a harmonic listing is selected the entry will create the
same number of fields as the number of harmonics set to be listed.
You do not need to enable consecutive entries; the file will only contain fields for enabled entries in the order defined and
skip over entries which are not enabled. If an entry is not enabled, any prior selection of the source and measurement data
is still saved. In this manner you may have several different data logging data sets and change between them by changing
which entries are enabled.
Pressing the RETURN button returns to the Data Logging Configure Screen and saves the configured data entries, whereas
pressing the CANCEL button returns to the Data Logging Configure Screen without saving any changes.
23.7.4
STARTING
AND
STOPPING
DATA
LOGGING
This is performed by using the START/STOP button on the right side of this screen.
Note:
If a data log has previously been performed but no drive was inserted to save that data and then a further data log is
started, the data captured by the prior data log will be lost.
Stopping data logging only stops the collection of data, the data saved in the buffer is still written out to the drive or to
internal memory. You can also stop this by pressing the ABORT button while not actively data logging but still writing the
internal buffer, but doing so may produce a partial final record in the resulting file.
23.7.5
CLEARING
THE
DATA
FROM
A
COMPLETED
UNSAVED
DATA
LOG
If a data log is performed to an external USB drive but is completed without a drive being inserted to save that data then this
prevents any other USB Drive activity (such as importing or exporting a file) from being performed until this data is either saved to a
drive or it is cleared. The data may be cleared by pressing the CLEAR button on the right side of this screen. The CLEAR button is
only shown when a data log has been completed but no data from it has been saved to a drive.
23.7.6
VIEWING
DATA
LOGGING
STATUS
You can remain on this screen, or can return to this screen, to show the status of a progressing data logging activity.
The status information shown in the lower area of this screen is –
If logging to internal memory: The amount of that memory used and the total available.
If logging to an external drive (or to the internal buffer): The filename of the data log file and the present size of it.
A description of any errors which have occurred.
A bar which shows the amount of the internal memory buffer which is presently used (a green bar growing from the left as
more buffer is used), and the maximum amount used (a vertical line within the bar area). If this indicates that a significant
amount of the buffer has been used (>75%) then you should consider either using a faster drive, logging less data, or using
a longer data logging interval.
CAUTION: removing a drive while data logging may damage the file system on the drive and may render the drive and the data on it
unusable. Once inserted and saving data log data it must not be removed until the entire file has been written.


