6 Setups
126
Create
Displays the [Create Job Flow Sheet] screen.
Edit/Delete
Displays the [Show Details] screen.
• Delete - Deletes the selected job flow sheet.
• Copy - Allows you to create a new job flow sheet by copying and modifying the
selected job flow sheet.
• Edit - Allows you to modify the selected job flow sheet.
NOTE:
The contents of this option are the same as [Show Details] on the [Select Job
Flow Sheet] screen of a mailbox.
Search by Name
Displays the [Keyboard] screen. Enter the name of a job flow sheet to search.
Search by Keyword
Displays the [Keyboard] screen. Enter the keyword assigned to a job flow sheet to
search.
Select Keyword
Displays the [Select Keyword] screen. Select a preset keyword assigned to a job flow
sheet to search. For preset keywords, refer to
Create Job Flow Sheet Keyword on page
127
.
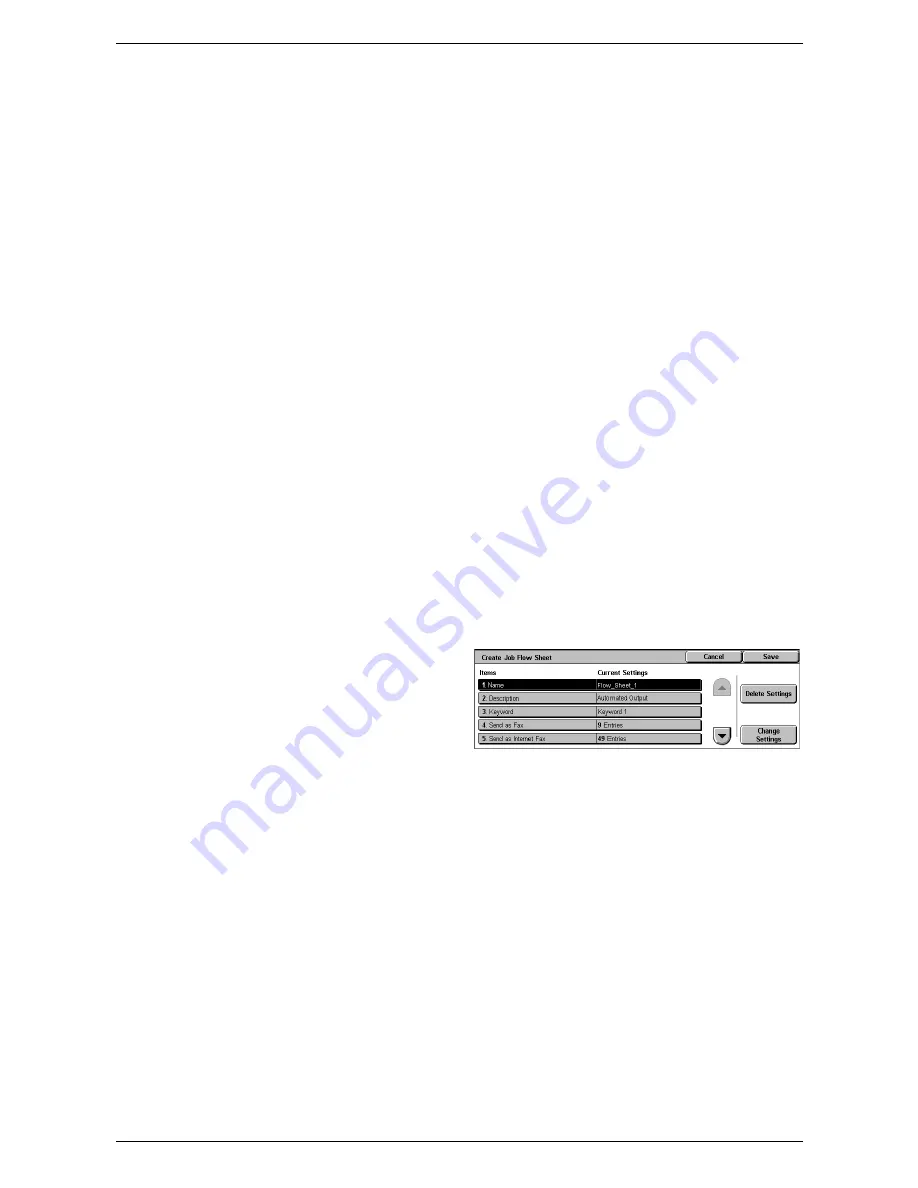
[Create Job Flow Sheet] Screen
Allows you to create a new job flow sheet.
1.
Select [Create] on the [Job Flow
Sheets] screen.
2.
Change the required settings.
Use the scroll buttons to switch
between screens.
3.
Select [Save].
NOTE:
Select [Delete Settings] if you want to clear the current setting for the selected
item.
NOTE:
If a recipient’s name and number in the Address Book is modified after
assignment to a new job flow, those changes are not reflected in the job flow, which
can result in documents being sent to the previous destination. The job flow must also
be updated in order to send documents to the correct destination.
Name
Enter a name (up to 64 characters) to be assigned to the job flow sheet.
Description
Enter a comment (up to 128 characters) to be saved with the job flow sheet.
Summary of Contents for WORKCENTER 5222
Page 1: ...User Guide ME3612E4 1 System Administration Guide XE3022EN0 1 ...
Page 12: ...12 ...
Page 62: ...5 Machine Status 62 ...
Page 266: ...8 Printer Environment Settings 266 ...
Page 274: ...9 E mail Environment Settings 274 ...
Page 340: ...14 Authentication and Account Administration 340 ...
Page 434: ...16 Appendix 434 ...


