October 2012
4-12
ColorQube 8570/8870 Service Manual
REP 1.13, REP 1.14
Revised, 3rd Revision - Xerox Internal Use Only
Repairs and Adjustments
REP 1.13 I/O Access Door
Parts List on
PL 1.1 Item 13
Removal
1.
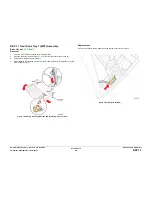
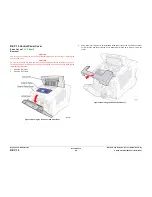
From the rear of the printer, pry the I/O Access Door outward while pushing it towards the
front and remove the Access Door.
Figure 1 Removing the I/O Access Door
REP 1.14 Waste Tray Cover
Parts List on
PL 1.1 Item 14
Removal
1.
Remove the Control Panel Cover (
REP 1.5
).
2.
Remove the Left Side Cover (
REP 1.10
).
3.
Remove the Right Side Cover (
REP 1.11
).
4.
Remove the Exit Cover (
REP 1.7
).
5.
Remove the Ink Loader (
REP 1.8
).
6.
Remove the Printhead (
REP 2.3
).
7.
Remove the Waste Tray (
REP 1.15
).
8.
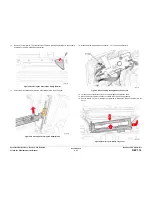
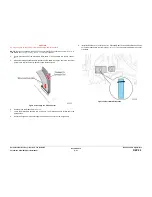
From the left side of the printer, remove the KL-Clip.
Figure 1 Removing the KL-Clip
9.
Remove the X-Axis Bias Spring (
REP 2.24
).
Summary of Contents for COLORQUBE 8570
Page 1: ...ColorQube 8570 8870 Printer ColorQube 8570 8870 Service Manual Xerox Internal Use Only...
Page 2: ......
Page 423: ......


