October 2012
4-8
ColorQube 8570/8870 Service Manual
REP 1.8
Revised, 3rd Revision - Xerox Internal Use Only
Repairs and Adjustments
REP 1.8 Ink Loader
Parts List on
PL 1.1 Item 8
Removal
CAUTION
Allow adequate time for the printer to cool before servicing the Ink Loader.
1.
Remove the Control Panel Cover (
REP 1.5
).
2.
Remove the Left Side Cover (
REP 1.10
).
3.
Remove the Right Side Cover (
REP 1.11
).
4.
Remove the Exit Cover (
REP 1.7
).
CAUTION
Be careful not to damage the Ink Melt Plates.
5.
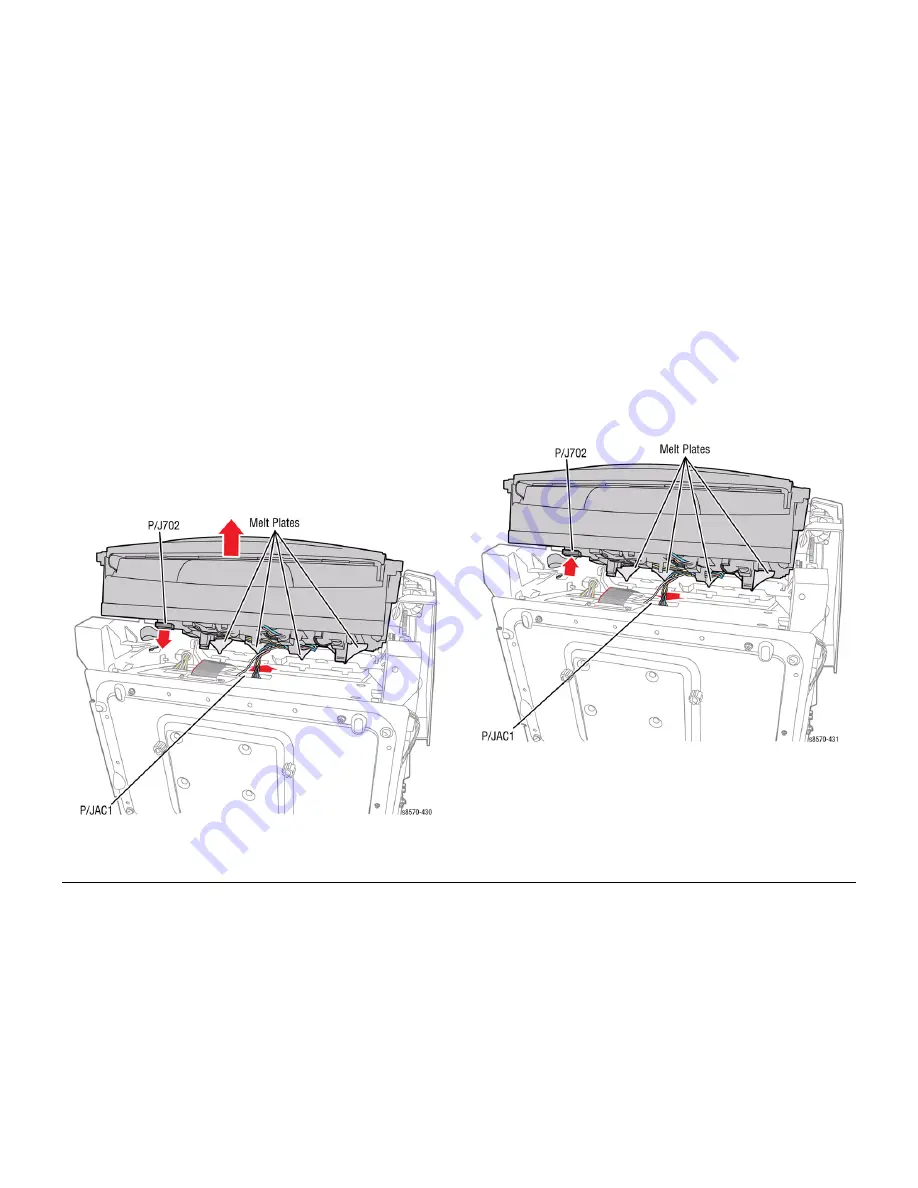
Lift the Ink Loader to access the 2 wiring harness connectors.
6.
Disconnect the Ink Loader Power harness connector
P/JAC1
from the Electronics Mod-
ule.
7.
Disconnect the Data Cable connector
P/J702
from the Ink Loader Board.
8.
Lift and remove the Ink Loader.
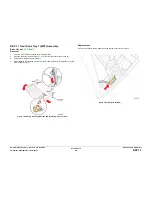
Figure 1 Removing the Ink Loader
Replacement
CAUTION
Be careful not to damage the Melt Plates.
The Ink Loader data harness comes from the side of the chassis and plugs directly into the Ink
Loader.
1.
Place the front of the Ink Loader under the Exit Module while tilting the rear of Ink Loader
upward.
2.
Connect the Ink Loader Power wiring harness connector
P/JAC1
to the Electronics Mod-
ule.
3.
Connect the Data Cable connector
P/J702
to the Ink Loader Board.
4.
Transfer the Ink Sticks to the replacement Ink Loader.
Figure 2 Installing the Ink Loader
Summary of Contents for COLORQUBE 8570
Page 1: ...ColorQube 8570 8870 Printer ColorQube 8570 8870 Service Manual Xerox Internal Use Only...
Page 2: ......
Page 423: ......


