


14
PREPARATION FOR SERIAL CONSOLE
Attach RJ-45 to RS-232 DB-9 console cable to PC’s COM port; connect RJ45 connector to the Console port of the
WoMaster Managed Switch.
1.
Go to Start -> Program -> Accessories -> Communication -> Hyper Terminal
2.
Give a name to the new console connection.
3.
Choose the COM name
4.
Select correct serial settings. The serial settings of
WoMaster Managed switches
are as below:
Baud Rate: 115200 / Parity: None / Data Bit: 8 / Stop Bit: 1
5.
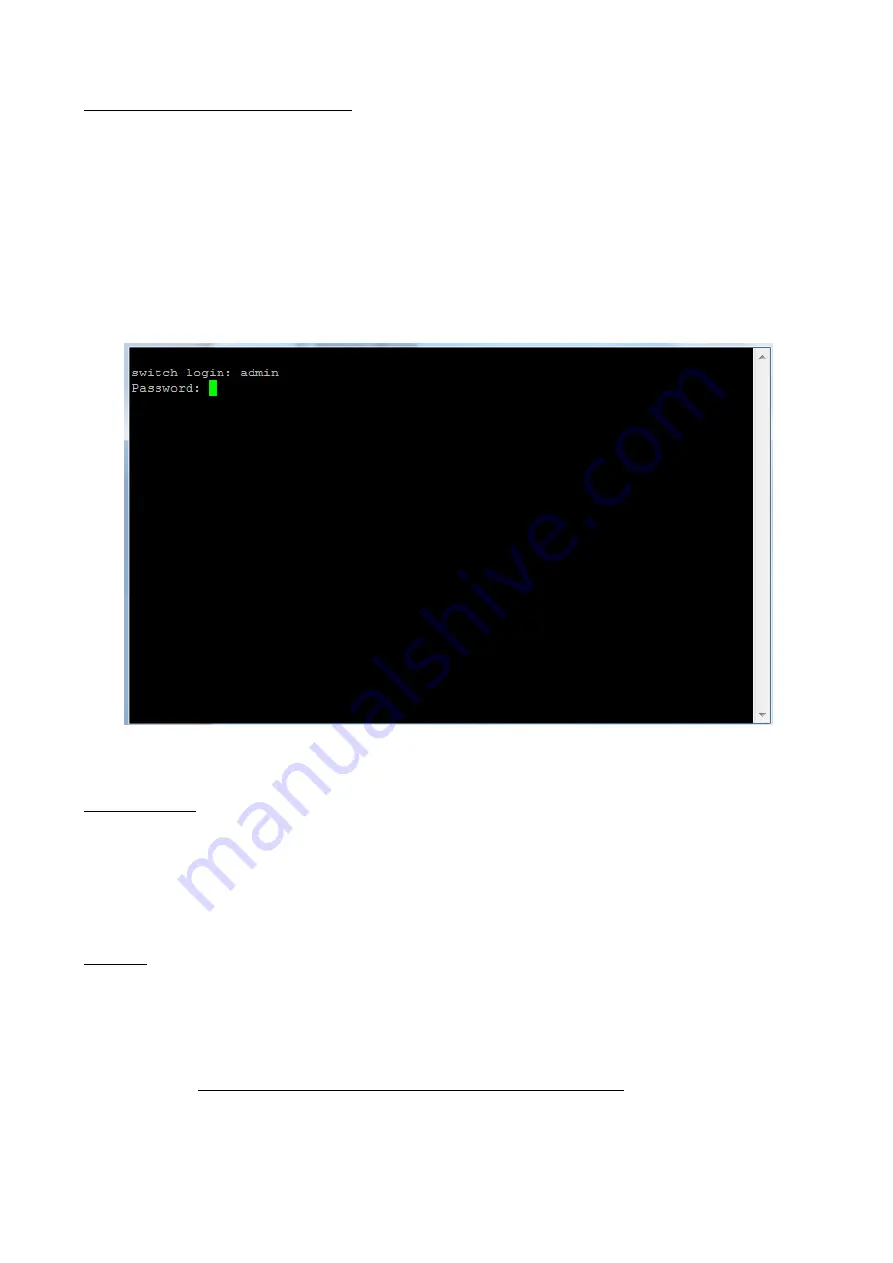
After connected, switch login screen can be seen.
6.
Login the switch. The default username:
admin
; password:
admin.
SSH (Secure Shell)
WoMaster managed SWITCH also supports SSH console. User can remotely connect to the switch by command line
interface. The SSH connection can secure all the configuration commands user sent to the switch.
SSH is a client/server architecture while the switch is the SSH server. When user wants to make SSH connection with
the switch, user should download the SSH client tool first.
SSH Client
There are many free, sharewares, trials or charged SSH clients user can find on the internet, e.g., PuTTY is a free and
popular Telnet/SSH client. We’ll use this tool to demonstrate how to login by SSH. (PuTTY copyright 1997-2016
Simon Tatham).
Download PuTTY:
http://www.chiark.greenend.org.uk/~sgtatham/putty/download.html
1.
Open SSH Client/PuTTY


