XR3D-6 Maintenance & Troubleshooting
EM-XR3D-6-001-EN.D
3-23
©2011 VOTI Inc.
Notice the
Range of Detectors to Calibrate
automatically changes and enters the rest of
the detectors at the bottom of the screen.
9. Complete the
Regions Delimitation
for the second archive scan for Plexiglas.
10. Click
Load Third Plexiglas Archive
to load the third Plexiglas scan from the archive folder.
11. Enter the detector range in
Top
and
Bottom
to define the detectors that are being used, for
example,
Top
: 503
Bottom
: 704.
Notice the
Range of Detectors to Calibrate
automatically changes and enters the rest of
the detectors at the bottom of the screen.
12. Complete the
Regions Delimitation
for the third archive scan for Plexiglas.
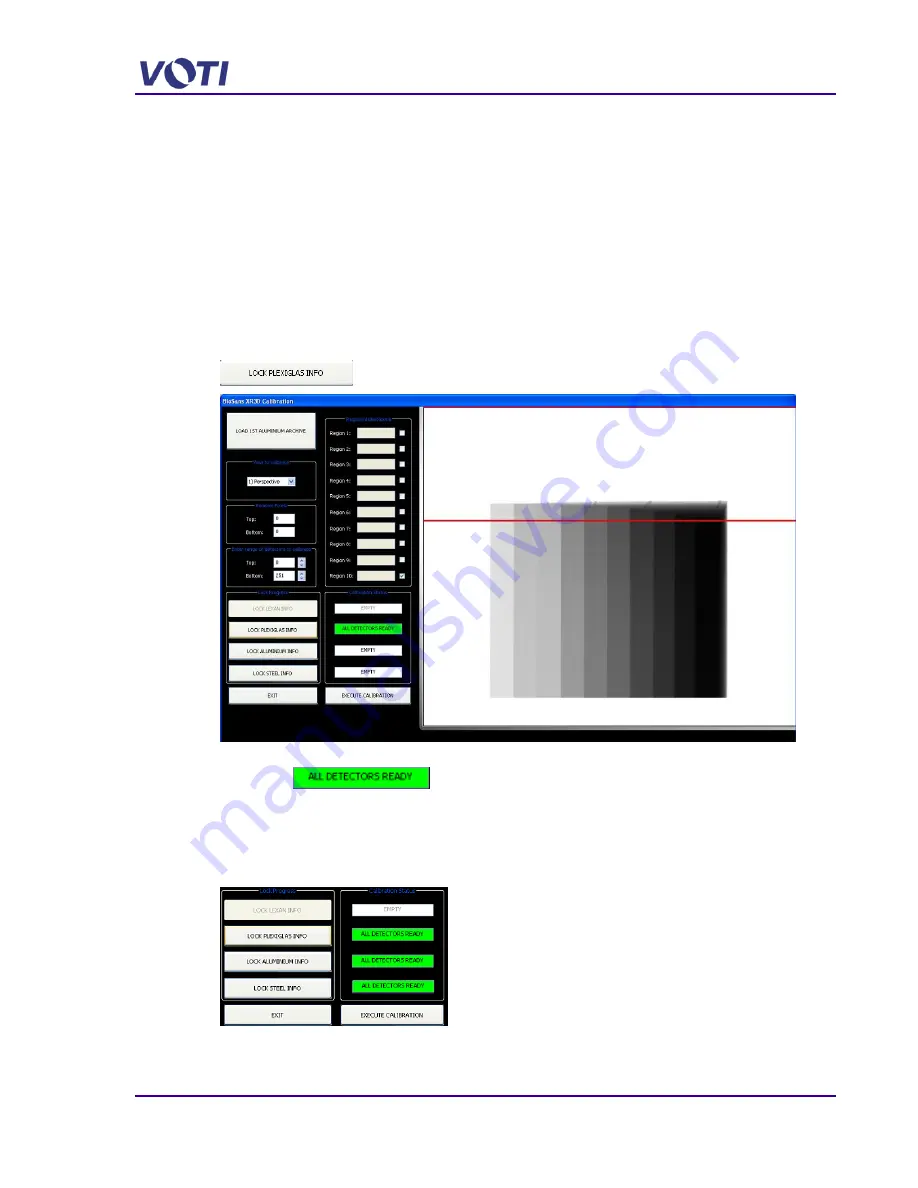
13. Click
Lock Plexiglas calibration
after all the Regions have been set.
The message changes to a green notification
–
All Detectors Ready
– after all detectors are
calibrated.
14. Continue loading the scans and mapping the regions until all materials are scanned and all
detectors are mapped. Load another archive, for example, aluminum or steel, set the
Top
and
Bottom
and set the region of interest sampling.
On completion, all the detectors and materials should be green.
15. Click
Execute Calibration
.
Summary of Contents for XR3D-6
Page 2: ...XR3D 6 Maintenance Troubleshooting ii EM XR3D 6 001 EN D 2011 VOTI Inc...
Page 6: ......
Page 20: ...XR3D 6 Maintenance Troubleshooting 2 8 EM XR3D 6 001 EN D 2011 VOTI Inc...
Page 32: ...XR3D 6 Maintenance Troubleshooting 3 12 EM XR3D 6 001 EN D 2011 VOTI Inc...
Page 48: ...XR3D 6 Maintenance Troubleshooting 3 28 EM XR3D 6 001 EN D 2011 VOTI Inc...
Page 52: ...XR3D 6 Maintenance Troubleshooting 4 4 EM XR3D 6 001 EN D 2011 VOTI Inc...


