39
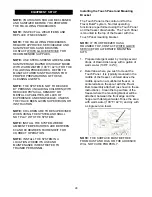
Refilling the Sanitizer Tank
For day-to-day operations, use Flo-San®
sanitizer mixed according to the manufacturer’s
instructions in the sanitizer tank. The tank
system delivers solution to specific areas of the
Flavor Burst
®
system such as the Injector Head
and syrup lines during certain
functions. Therefore, check the tank levels on a
daily basis. For proper sanitation, use only
FRESH sanitizer solution in the tank that is no
more than 28 days old. Replace older solution
with fresh sanitizer solution.
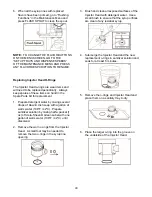
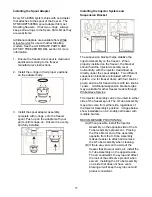
1. Remove the tank’s hand pump and discard
any remaining sanitizer solution.
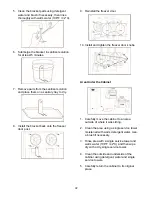
2. Mix one packet (0.50 oz) of Flo-San® with
two gallons of warm water (108°F / 42°C)
until dissolved. Pour it into the tank.
3. Reinstall the hand pump and tighten
sufficiently. Using the handle, pump air into
the sanitizer tank to prime the pump
(approximately 10 strokes.)
NOTE:
NO PRESSURE IS NEEDED IN THE
TANK DURING NORMAL OPERATIONS.
Priming the Syrup System
Priming the syrups is necessary when first
installing the flavors, after the Clean-In-Place
procedure, when an individual flavor or multiple
flavors remain idle for more than 72 hours, and
when changing flavors. Only the syrup lines
directly involved will require this process.
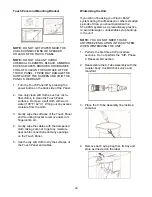
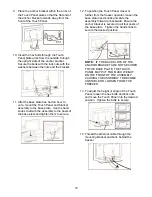
1. Press and hold the center logo on the
Touch Panel to access the Flavor Burst
Maintenance Menu. If the screen asks for a
password, enter the password.
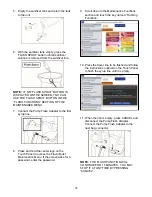
2. Select “Priming Functions” in the
Maintenance Menu.
3. Select the syrup line to be primed, and
follow the instructions on the screen. The
button will pulse as syrup is pumped
through the line.
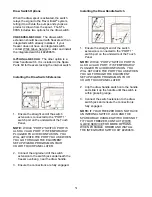
4. When the syrup flowing from the spout is
thick and undiluted, press a flavor key again
to stop the prime function.
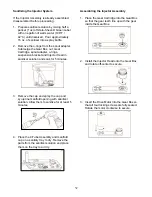
5. Repeat Steps 3 and 4 to prime any other
flavors that have been changed.
Summary of Contents for STL-80SS
Page 2: ......
Page 9: ...6 PAGE INTENTIONALLY LEFT BLANK ...
Page 11: ...8 General System Overview Figure 1 ...
Page 13: ...10 Cabinet Continued Figure 2 ...
Page 17: ...14 Syrup Pump and Related Parts Figure 4 ...
Page 19: ...16 Sanitizer Pump and Related Parts Figure 5 ...
Page 23: ...20 Spare Parts Kit Figure 7 ...
Page 24: ...21 PAGE INTENTIONALLY LEFT BLANK ...
Page 36: ...33 PAGE INTENTIONALLY LEFT BLANK ...
Page 50: ...47 PAGE INTENTIONALLY LEFT BLANK ...
Page 73: ......
Page 74: ......


