ADVANCED FUNCTIONS AND OPERATIONS : Setting the AXIS ORIGIN OFFSET (Option)
6-33
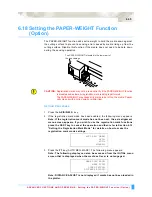
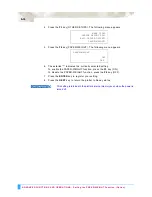
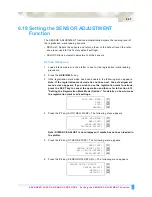
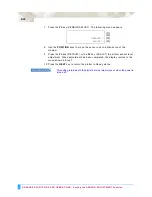
6.17 Setting the AXIS ORIGIN OFFSET (Option)
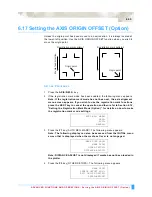
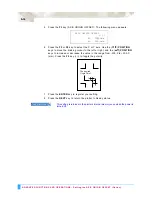
Unless the origin point has been moved to a new location, it is always located at
the lower-left position. Use the AXIS ORIGIN OFFSET function when you wish to
move the origin point.
S
ETTING
P
ROCEDURE
1
Press the
AXIS/R.M.S.
key.
2
If the registration mark mode has been enabled, the following menu appears.
Note: If the registration mark mode has not been set, the axis alignment
menu screen appears. If you wish to use the registration mark functions,
press the NEXT key to cancel the operation and then refer to Section 6.12,
“Setting the Registration Mark Mode (Option)” for details on how to make
the registration mark mode settings.
3
Press the
F1
key (AUTO REG. MARK). The following menu appears.
Note: The following display can also be accessed from the INITIAL menu
screen that is displayed when the media set lever is not engaged.
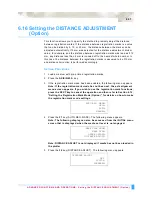
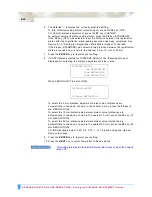
Note: DISTANCE ADJUST is not displayed if media has not been loaded in
the plotter.
4
Press the
F3
key (OTHER SETUPS). The following menu appears.
AUTO REG. MARK>
SKIP>
AUTO>
MANUAL>
MARK SCAN MODE>
MARK TYPE>
OTHER SETUPS>
DISTANCE ADJUST>
MARK SIZE>
SENSOR OFFSET ADJ.>
AXIS ORIGIN OFFSET>
PAPER-WEIGHT>
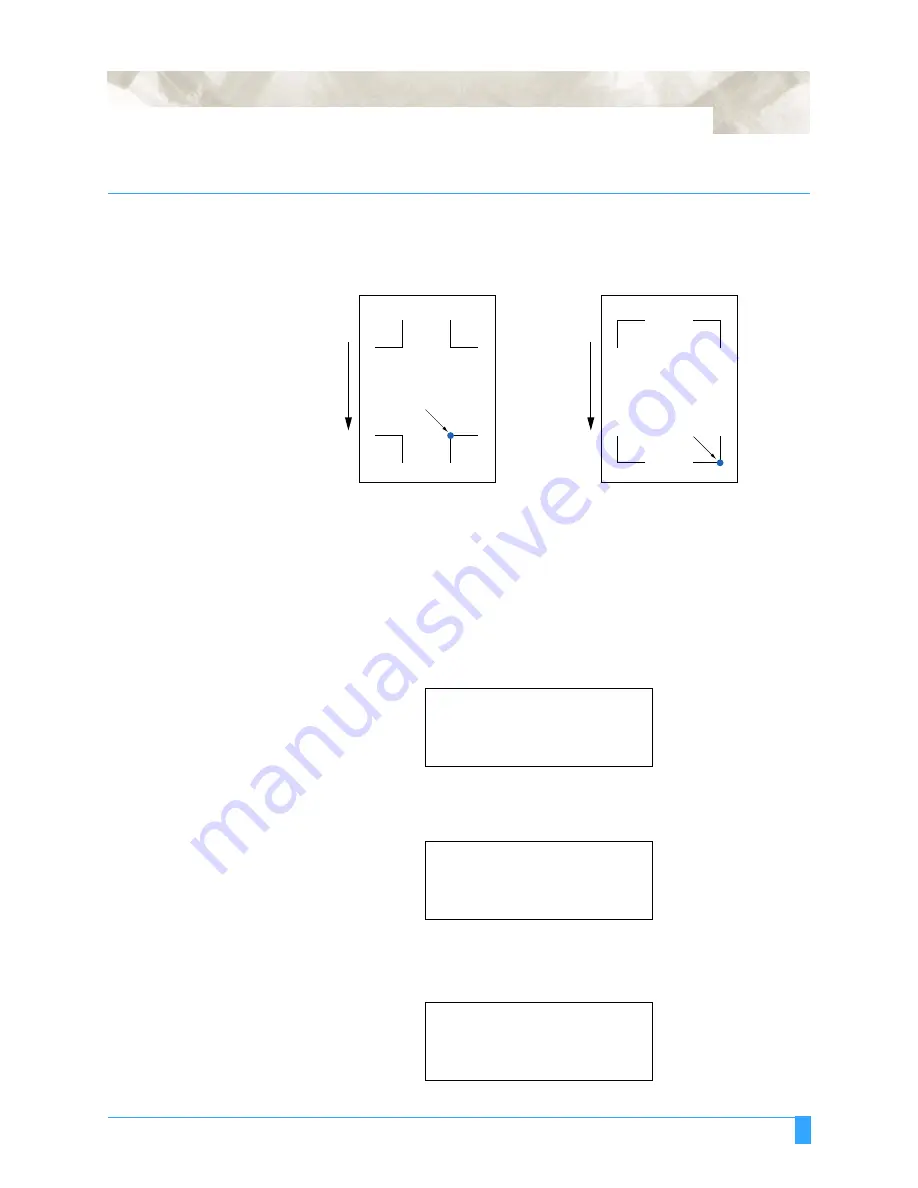
Registration mark pattern 1
Media feed direction
Registration mark pattern 2
Origin point
Origin point
Summary of Contents for Q100
Page 34: ...Cutter Blades and Cutter Pens Adjusting the Blade Length 2 6 ...
Page 64: ...Pen Setting Conditions Adjusting the Blade Length 4 12 ...
Page 140: ...ADVANCED FUNCTIONS AND OPERATIONS Selecting the Type of Perforated Line 6 62 ...
Page 148: ...OPTIONS Pen Offset for 2 pen models only 7 8 ...
Page 174: ...INTERFACES COMMAND Settings 10 8 ...


