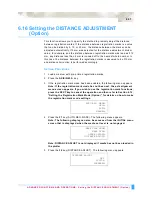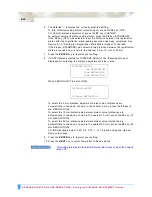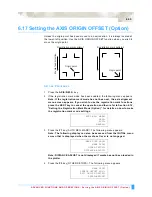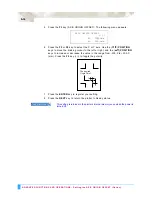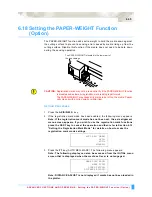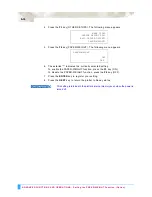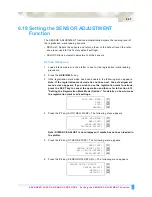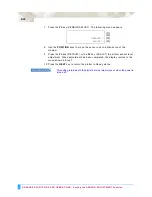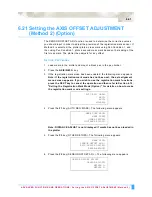
ADVANCED FUNCTIONS AND OPERATIONS : Setting the Registration Mark Reading Area (Option)
6-28
Note: The following display can also be accessed from the INITIAL menu
screen that is displayed when the media set lever is not engaged.
Note: DISTANCE ADJUST is not displayed if media has not been loaded in
the plotter.
4
Press the
F1
key (MARK SCAN MODE). The following menu appears.
5
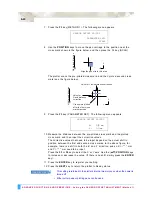
Press the
F3
key (ON), and then press the
ENTER
key. The following menu
appears.
Make your selection and then press the
ENTER
key. The following menu
appears.
• Setting the registration mark reading area reduces the mark-sensing time.
Moreover, sensing of the marks is not affected even if there is a drawing or dirt
between the marks.
•
Up to three registration-mark spacing settings can be stored.
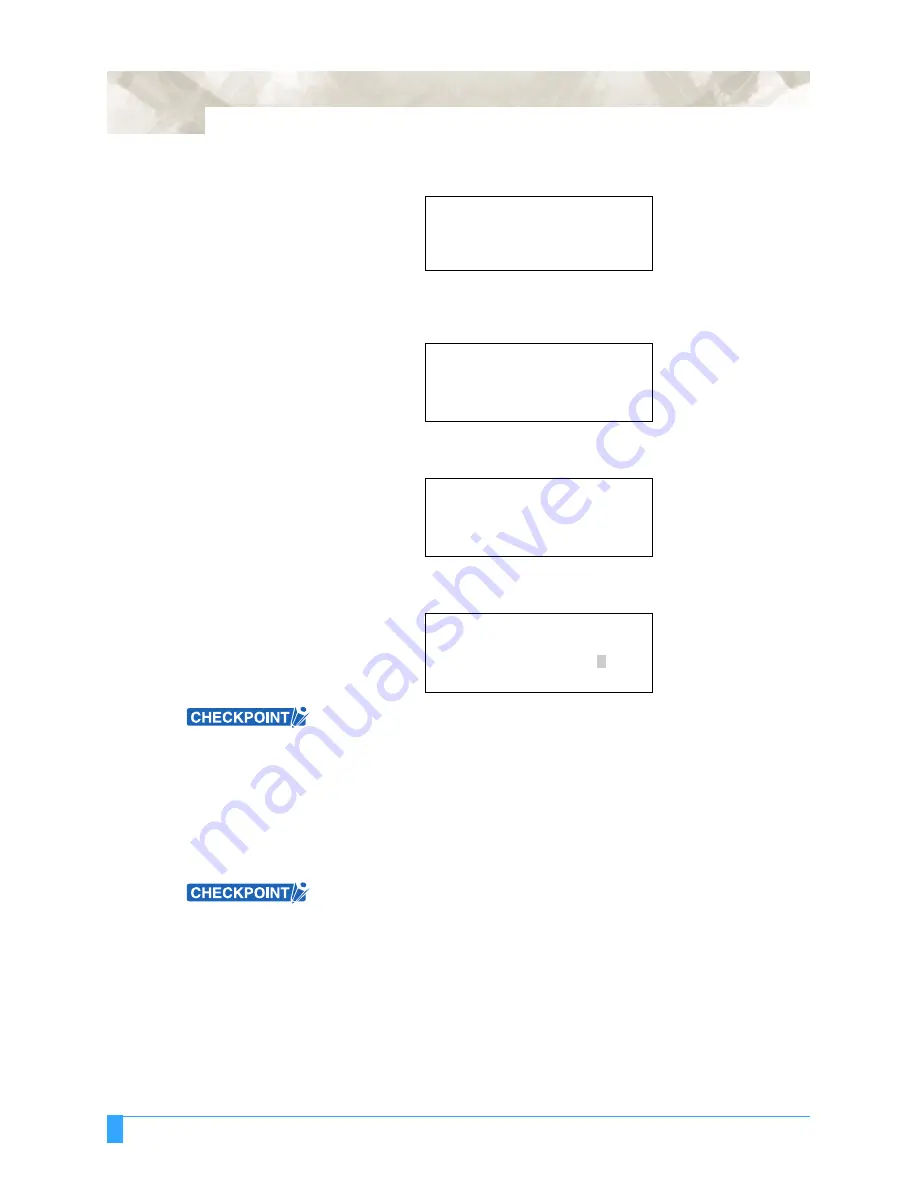
6
Press the
F3
or the
F4
key to select the X or Y axis for setting the distance.
Use the ((
)
POSITION
keys to move the blinking cursor to the left or right,
and the (
▲▼
)
POSITION
keys to increase or decrease the value.
7
Press the
ENTER
key to register your setting.
This setting is retained in the plotter’s internal memory even when the power is
turned off.
MARK SCAN MODE>
MARK TYPE>
OTHER SETUPS>
DISTANCE ADJUST>
MARK SCAN MODE
ENABLED*
DISABLED
MARK SCAN MODE
2POINTS
3POINTS*
4POINTS
MARK POSITION
X=
00 0 mm
X=
0000 mm
0
▲
▼
Summary of Contents for Q100
Page 34: ...Cutter Blades and Cutter Pens Adjusting the Blade Length 2 6 ...
Page 64: ...Pen Setting Conditions Adjusting the Blade Length 4 12 ...
Page 140: ...ADVANCED FUNCTIONS AND OPERATIONS Selecting the Type of Perforated Line 6 62 ...
Page 148: ...OPTIONS Pen Offset for 2 pen models only 7 8 ...
Page 174: ...INTERFACES COMMAND Settings 10 8 ...


