Default Setting (System Menu)
9-73
9
Auto Correction
Follow the steps below to automatically correct color drift.
1
Press the
System Menu
key.
2
Press [
], [Adjustment/Maintenance], [
] and then [Next] of
Color Registration
.
3
Press [Next] in
Auto
> [Start]. A chart is printed.
4
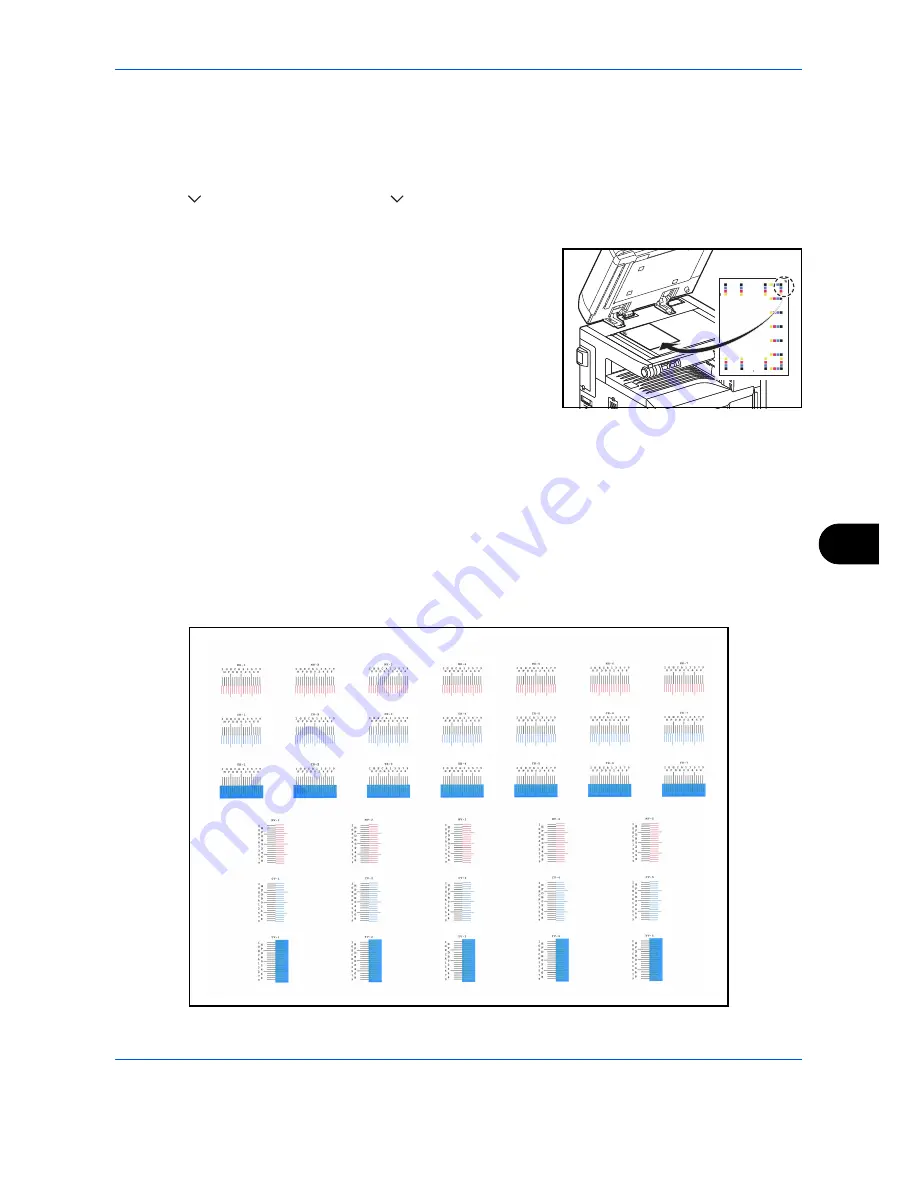
As shown in the illustration, place the printed side down on the
platen with the edge with the arrows toward the back.
5
Press [Start] to scan the chart.
6
When scanning is finished, color printing position correction starts.
7
When color printing position correction ends, press [OK].
Manual Correction
To perform more detailed correction, follow the steps below.
1
Display the
Color Registration
screen as explained in steps 1 and 2 of Auto Correction.
2
Press [Next] in Manual.
3
Press [Print] of
Chart
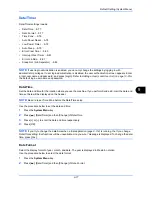
. A chart is printed.
On the chart, for each of
M
(magenta),
C
(cyan) and
Y
(yellow), charts for
H-1
to
7
and
V-1
to
5
are printed.
Chart Example
Summary of Contents for CDC 1930
Page 1: ...user manual Digital colour Multifunction systems CDC 1945 1950 CDC 1930 1935 ...
Page 220: ...Printing 5 12 ...
Page 264: ...Sending Functions 6 44 ...
Page 422: ...Default Setting System Menu 9 116 ...
Page 456: ...Management 10 34 ...
Page 536: ...Troubleshooting 12 60 ...


