Document Box
7-7
7
Sending Documents (Send)
The procedure for sending documents in a custom box is explained below.
1
Press the
Document Box
key.
2
Press [Custom Box], select the box containing the
document you want to send and press [Open].
NOTE:
If a custom box is protected by a password,
enter the correct password.
3
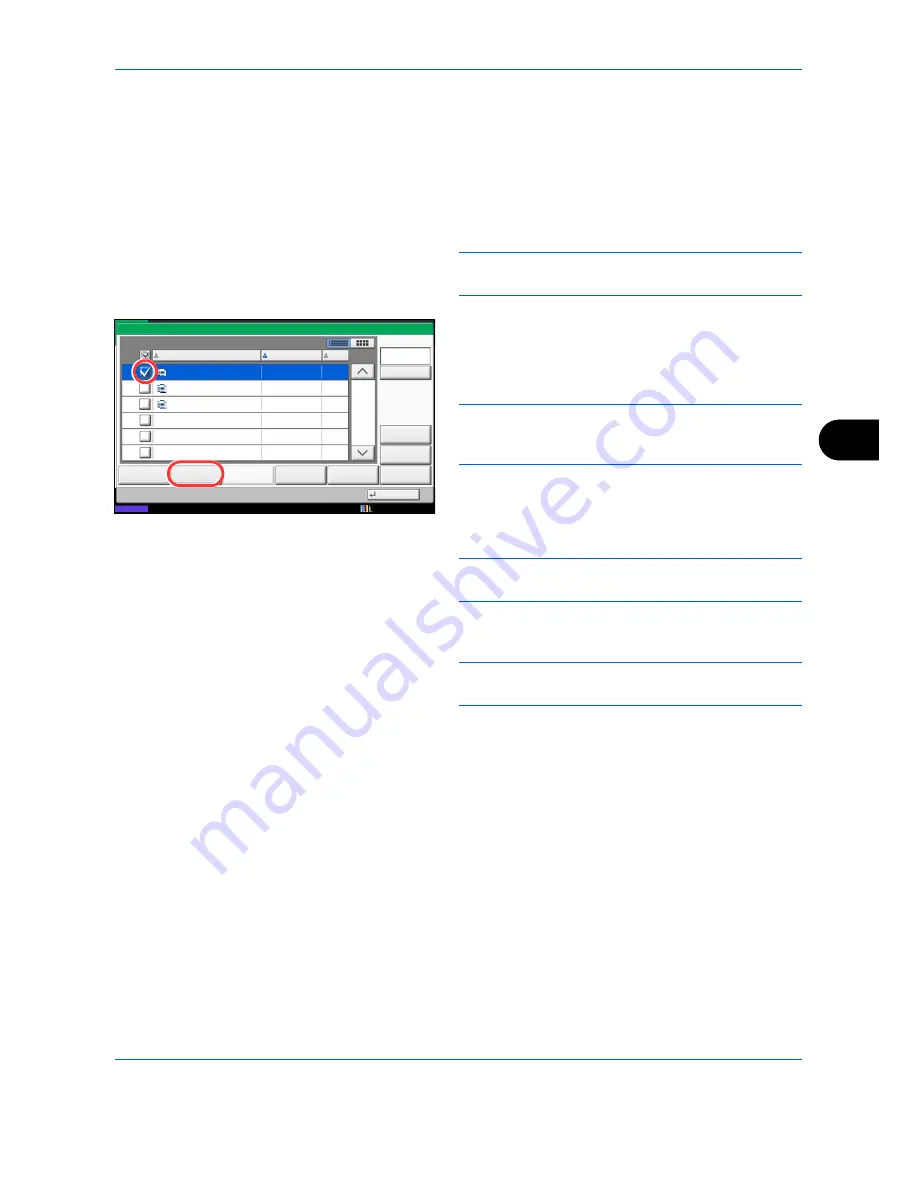
Select the document you wish to send by checking
the checkbox.
The document is marked with a checkmark.
NOTE:
You cannot select and send multiple documents.
To deselect, press the checkbox again and remove the
checkmark.
4
Press [Send].
The screen for sending appears.
NOTE:
Depending on the settings, the address book
screen may appear.
5
Set the destination.
NOTE:
For more information on selecting destinations,
refer to
Specifying Destination on page 3-40
.
6
Set the sending size, original image, etc., as
desired.
For the features that can be selected, refer to
Document send features on page 7-8
.
7
Press the
Start
key. Sending of the selected
document begins.
1/1
0001
2008101010574501
2010/10/10 09:40
21
Box:
File Name
Date and Time
Size
MB
Status
2008101010574511
2008101010574521
2010/10/10 09:50
2010/10/10 10:00
MB
MB
21
21
Send
Join
Move/Copy
Delete
Store File
Detail
Preview
Close
0002
0003
Search(Name)
10/10/2010 10:10
Summary of Contents for CDC 1930
Page 1: ...user manual Digital colour Multifunction systems CDC 1945 1950 CDC 1930 1935 ...
Page 220: ...Printing 5 12 ...
Page 264: ...Sending Functions 6 44 ...
Page 422: ...Default Setting System Menu 9 116 ...
Page 456: ...Management 10 34 ...
Page 536: ...Troubleshooting 12 60 ...


