76
TRAK Machine Tools
Southwestern Industries, Inc.
32240 - Printer and MMS - Installation & Printing Guide
13.
Press the black Jog Wheel button to go to
the Main Menu.
14.
Then go to:
Prepare Menu
>
Purge
Filament
Main Menu
Prepare Menu
15.
Select the nozzle that you loaded
>Purge
filament #__
For example, if we loaded Extruder #2, we
are purging Nozzle #2
Purge Filament Menu
16.
The Status Line will display “
Heating…”
as
the printer heats the selected nozzle to
245⁰C.
Status Line
17.
The Status Line will display “
Purging #_
”
as it purges some filament.
Status Line
18.
The Status Line will display “
Purge #_
Completed
”, once the
purge is complete.
Status Line
19.
Verify the filament was purged. If not,
purge the filament again.
20.
Remove the purged filament from the
inside of the printer.
21.
Your nozzle is now ready to use!
5.2.3
Nozzle Cleaning Operation
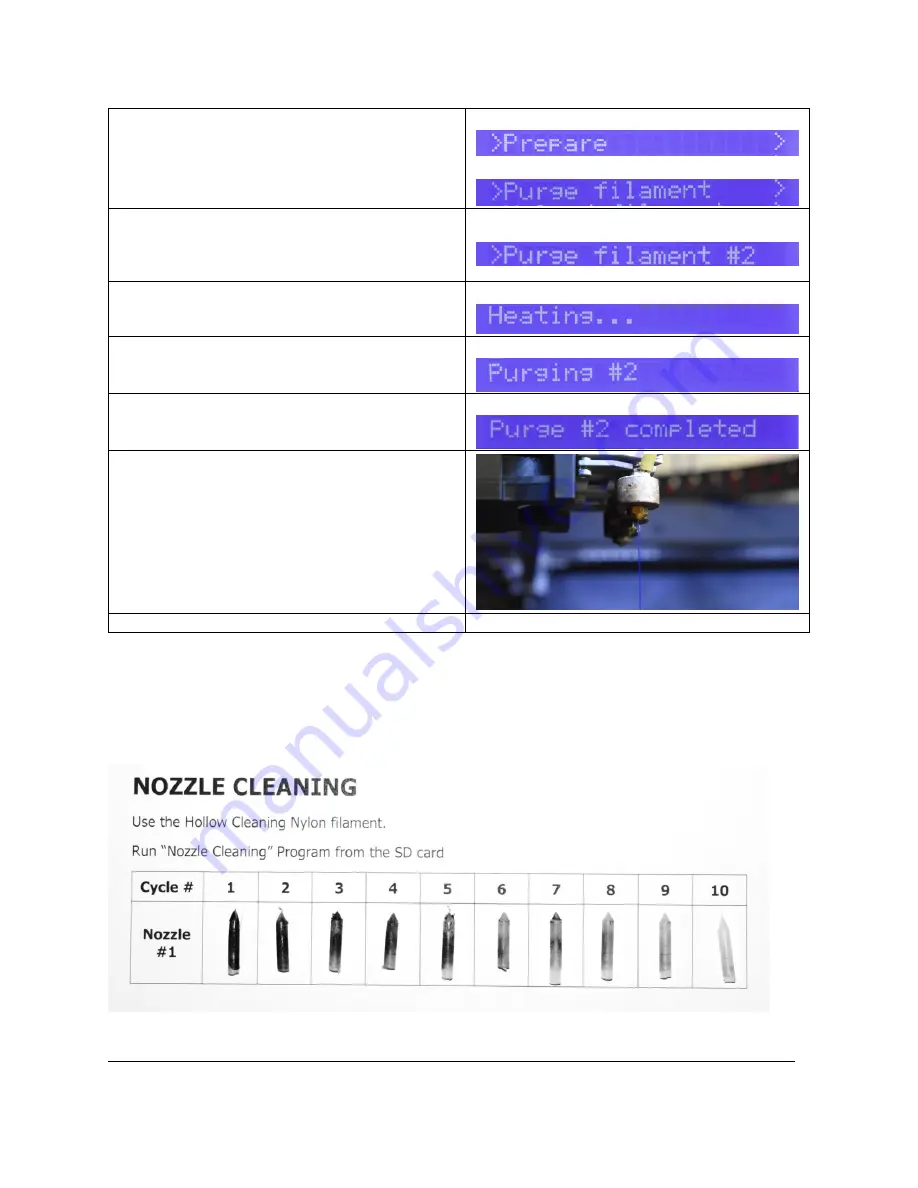
Cleaning the nozzles is highly recommended after each material change, but most importantly if you're
changing to a different material, or a different colored material. When you unload any material, the inside
of the nozzle is not always completely clean, and there may be some filament left inside the nozzle.
Running the Nozzle Cleaning operation a few times will help remove the left-over material.
Sample of multiple cleaning cycle operations being completed


