31
TRAK Machine Tools
Southwestern Industries, Inc.
32240 - Printer and MMS - Installation & Printing Guide
3.
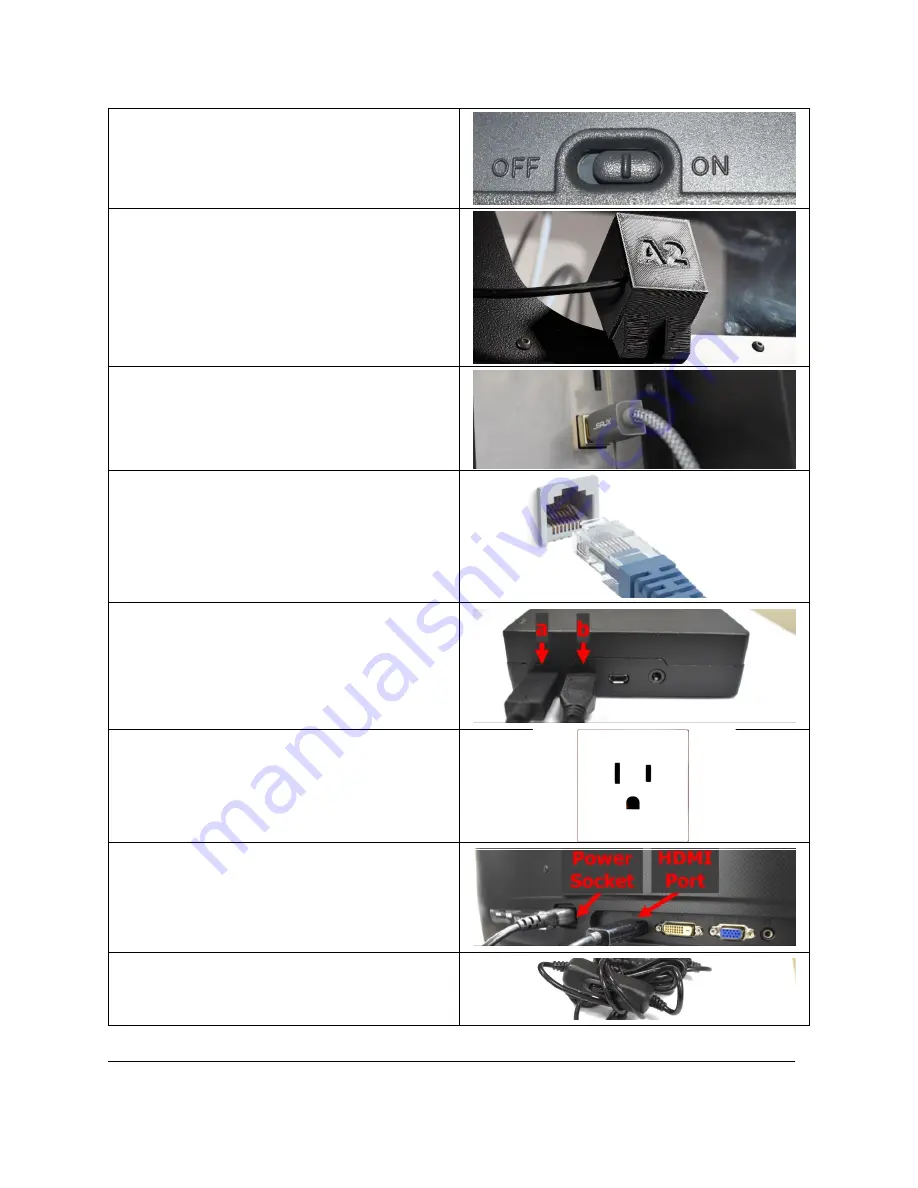
Make sure your mouse & keyboard is
powered ON.
4.
Your webcam cover is magnetic, so you
may place it on any window on the
printer you like.
5.
Connect the other end of the “USB to
Printer Port” cable, to the back of the
printer.
(located below the SD Card slot)
6.
Connect the other end of your ethernet
cable to your modem / router / data jack.
7.
Depending on what version of the
Raspberry Pi that you have; you now
need to connect the following cables to
the side of the Print Server.
a.
Power Cord
b.
HDMI (Raspberry Pi 3 B)
or
Micro-HDMI (Raspberry Pi 4 B)
8.
Connect the other end of the Raspberry Pi
Power cord, to your facilities 110v power
socket.
9.
Connect the other end of the HDMI cable
to the back of the LCD Monitor.
10.
Connect the power cord for the LCD
Monitor to the back of the monitor, and
the other end to your facilities 110v
power socket.
11.
Turn on your Print Server -
The Print
Server has a power switch on the power
cord for you to power on and off.
12.
Turn on your LCD Monitor.


