


Thermo Scientific
56
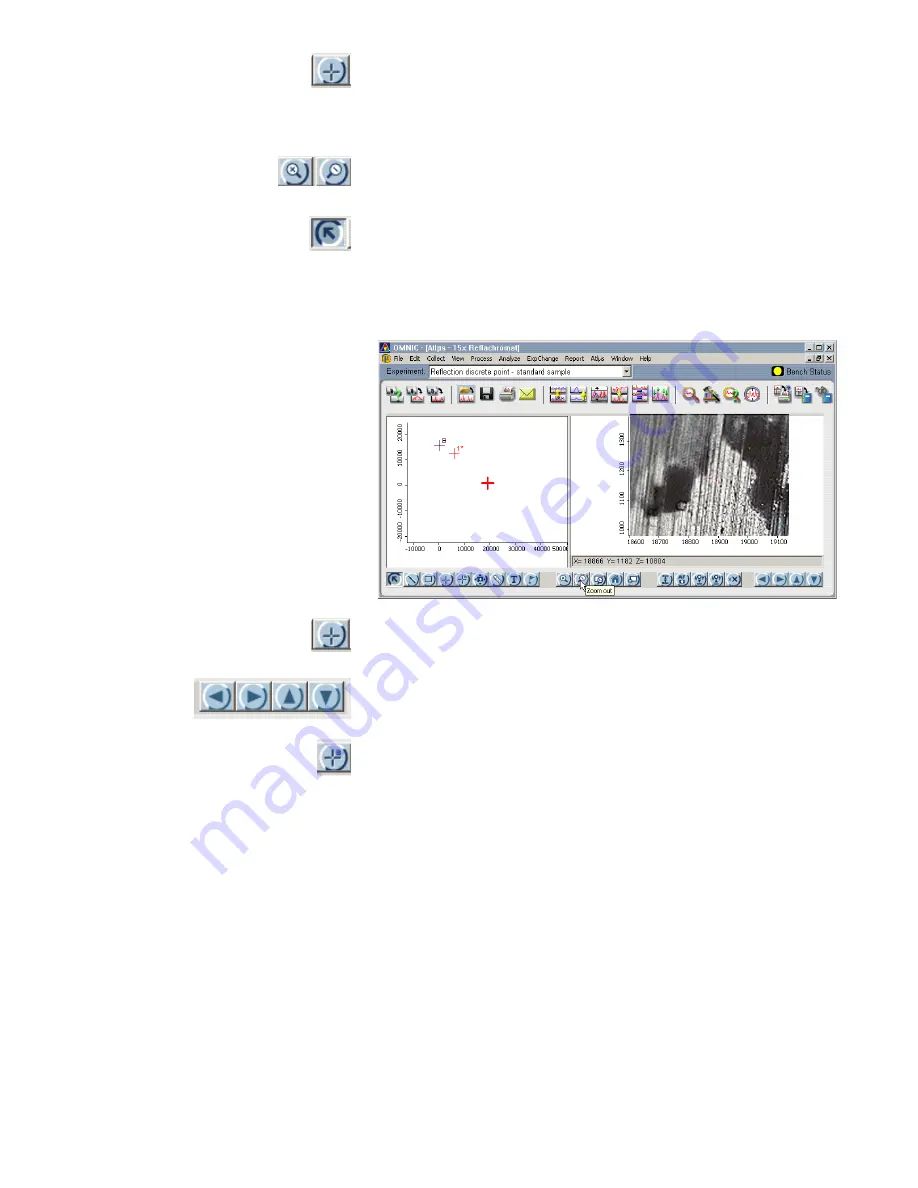
Click the Sample Point tool. Move the crosshairs to the sample
point until the hand cursor appears. Press the left mouse button
and drag the sample point until it is centered on the stage
position crosshairs (usually red) in the navigation pane.
Click the Zoom buttons until the sample and background points
are as large as possible, without either disappearing from view.
For automated aperture systems, use the Arrow tool to adjust the
size, shape, and orientation of the virtual aperture to mask the
area of interest immediately surrounding the sample point. For
other systems, use the manual controls. Adjust the Reflex
aperture illumination, if necessary.
If necessary, adjust the location of the sample point so that it is
completely within an inked pattern.
Use the X-Y knobs, joystick or move stage buttons and move the
stage until an ink-free area is centered under the objective.
Click the Background Point tool. Choose an ink-free point near
the center of the video pane and click. Atlµs moves the
background point to the new point you chose.
10. Center the sample point of interest in the field of view.
Summary of Contents for Nicolet Continuum
Page 1: ......
Page 9: ...Continuµm User Guide 5 Front panel ...
Page 10: ...Thermo Scientific 6 Control panel on left side ...
Page 45: ...Continuµm User Guide 41 2 Turn on Reflex aperture illuminator ...
Page 48: ...Thermo Scientific 44 ...
Page 58: ...Thermo Scientific 54 Adjust the reflection aperture iris for good contrast in the video image ...
Page 97: ...Continuµm User Guide 93 2 Lower the condenser completely Use the condenser focus knob ...
Page 98: ...Thermo Scientific 94 3 If the universal slide holder is in place remove it from the stage ...
Page 114: ...Thermo Scientific 110 2 Lower the condenser fully Use the condenser focus knob ...
Page 115: ...Continuµm User Guide 111 3 If the universal slide holder is in place remove it from the stage ...
Page 126: ...Thermo Scientific 122 ...
Page 154: ...Thermo Scientific 150 ...


