MAX 10 Plus User
Manual
73
May 31, 2019
◼
Demonstration Source Code
•
Project directory: socket_server
•
Nios II Eclipse Project workspace: socket_server/software
◼
Demonstration Batch File
•
Demo batch file folder: Demonstrations/socket_server /demo_batch/
•
Batch file: socket_server.bat
•
FPGA configure file: socket_server.sof
•
Application file folder: socket_server /demo_batch/
•
Application file: open_telnet.bat
◼
Demonstration Setup
Please follow the procedures below to set up the demonstration:
•
Please make sure both Quartus II and USB-Blaster II driver are installed on the host PC.
•
Connect the USB cable from the USB-Blaster II port (J8) on the MAX 10 Plus board to the host
PC.
•
Power on the MAX 10 Plus board.
•
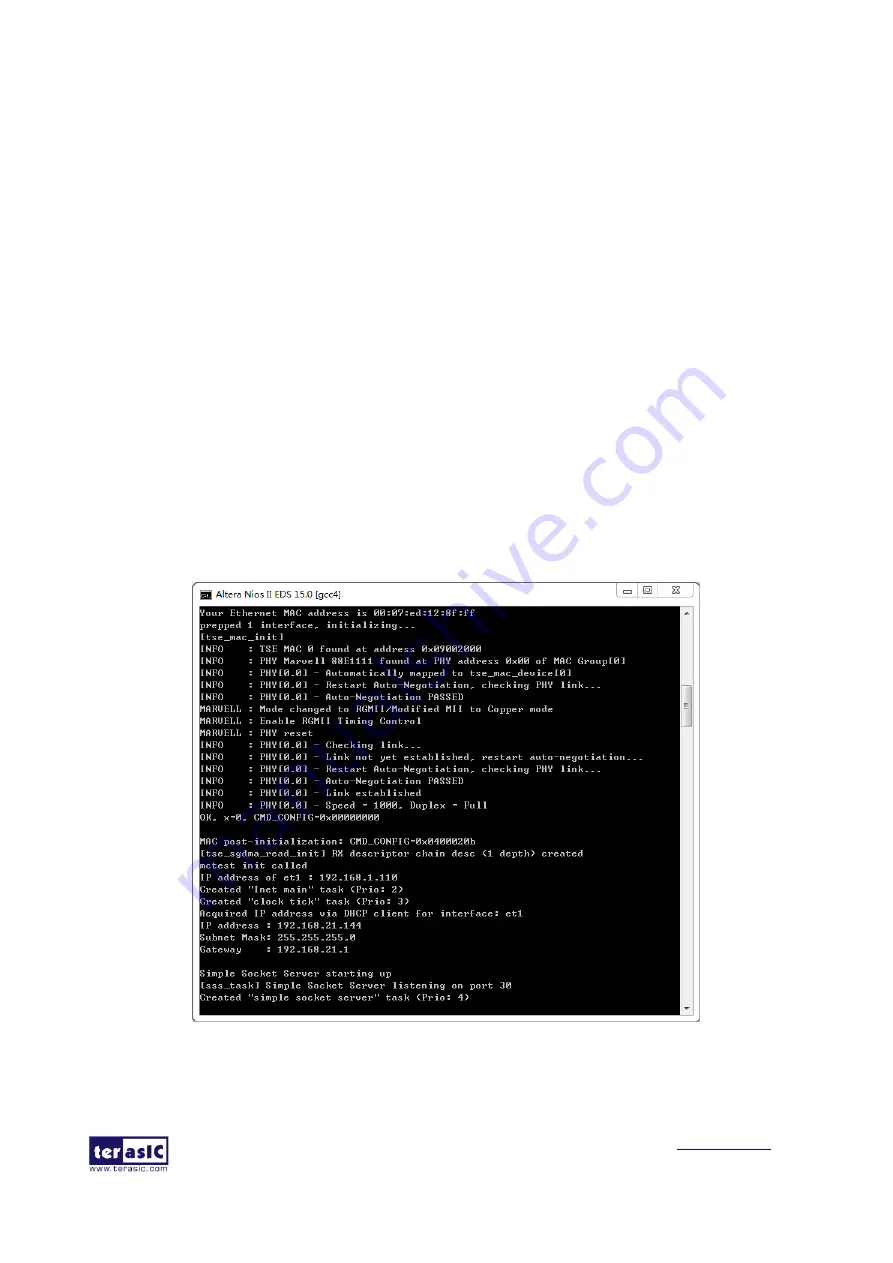
Execute the demo batch file “socket_server.bat” under the folder Demonstrations/socket_server
/demo_batch , then the IP address and port number are assigned as shown below in
Figure 6-24 Simple Socket Server
•
To establish connection, start the telnet client session by executing open_telnet.bat file and
include the IP address assigned by the DHCP server-provided IP along with the port number as


