Using the Tape Capture Web Application
Tape Capture Controls and Operation Status
182
Lightspeed Live Capture User Guide
Tapes
The Tapes panel allows you to create tape names and add them to the list. You can then
associate clips with the names of the tapes where they originated. This can be done by
selecting a tape before selecting Log to log a clip, or you can drag a clip from the Clip
Log onto a tape to make the association.
+ (plus)
—Opens the Configure Tape dialog. Enter the name of the tape and click Save
to save (or Cancel to cancel) the new tape to the Tapes list.
Trash
—Click trash to delete all tapes from the tape list.
Modify
—The modify (three dots) button opens a dialog to edit or delete the tape.
Click Edit to view and modify tape details. Click Delete to delete the tape. Deleting a
tape deletes the associated logged clips. Deleting all tapes deletes all logged clips.
Clip Log
The Clip Log consists of a list of clips that have been marked for recording in the media
output file. After you set up a clip in the Clip Panel, clicking Log adds the clip to the Clip
Log. The name displayed for the Clip Log changes depending on which tape is selected.
The format of the name is: “Clips On + Name of Selected Tape”.
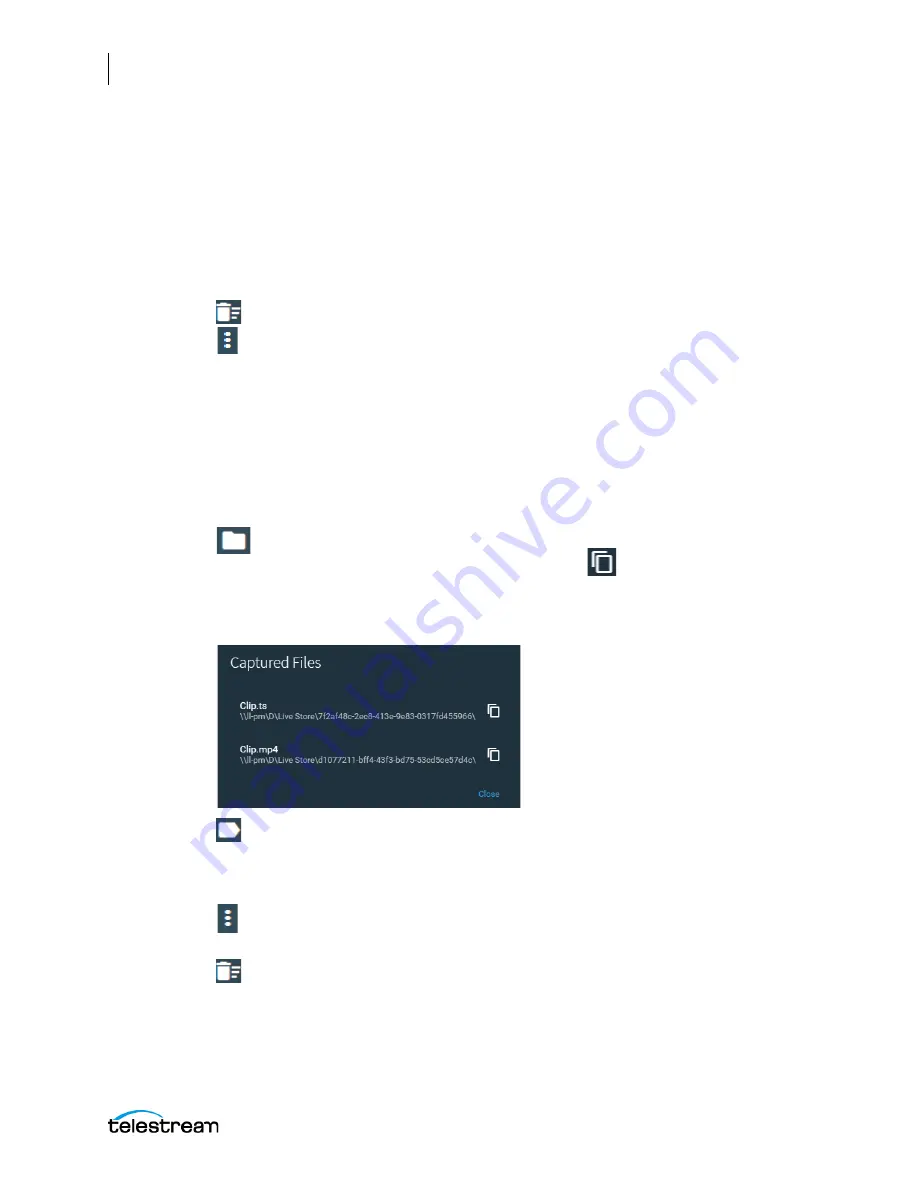
Captured Files Folder
—To quickly access captured files you can select the folder
icon. The Captured Files dialog opens. Select the
icon to copy a file output
path to your clipboard. You can paste the copied path into your Windows File
Explorer, then log into the Lightspeed Live server to open the file with an
appropriate application.
Metadata
—Click the metadata button to access and modify the Labels metadata
list. The contents of the metadata depends on the metadata label(s) you created in
the Vantage Management Console. See Metadata above in Clip Panel for more
information.
Modify
—The modify (three dots) button opens a dialog for selecting
Edit Entry
to
view and modify clip details, or
Remove Entry
to remove the clip.
Trash
—Click trash to delete all clips from the Clip Log.


