Creating Capture & Tape Action Workflows
Creating and Activating the Capture Action Workflow
118
Lightspeed Live Capture User Guide
Creating a Capture Action Workflow
Follow these steps to create and activate a Capture action workflow:
1.
Launch the Vantage Workflow Designer by double-clicking the desktop
icon.
2.
Select
File
>
Create New Workflow
and name the workflow. You may also
need to create a Category (
File
>
Create New Category
), which is a folder
where the workflow will be stored. The default workflow naming
pattern is [Workflow Name]_[Source Name].
Note:
To avoid workflow failures, do not use these characters in workflow names:
` * | \ : ; " ' < > ? /
3.
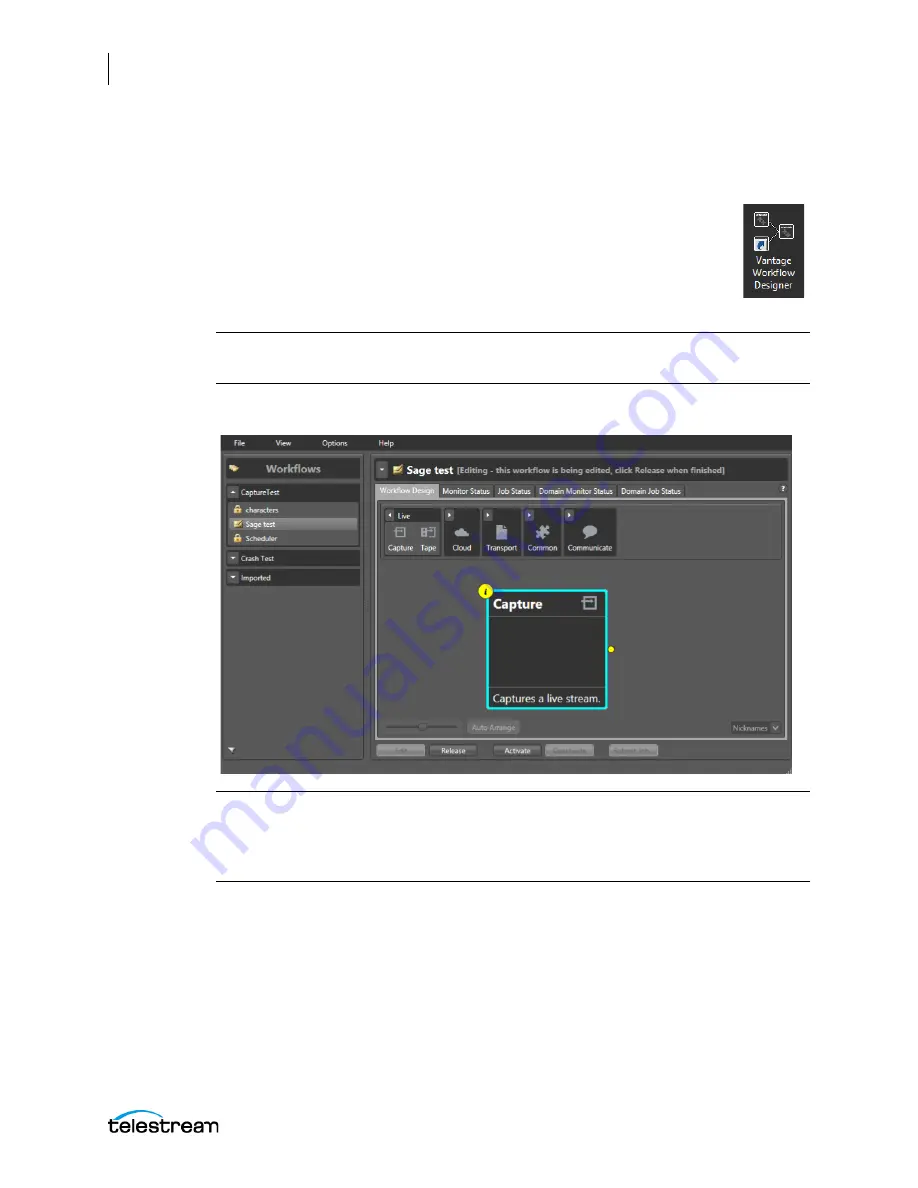
In the Workflow Design panel, select
Live
from the top tool bar and drag a
Capture
action
into the workspace below.
Note:
If multiple Capture Actions are used in a single workflow and each action is
actively recording, the Capture UI Status panel workflow thumbnail card and Status
page will display inaccurate record state information. For best practices, use only one
Capture Action per workflow.
4.
Select the Inspector (circled i) icon on the upper left corner of the action to open
the Inspector and configure the action, or double-click the action to open the
Inspector.


