2-75
3
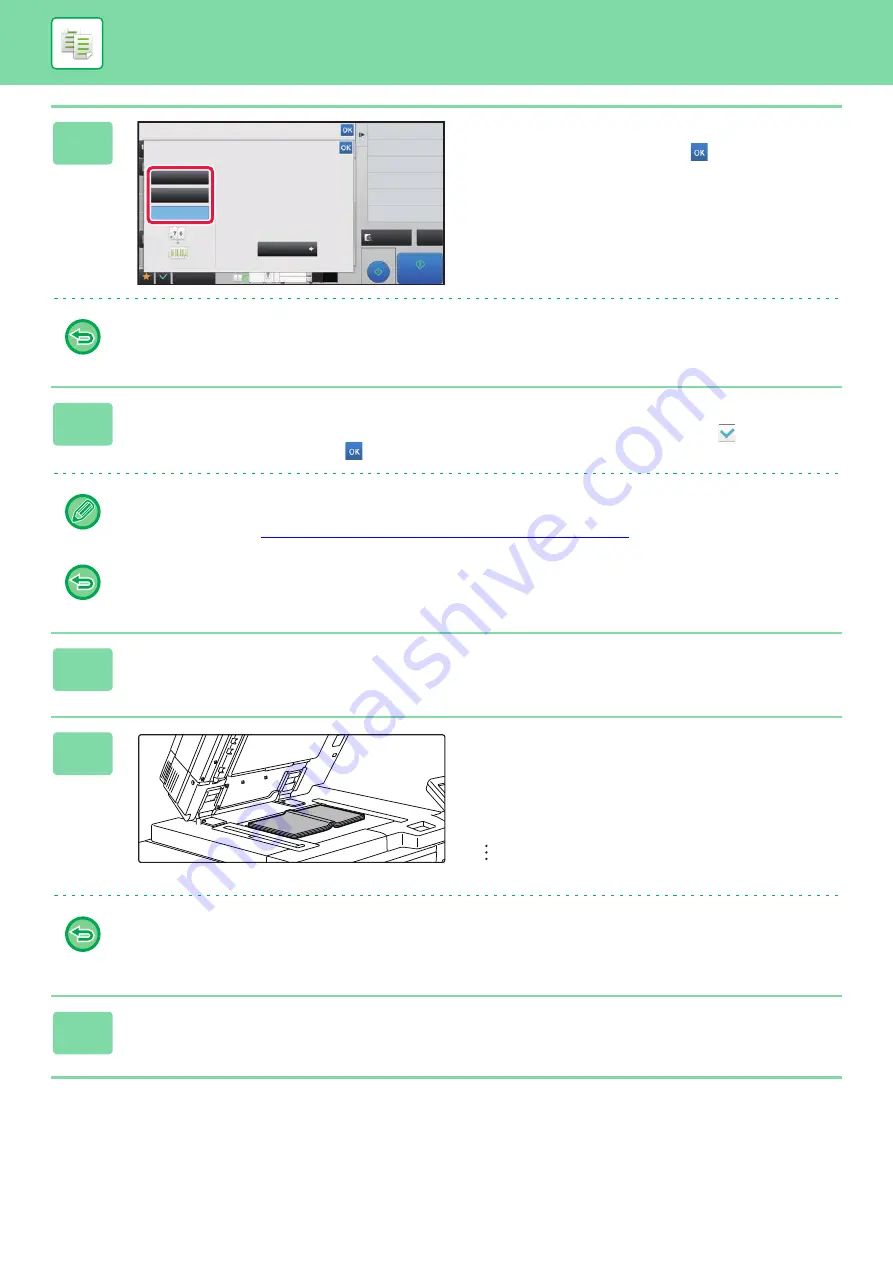
Select a binding position.
When not inserting a cover, tap the
and [Back] keys in
sequence. Then, go to step 5.
To cancel the book copy setting:
Tap the [Off] key.
4
When inserting a cover, tap the [Cover Setting] key, and tap the [On] key.
To make a copy on the inserted cover sheet, check the [Make Copy on Cover (Duplex)] box so that
appears.
After the settings are completed, tap
and [Back] keys in sequence.
To change the cover input tray:
Tap the [Paper Tray] key to display the tray selection screen. Tap the cover input tray on the tray selection screen. For
more information, see "
SELECTING THE PAPER TRAY FOR COPYING (page 2-13)
".
• If the cover will be copied on, label sheets, transparency film, and tab paper cannot be used.
• This setting is not available when the covers/inserts function is disabled in the setting mode.
5
Tap the [Start] key to scan the first original page.
Scanning of the original starts.
6
Place the next opened original pages,
and tap the [Start] key.
Repeat this step until all original pages have been scanned.
Scan the remaining original pages in the following order:
Inside of the front cover and the 1st page (facing pages)
The 2nd and 3rd pages (facing pages)
The last page and inside of back cover (facing pages)
• Copy settings cannot be changed when scanning additional pages.
•
To cancel all settings:
Tap the [CA] key.
7
Tap the [Read-End] key to start copying.
Proof Copy
CA
Preview
Start
Back
Book Copy
Select Original Binding Edge.
Others
Off
Right Binding
Left Binding
Cover Setting
Output
Erase Shadow Around
Erase
4
11x17
8½x11
3
8½x14


