Making Printer Settings Using the Control Panel
127
A
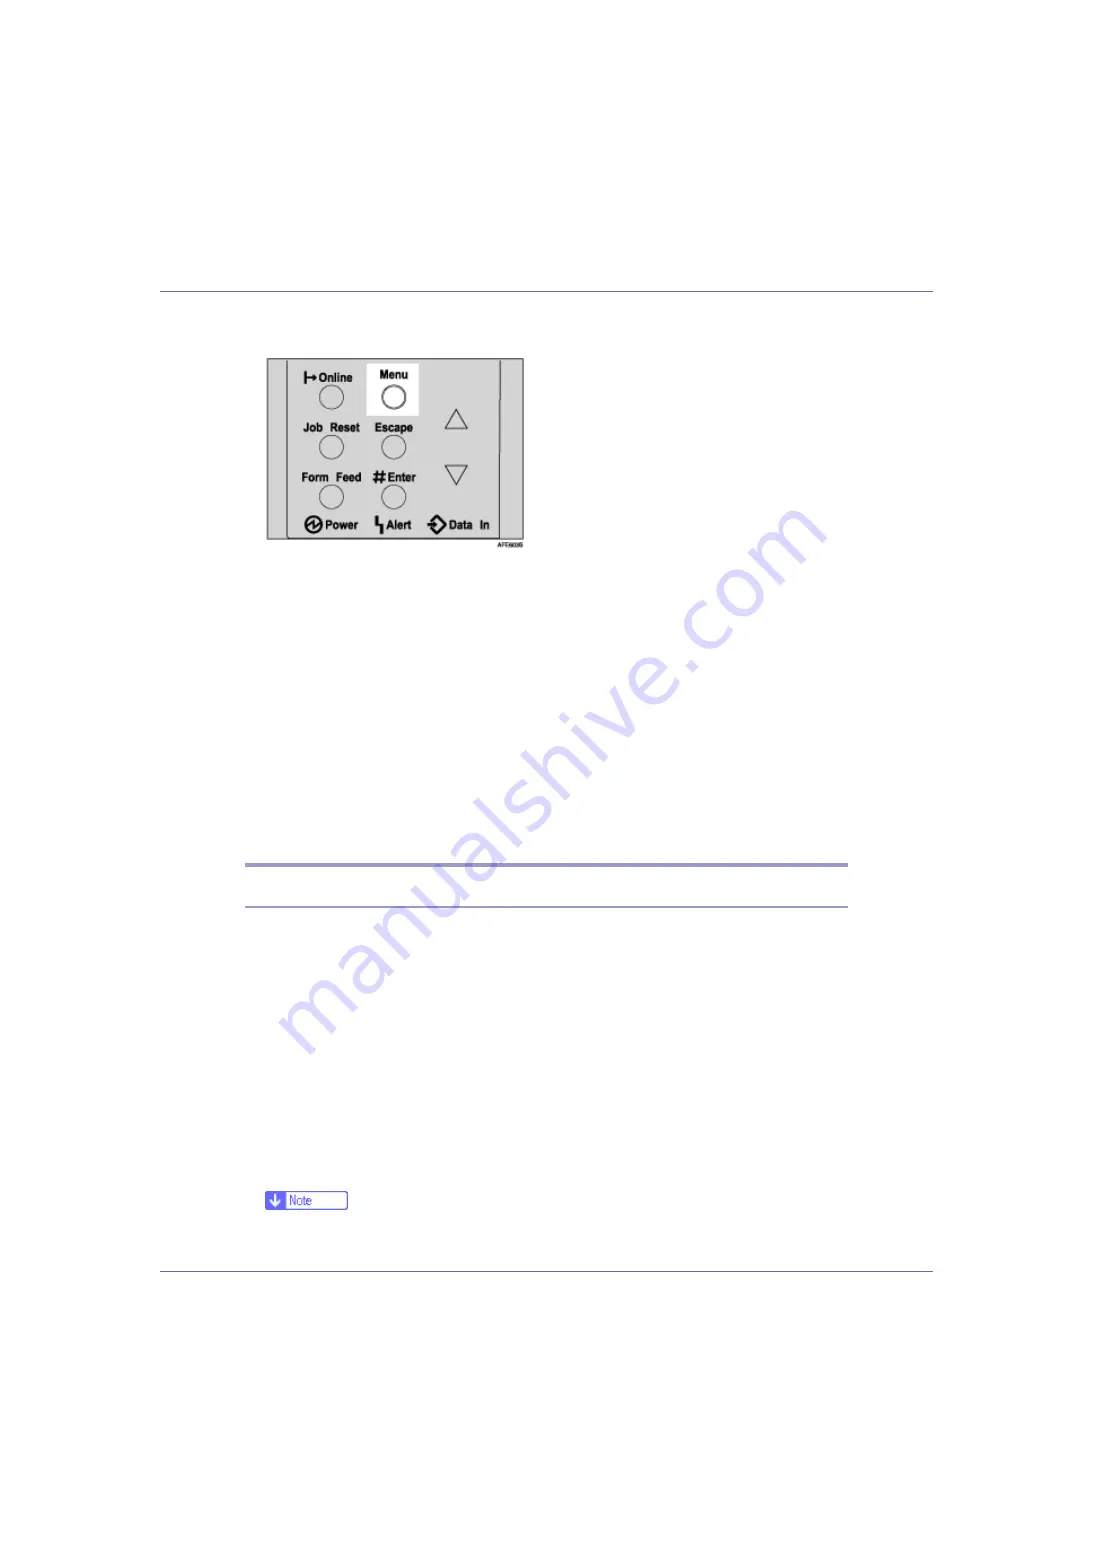
Press the
{
Menu
}
key.
The
[
Menu
]
screen appears.
B
Press the
{U}
or
{T}
key to display [
Paper Input
], and then press the
{
#
Enter
}
key.
C
Press the
{U}
or
{T}
key to display [
Tray Priority
], and then press the
{
#
Enter
}
key.
D
Press the
{U}
or
{T}
key to select a tray you want to use.
E
Press the
{
# Enter
}
key.
Wait for two seconds. The
[
Paper Input
]
screen appears.
F
Press the
{
Online
}
key.
The initial screen appears.
Paper Input menu parameters
This section explains about parameters that can be set on the Paper Input menu.
❖
Bypass Size
You can specify the paper size for Bypass tray.
For details about the size of paper loaded in the bypass tray, see “Paper and
Other Media Supported by This Printer”, Maintenance Guide.
❖
Tray Paper Size
Paper size for tray 1, 2, 3
When you select sizes that are not indicated on the paper size dial of tray 1,
tray 2 or tray 3, you should set the dial to “
p
”, and then select the paper size
here.
For details about the size of paper loaded in each tray, see “Paper and Other
Media Supported by This Printer”, Maintenance Guide.
❒
Only the installed trays appear on the display panel.


