Operating Instructions
3-8
Samsung Electronics
Basic Shooting
Making your First Recording
ENGLISH
23
Please make these preparations before shooting.
■
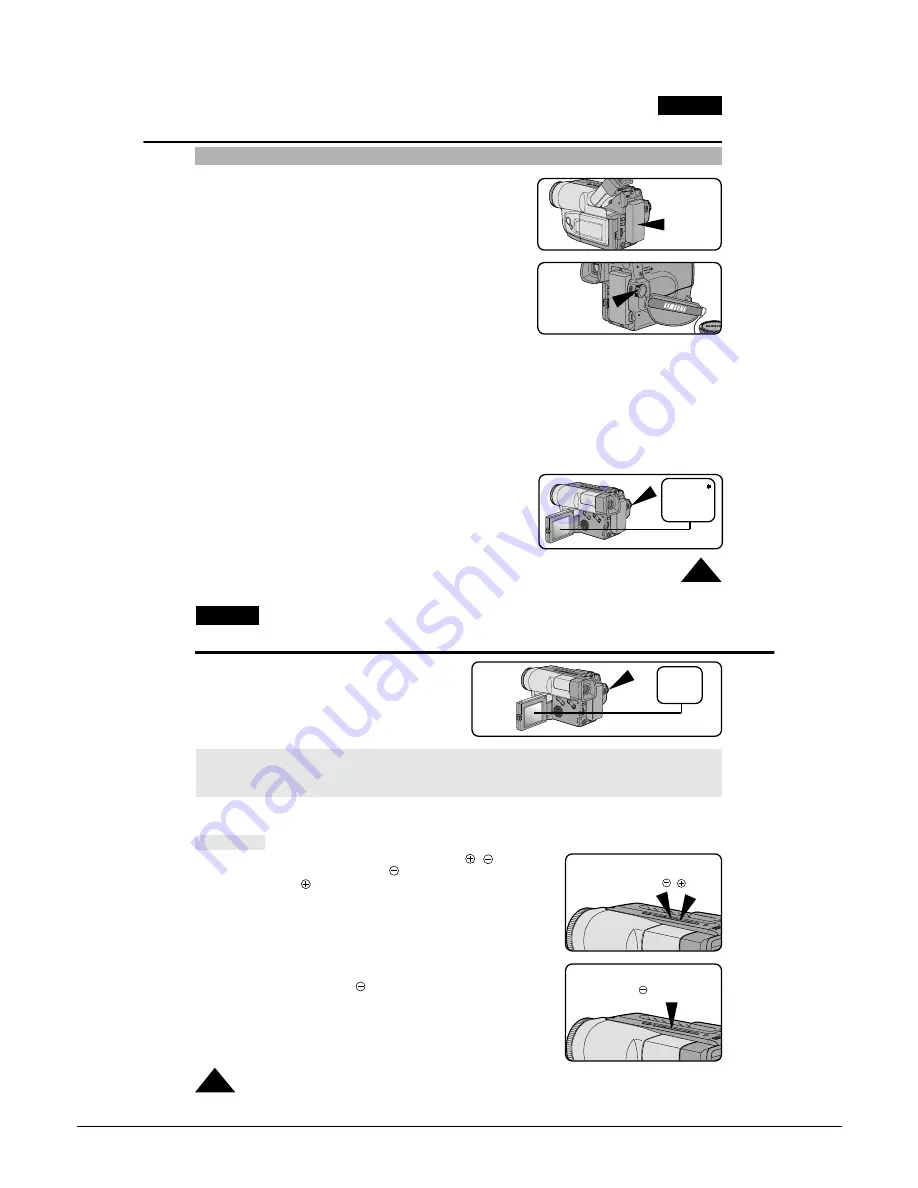
Have you connected a power source?
(Battery Pack or AC Power Adapter)
■
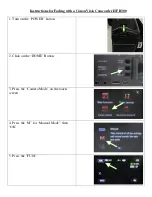
Did you set power switch to CAMERA position?
■
Have you inserted a cassette? (see page 22)
■
Open the LCD Screen and make sure that STBY is displayed on the OSD.
(if the red tab of the cassette is closed, STBY will not be displayed)
■
Did you open the LENS CAP?
■
Make sure the image you want to shoot appears in the LCD monitor.
■
Make sure the battery level indicates that there is enough remaining power for shooting. (see page 21)
■
We recommend that beginners, who are using the camcorder for the first time, switch the EASY mode on.
(see page 33)
a. To start shooting, press the red START/STOP button.
Shooting starts and REC should be displayed on the LCD.
REC
X:XX:XX
CAMERA
BATTERY
ENGLISH
Basic Shooting
24
b.
To stop shooting, press the red START/STOP
button again.
When recording stops, STBY will be
displayed on the LCD.
When a cassette is loaded and the camcorder is left in STANDBY mode for over 5 minutes without being used, it will
turn off automatically. To use it again, push the red START/STOPbutton or set power switch to OFF and then back to
CAMERA. This Auto Power Off feature is designed to save battery power and to protect the tape Head and tape.
STBY
Y:YY:YY
REC SEARCH
✤
You can view a recorded picture with REC SEARCH , function
in STANDBY mode. REC SEARCH allows you to reverse and
REC SEARCH allows you to forward, for as long as you keep
the button pressed.
✤
If you press REC SEARCH button briefly in STANDBY mode,
your camcorder will playback in reverse for 3 seconds and return to the
original position automatically.
REC SEARCH
,
REC SEARCH
(Press briefly)
Summary of Contents for VP-L900
Page 5: ...Product Specification 2 2 MEMO ...
Page 51: ...4 18 Disassembly and Reassembly Samsung Electronics MEMO ...
Page 79: ...5 28 Alignment and Adjustments Samsung Electronics MEMO ...
Page 109: ...Circuit Operating Description 6 30 Samsung Electronics MEMO ...
Page 124: ...Deck Operating Description Samsung Electronics 7 15 Fig 7 14 ...
Page 126: ...Deck Operating Description Samsung Electronics 7 17 Fig 7 16 ...
Page 128: ...Deck Operating Description Samsung Electronics 7 19 Fig 7 17 ...
Page 130: ...Deck Operating Description Samsung Electronics 7 21 Fig 7 18 ...
Page 132: ...Deck Operating Description Samsung Electronics 7 23 Fig 7 19 ...
Page 134: ...Deck Operating Description Samsung Electronics 7 25 Fig 7 20 ...
Page 136: ...Deck Operating Description Samsung Electronics 7 27 Fig 7 21 ...
Page 138: ...Deck Operating Description Samsung Electronics 7 29 Fig 7 22 ...
Page 139: ...Deck Operating Description 7 30 Samsung Electronics MEMO ...
Page 142: ...Samsung Electronics 10 1 10 Wiring Diagram ...
Page 143: ...Wiring Diagram 10 2 Samsung Electronics MEMO ...
Page 145: ...PCB Diagrams 11 2 Samsung Electronics COMPONENT SIDE 11 1 Main PCB ...
Page 146: ...PCB Diagrams Samsung Electronics 11 3 CONDUCTOR SIDE ...
Page 149: ...PCB Diagrams 11 6 Samsung Electronics 11 6 Front PCB 11 7 Function PCB ...


