


Item
Setting
Description
File Format (Color/Gray
Scale)
Required
File format of the scanned file when scanning in color.
PDF or JPEG can be selected. PDF supports multiple
pages in a document, but JPEG does not.
File Format (Black & White)
Required
File format of the scanned file when scanning in black
and white. PDF or TIFF can be selected. Both formats
support multiple pages in a document.
Scan Size
Optional
Select the scanning size for the original from A5, B5,
A4, 7
1
/
4
× 10
1
/
2
, 8
1
/
2
× 5
1
/
2
, 8
1
/
2
× 11, 8
1
/
2
×
14, 16K, or custom size.
If you select custom size, select [mm] or [Inch], and
then specify the width and length.
Resolution
Optional
Select the scan resolution from 100×100, 150×150,
200×200, 300×300, 400×400, or 600×600 dpi.
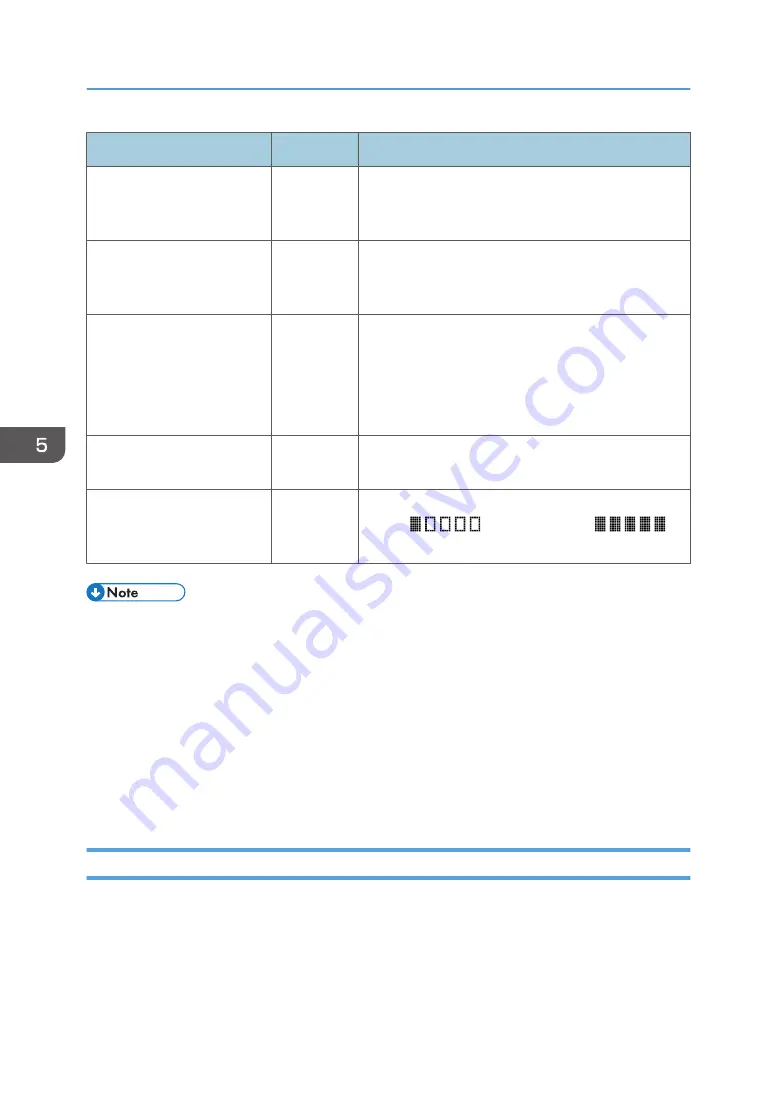
Density
Optional
Specify the image density by clicking the right or left
button.
is the lightest, and
is
the darkest.
• To send files via e-mail, SMTP and DNS settings must be configured properly.
• If you are using the Scan to E-mail function, select a time zone according to your geographic
location to send email with correct transmission date and time.
• To send files to an FTP server or computer, the user name, password, and directory must be
configured properly.
• On a network that uses a DNS server, specify a computer name in [Service Name] and the name
of the domain to which the computer belongs in [Domain]. In this case, also configure the DNS
related settings using Web Image Monitor.
• Scan destinations cannot be registered using the control panel.
Modifying Scan Destinations
This section describes how to modify the information of registered destinations.
1.
Start the web browser and access the machine by entering its IP address.
2.
Click [Scan Destination].
3.
Click the [E-mail Address], [FTP], or [Folder] tab.
5. Scanning Originals
90
Summary of Contents for SP 221SF
Page 2: ......
Page 14: ...Smart Organizing Monitor 1 Click Help on the Printer Configuration screen DSH252 12...
Page 62: ...2 Paper Specifications and Adding Paper 60...
Page 68: ...3 Printing Documents 66...
Page 73: ...2 Press the Clear Stop key DSH144 Basic Operation of Copying 71...
Page 240: ...8 Configuring the Machine Using Utilities 238...
Page 276: ...10 Troubleshooting 274...
Page 286: ...11 Configuring Network Settings Using OS X 284...
Page 340: ...MEMO 338...
Page 341: ...MEMO 339...
Page 342: ...MEMO 340 EN GB EN US EN AU M0A6 8629A...
Page 343: ...2016...
Page 344: ...M0A6 8629A AU EN US EN GB EN...


