


2.
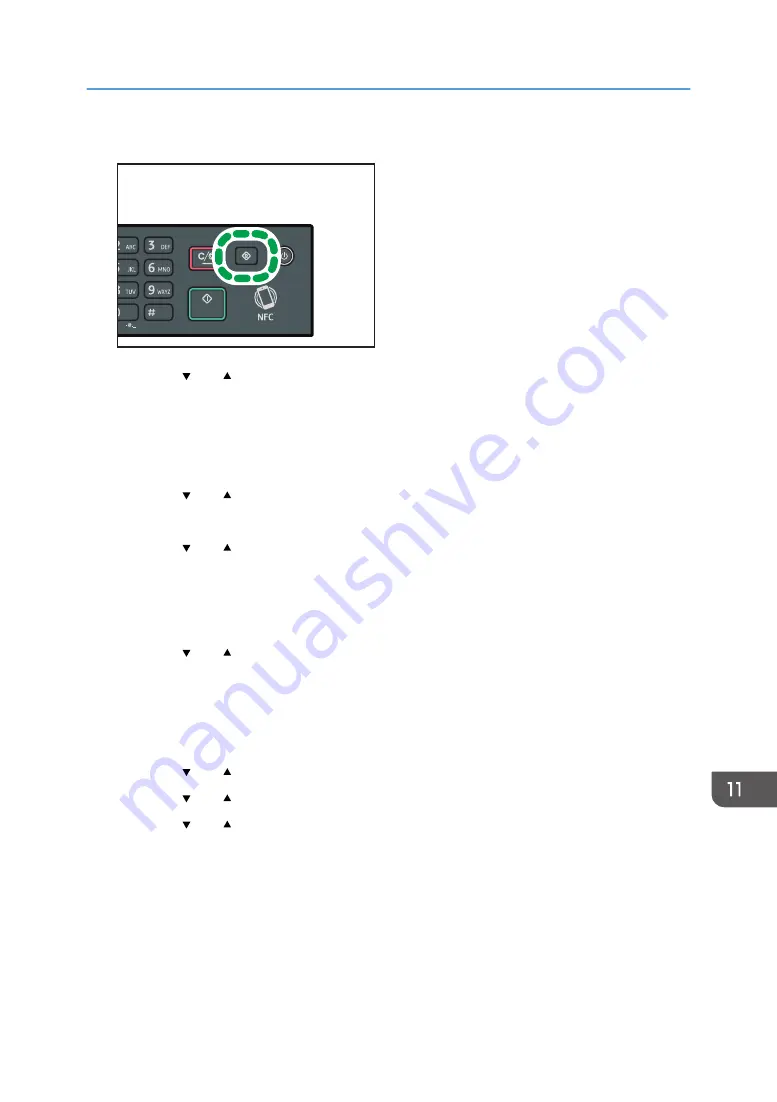
Press the [User Tools] key.
DSH210
3.
Press the [ ] or [ ] key to select [Network Settings], and then press the [OK] key.
4.
If you are requested to enter a password, enter the password using the number keys,
and then press the [OK] key.
A password for accessing the [Network Settings] menu can be specified in [Admin. Tools Lock]
under [Admin. Tools] menu.
5.
Press the [ ] or [ ] key to select [Wi-Fi], and then press the [OK] key.
6.
Select [Wi-Fi Enable], and then press the [OK] key.
7.
Press the [ ] or [ ] key to select [Enable], and then press the [OK] key.
8.
Press the [User Tools] key to return to the Initial screen.
9.
Wait until the machine restarts.
10.
Press the [User Tools] key.
11.
Press the [ ] or [ ] key to select [Network Settings], and then press the [OK] key.
12.
If you are requested to enter a password, enter the password using the number keys,
and then press the [OK] key.
A password for accessing the [Network Settings] menu can be specified in [Admin. Tools Lock]
under [Admin. Tools] menu.
13.
Press the [ ] or [ ] key to select [Wi-Fi], and then press the [OK] key.
14.
Press the [ ] or [ ] key to select [WPS], and then press the [OK] key.
15.
Press the [ ] or [ ] key to select [PBC], and then press the [OK] key.
16.
Press [Yes].
"Please push the [AP] within 2 minutes" appears, and the machine starts to connect in PBC method.
17.
Press the WPS button on the router (access point) within two minutes.
For details about how to use the WPS button, refer to the manuals for the router (access point).
18.
Check the result.
• Connection has succeeded:
Connecting the Machine to a Wireless Network
281
Summary of Contents for SP 221SF
Page 2: ......
Page 14: ...Smart Organizing Monitor 1 Click Help on the Printer Configuration screen DSH252 12...
Page 62: ...2 Paper Specifications and Adding Paper 60...
Page 68: ...3 Printing Documents 66...
Page 73: ...2 Press the Clear Stop key DSH144 Basic Operation of Copying 71...
Page 240: ...8 Configuring the Machine Using Utilities 238...
Page 276: ...10 Troubleshooting 274...
Page 286: ...11 Configuring Network Settings Using OS X 284...
Page 340: ...MEMO 338...
Page 341: ...MEMO 339...
Page 342: ...MEMO 340 EN GB EN US EN AU M0A6 8629A...
Page 343: ...2016...
Page 344: ...M0A6 8629A AU EN US EN GB EN...


