© Copyright Qvis® All documentation rights reserved.
79
4.9.2 Activate Preset
In Figure 4-46, please input preset number in the No. blank, and click preset button.
4.9.3 Patrol setup (Tour Setup)
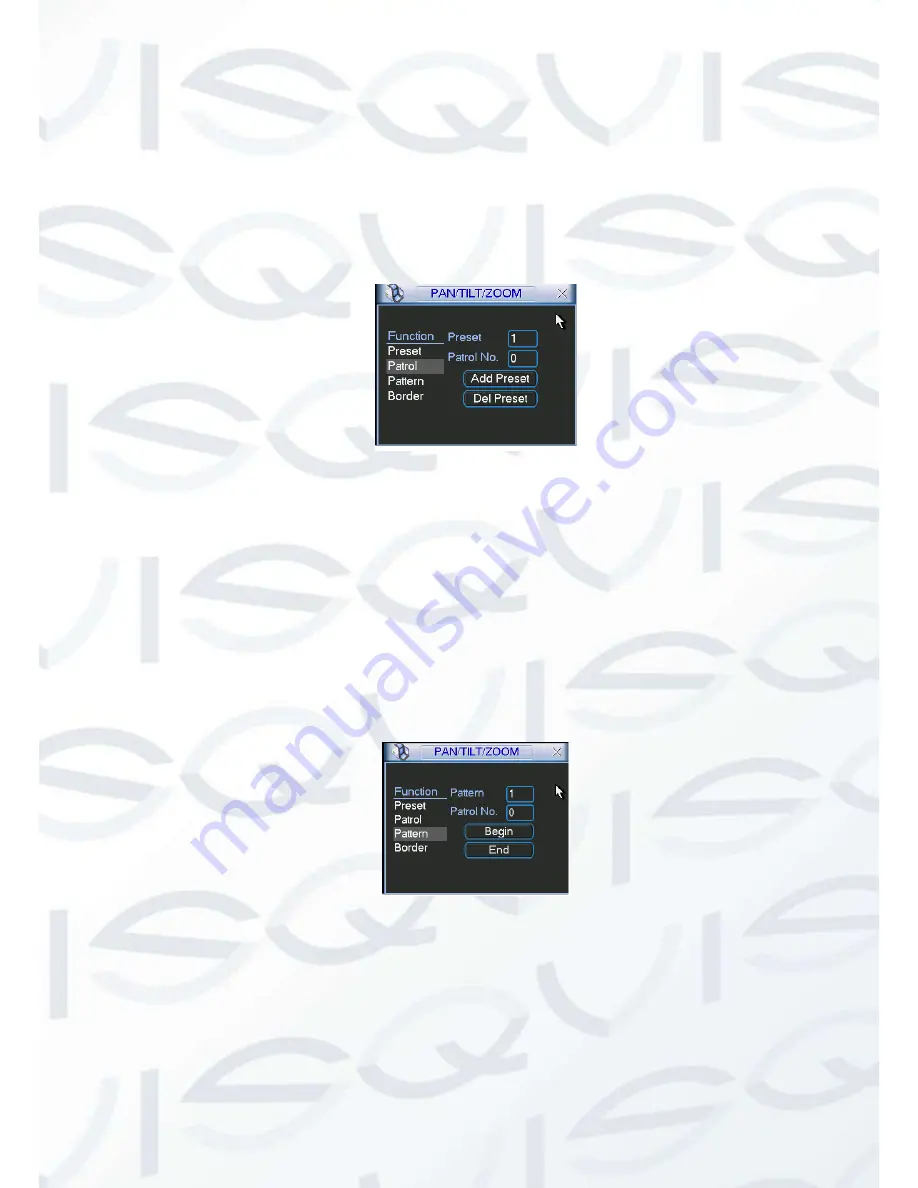
In Figure 4-38, click patrol button. The interface is shown as in Figure 4-48.Input preset number
and add this preset to a patrol (tour). For each patrol (tour), you can input max 80 presets.
Figure 4-48
4.9.4 Activate Patrol (tour)
In Figure 4-45, input patrol (tour) number in the No. blank and click patrol button
4.9.5 Pattern Setup
In Figure 4-45
, click pattern button and then click “begin” button. The interface is shown as in
Figure 4-49. Then you can go to Figure 4-42 X to modify zoom, focus, and iris.
Go back to Figure 4-49
and click “end” button. You can memorize all these operations as pattern
1.
Figure 4-49
4.9.6 Activate Pattern Function
In
X346H346H346H
Figure 4-39, input mode value in the No. blank, and click pattern button.
Summary of Contents for IAPOLLO HDRT HD
Page 2: ...Copyright Qvis All documentation rights reserved i...
Page 51: ...Copyright Qvis All documentation rights reserved 42 iApollo PRODC...
Page 69: ...Copyright Qvis All documentation rights reserved 60 Figure 4 20...
Page 75: ...Copyright Qvis All documentation rights reserved 66 Figure 4 26 Figure 4 27 Figure 4 28...
Page 101: ...Copyright Qvis All documentation rights reserved 92 Figure 5 16 Figure 5 17 Figure 5 18...
Page 177: ...Copyright Qvis All documentation rights reserved 168 Figure 7 39 Figure 7 40 Figure 7 41...
Page 186: ...Copyright Qvis All documentation rights reserved 177 Figure 7 55 Figure 7 56 Figure 7 57...


