74
Dimmer
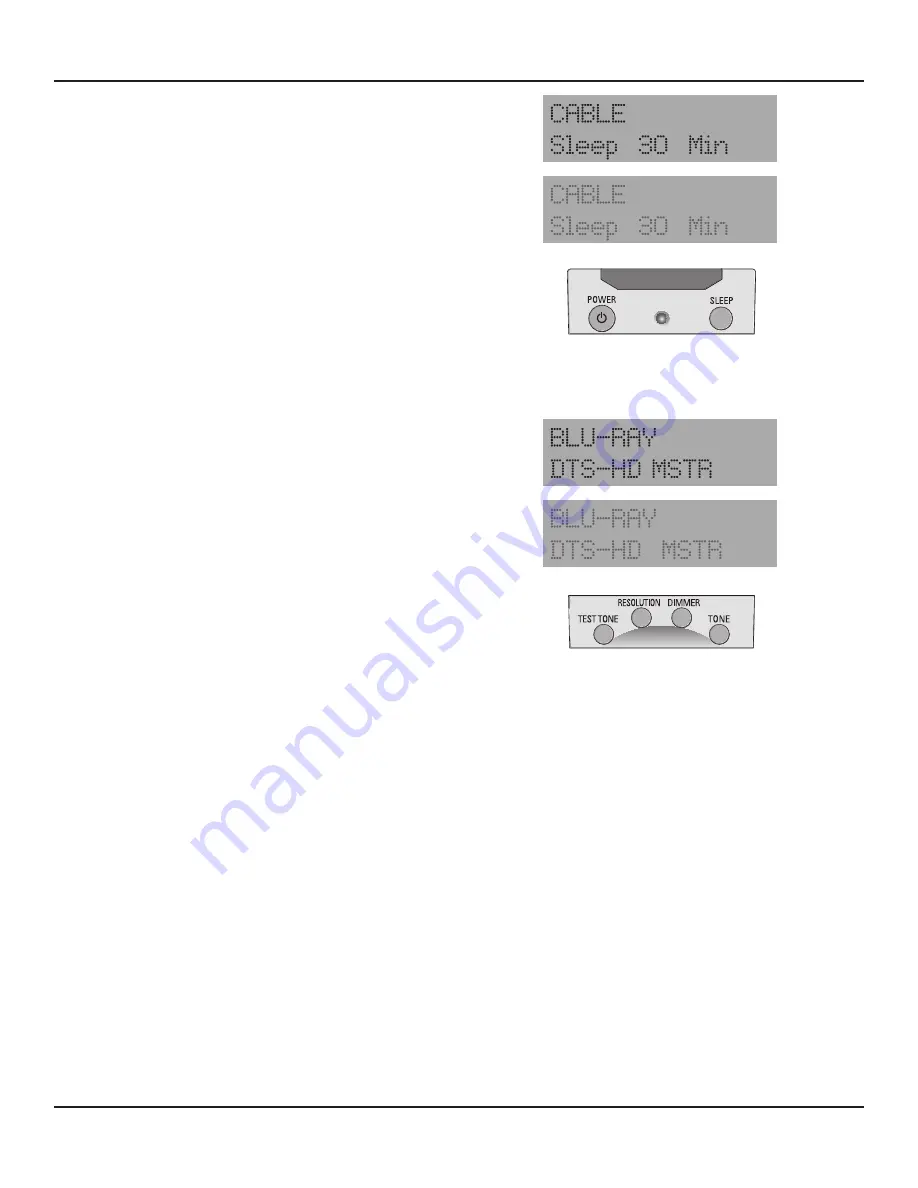
Press the Dimmer button on the M80 Remote to control the
brightness of the Front Panel Display. When the M80 is turned
ON, the Front Panel Display will illuminate to full brightness.
One press will dim the display to about half brightness, a sec-
ond press will restore full brightness to the display.
Diagram
99
Dimming the Front Panel Display may be desirable when
watching movies or other video content in a darkened room,
to reduce glare from the screen or if the fully illuminated dis-
play is distracting.
Diagram 98
Sleep Timer
M80 Remote
Diagram 99
Front Panel Dimmer
M80 Remote
Sleep Timer
With the M80 ON and with any source selected, press the Sleep
button on the M80 Remote to turn the M80 Sleep Timer ON.
Sleep Timer durations from 15-90 minutes in 15 minute incre-
ments can be set.
1.
Press the Sleep button. ‘Sleep Off’ will appear in the lower
line of the Front Panel Display. Repeatedly press the Sleep
button until the desired sleep timeout is set. When set, the
Front Panel Display will dim to half brightness and display
full brightness for two seconds as Sleep Timer duration is
reduced by minute.
Diagram 98
2.
To cancel Sleep Timer, repeatedly press the Sleep button
until ‘Sleep Off’ appears in the lower line of the Front Panel
Display.
OPERATING ThE M80
Recording
With Audio/Video 1 IN/OUT connected to an audio/video record/playback device or Audio 5 IN/OUT connected to an audio re-
cord/playback device as described in sections:
Connections/Audio/Video 1 IN/OUT
or
Connections/Audio 5 IN/OUT
:
1.
Select the Source to be recorded by selecting the Source from the M80 Front Panel or Remote. The Source to be recorded will
be displayed in the Front Panel Display.
2.
With the source to be recorded connected with the default connections, (analog line level audio and composite video) and
with the appropriate Analog Audio and Composite Video Inputs selected in Source Setup, press record on the record/play-
back device. It will record the analog audio and composite video from the selected source. S-Video will be recorded if the
source has S-Video input connections and S-Video is selected as the Video Input in Source Setup for the selected source.
Note:
Analog audio input is not converted to digital audio output.
3.
With the source to be recorded connected with either a digital coaxial or optical audio input and with the appropriate coaxial
or optical connection selected as the Digital Audio Input in Source Setup, press record on the record/playback device. It will
record the digital audio from the selected source, unless copy protected. If the content is copy protected, switch to the Ana-
log Audio Input. Composite or S-Video will record as selected in Source Setup, by source. A Coaxial IN can output to either the
Coaxial or Optical OUT and an Optical IN can output to either the Optical or Coaxial OUT.
Note:
Digital audio input is not converted to analog audio output.
4.
To play the recorded content, after recording is finished, select Source 1 or Source 5, as appropriate, from the M80 Front Panel
or Remote, and then play the recorded content from the recorder. Be sure the appropriate Analog/Digital Audio and Compos-
ite/S-Video Inputs are selected in Source Setup for Source 1 or Source 5, as appropriate, for playback.
Summary of Contents for M80
Page 1: ...Audio Systems M80 7 1 Channel Surround A V Receiver Installation User Guide ...
Page 7: ...7 notes ...
Page 107: ...107 notes ...


