319
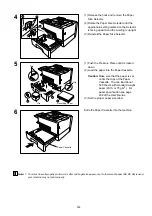
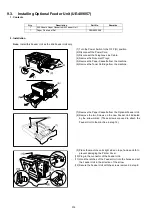
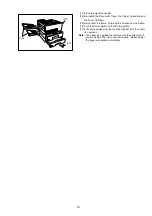
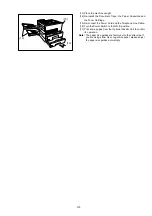
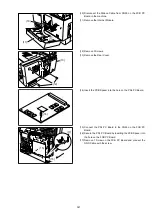
(13) Place the machine upright.
(14) Re-install the Document Trays, the Paper Cassettes and
the Toner Cartridge.
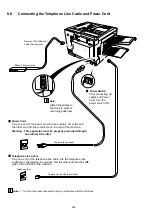
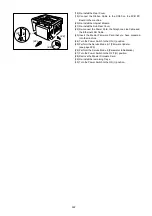
(15) Re-connect the Power Cord and the Telephone Line Cable.
(16) Turn the Power Switch to the ON (I) position.
(17) Print some pages from the Optional Feeder Unit to confirm
its operation.
Note: The paper size guides are factory set to the Letter size. If
you are using either A4 or Legal size paper, please adjust
the paper size guides accordingly.
(14)
(13)
(14)
Summary of Contents for Panafax DX-2000
Page 2: ......
Page 27: ...27 9 1 Screw 19 10 Release two Latch Hooks 11 Remove the SNS Assembly 121 9 10 11 ...
Page 49: ...49 2 15 Screw Identification Template ...
Page 57: ...57 3 7 3 Option Cassette Circuit 555 748 728 744 928 953 730 731 731 952 944 930 931 931 ...
Page 58: ...58 3 7 4 LAN Control Circuit 522 CN50 1102 1104 1101 N C N C RD N C N C RD TD TD ...
Page 59: ...59 3 7 5 Page Description Language Printer Interface Kit ...

