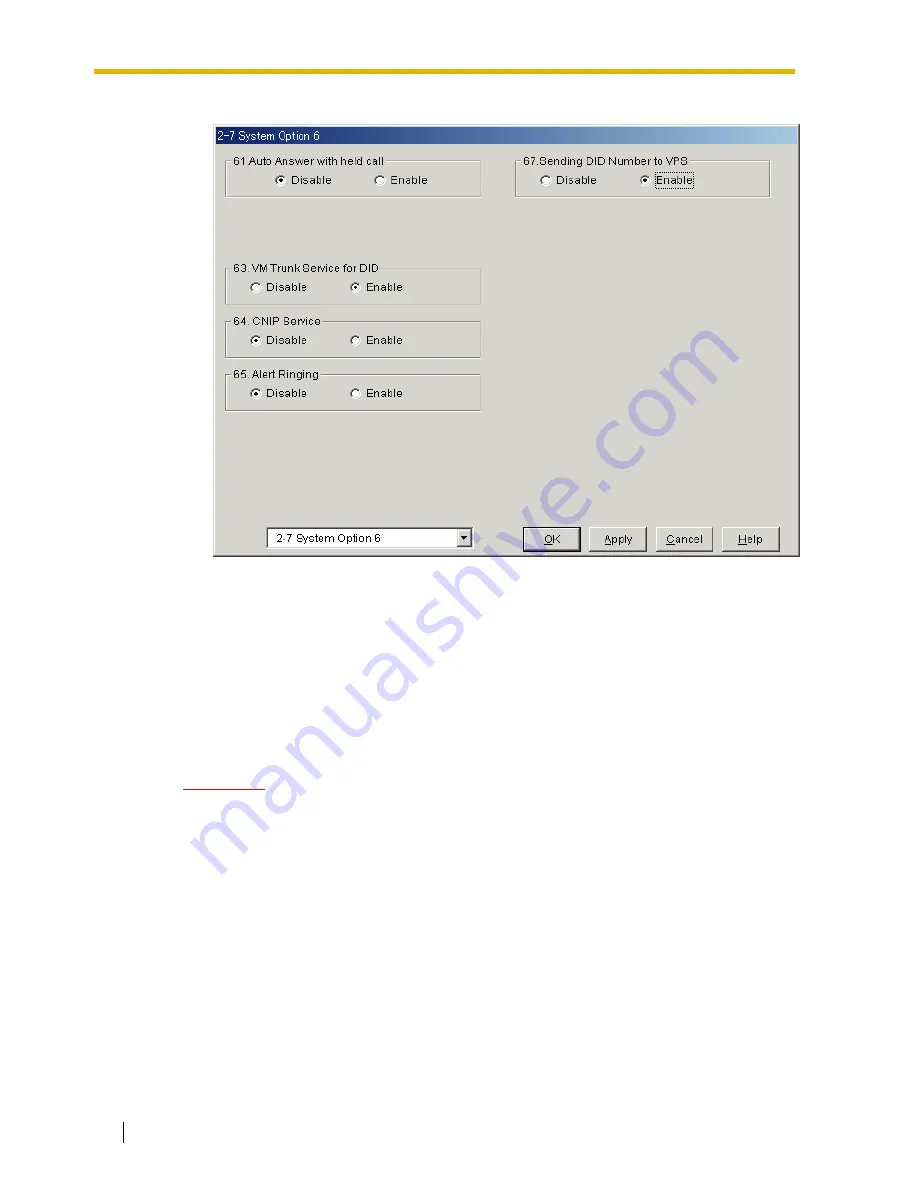
4.2 KX-TD500 PROGRAMMING FOR DIGITAL INTEGRATION
110
Installation Manual
Screen output:
7.
Connect
the
jack
assigned in Step 4 to the VPS.
8.
Connect
your
personal computer
to the VPS and start your communication software
(i.e., HyperTerminal, Procomm Plus, Smartcom...).
Communication Parameters: 9600, 8 Bit, None, 1
9.
Turn
the power switch
off
at the VPS and
set
the
DIP/Rotary Switch
to
position 5
.
Only perform this step when initially setting up the system.
CAUTION
Setting the DIP/Rotary Switch to position 5 will default the Voice Processing
System, resulting in a loss of all user programming and voice messages (except
User 1 and User 2 prompts).
10.
Turn
the power switch back
on
at the VPS and wait approximately 7-8 min while the
system initializes.
Before starting the VPS, make sure all installation and line connections have been
done as described in Section 2 INSTALLATION.
The calls to the VPS can be processed after the Power Indicator stops flashing.
After turning the power on, the system starts up in the following sequence:
•
The Power Indicator light goes on.
•
The Power Indicator light begins to flash.
•
"CARD TEST" is displayed on the screen.
Summary of Contents for KX-TVS125
Page 16: ...16 Installation Manual ...
Page 17: ...Installation Manual 17 Section 1 VOICE PROCESSING SYSTEM OVERVIEW ...
Page 41: ...Installation Manual 41 Section 2 INSTALLATION ...
Page 62: ...2 8 TERMINAL CONNECTION 62 Installation Manual ...
Page 63: ...Installation Manual 63 Section 3 INTEGRATING THE VPS WITH PANASONIC KX T PHONE SYSTEMS ...
Page 100: ...3 3 CONNECTING THE VPS WITH PANASONIC KX T SERIES PBXs 100 Installation Manual ...
Page 101: ...Installation Manual 101 Section 4 INTEGRATING THE VPS WITH THE PANASONIC KX T DIGITAL PBX ...
Page 155: ...Installation Manual 155 Section 5 CUSTOMIZING THE SYSTEM ...
Page 190: ...5 6 TRAINING THE SUBSCRIBER 190 Installation Manual ...
Page 191: ...Installation Manual 191 Section 6 FINAL SETUP ...
Page 200: ...6 3 BACKING UP THE SYSTEM 200 Installation Manual ...
Page 201: ...Installation Manual 201 Section 7 SYSTEM MAINTENANCE AND TROUBLESHOOTING ...
Page 240: ...7 6 SPECIFICATIONS 240 Installation Manual ...
Page 241: ...Installation Manual 241 Appendix A SYSTEM FEATURES ...
Page 272: ...A1 SYSTEM FEATURES 272 Installation Manual ...
Page 273: ...Installation Manual 273 Appendix B SYSTEM ADMINISTRATOR S GUIDE ...
Page 359: ...Installation Manual 359 Appendix C SYSTEM MANAGER S GUIDE ...
Page 386: ...C11 LISTENING TO SYSTEM MANAGER MESSAGES 386 Installation Manual ...
Page 387: ...Installation Manual 387 Appendix D MESSAGE MANAGER S GUIDE ...
Page 460: ...D9 LIST OF MODIFIABLE PROMPTS 460 Installation Manual ...
Page 473: ...Installation Manual 473 Index ...


