Printing with Extended Print Functionality 261
3
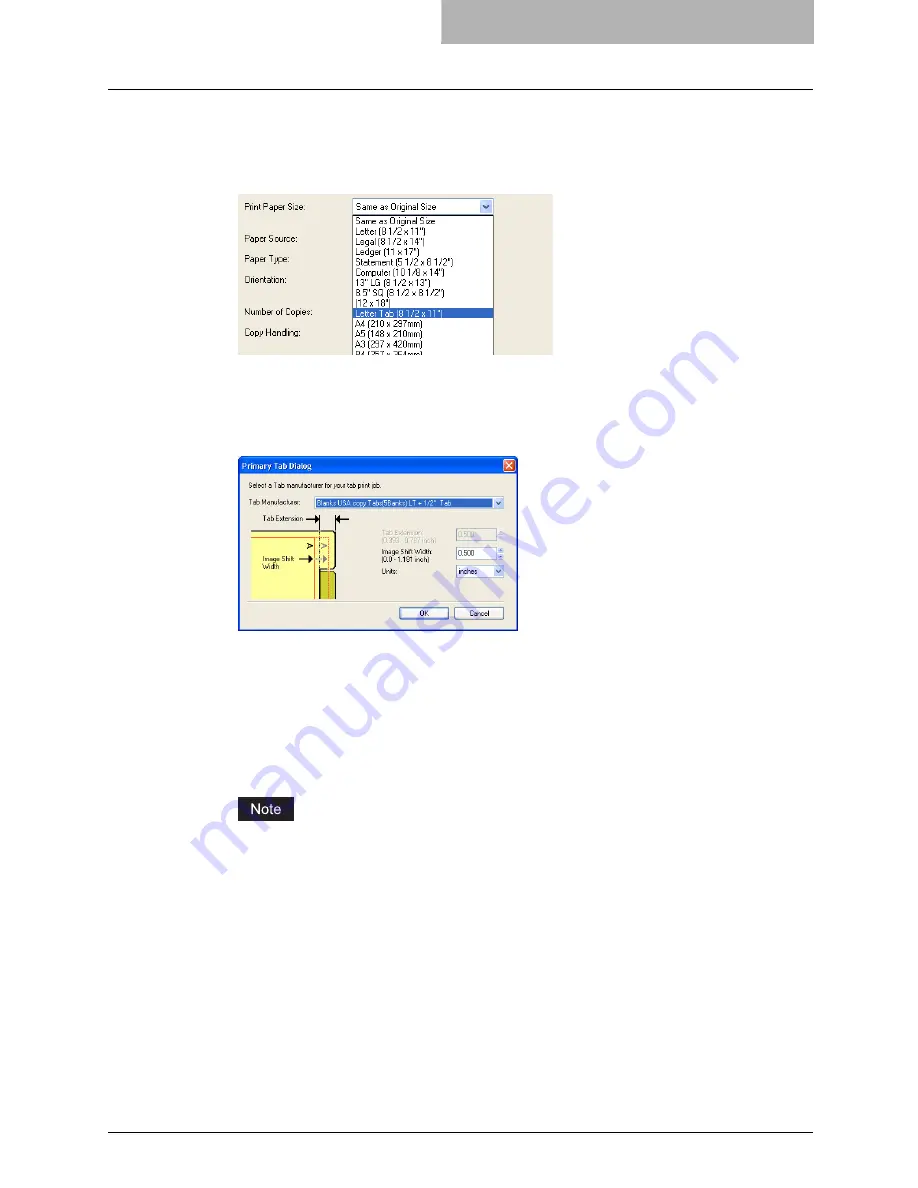
When printing a document, display the General tab of the printer
driver properties, select document size in the “Original Paper Size”
drop down box, and select either “Letter Tab” or “A4 Tab” (accord-
ing to the document size) in the “Print Paper Size” drop down box.
y
The Primary Tab Dialog dialog box appears.
4
In the “Tab Manufacturer” drop down box, select the product name
of the tab paper that you use, or select “Custom” when you use
other manufactured tab paper.
5
When you select “Custom” in the “Tab Manufacturer” option, enter
the width of tab extension in the “Tab Extension” field.
6
Enter the width to shift the printed image in the “Image Shift Width”
field.
y
If you created a document as described in Step 1, enter the width of the tab extension
here.
This equipment cannot print in the 0.2 inch or 5 mm margin area on the right side on the
paper. Therefore, be sure to enter the image shift margin so that an image will be printed
within the printable area.
7
Click [OK].
8
Set any other print options you require and click [OK].
9
Click [OK] or [Print] to send the print job.
y
The print job is printed on the tab paper.
Summary of Contents for im4530
Page 1: ...For Oc and Imagistics Models Oc Printing Guide im4530 im3530...
Page 10: ...8 Preface...
Page 126: ...2 Installing Client Software for Windows 124 Repairing Client Software...
Page 192: ...4 Installing Client Software for UNIX 190 Installing Client Software from Printer Utility...
Page 204: ...5 Printing from Windows 202 Printing from Application 5 Click Print to print a document...
Page 264: ...5 Printing from Windows 262 Printing with Extended Print Functionality...
Page 356: ...9 Monitoring Print Jobs 354 Monitoring Print Jobs with Document Monitor...
Page 384: ...382 INDEX...
Page 385: ...im3530 4530...
Page 386: ......


