U
SING
THE
A
GENT
- 302 -
6.
Type the password in the
Password
field.
7.
Click
OK
.
S
TEP
R
ESULT
:
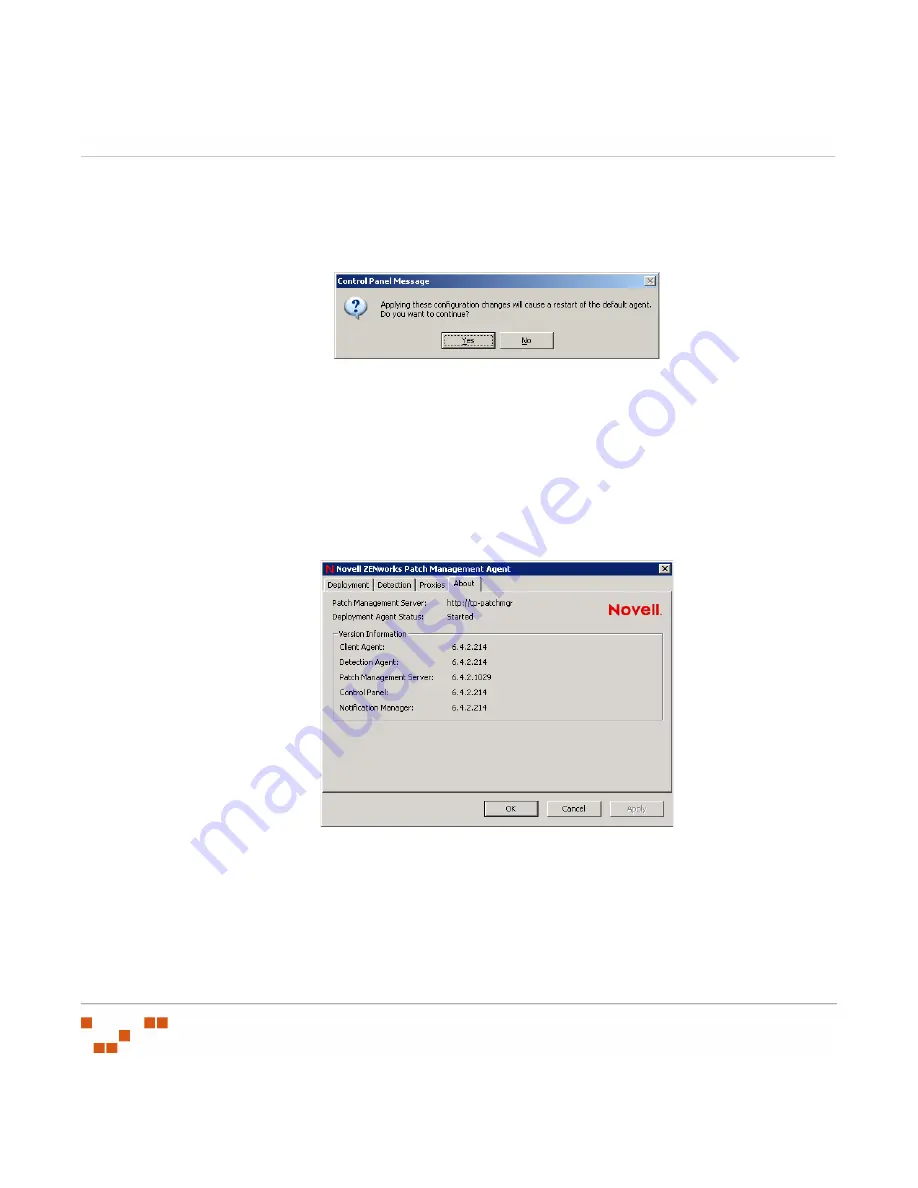
The confirmation dialog box opens.
Figure 10-9:
Proxy Change Confirmation
8.
Click
Yes
.
R
ESULT
:
The proxy information is saved.
About Tab
The About Tab displays information regarding the Agent and its associated ZENworks Patch
Management Server.
Figure 10-10:
About Tab
Summary of Contents for ZENWORKS PATCH MANAGEMENT 6.4 SP2 - SERVER
Page 1: ...User Guide ZENworks Patch Management 6 4 SP2 ...
Page 44: ...USING ZENWORKS PATCH MANAGEMENT 28 ...
Page 138: ...WORKING WITH DEPLOYMENTS 122 ...
Page 212: ...USING GROUPS 196 ...
Page 236: ...REPORTING 220 ...
Page 308: ...CONFIGURING DEFAULT BEHAVIOR 292 ...
Page 332: ...USING THE AGENT 316 The Agent Control Panel opens Figure 10 19 Agent Control Panel ...


