U
SING
G
ROUPS
- 187 -
3.
Click
Add
.
S
TEP
R
ESULT
:
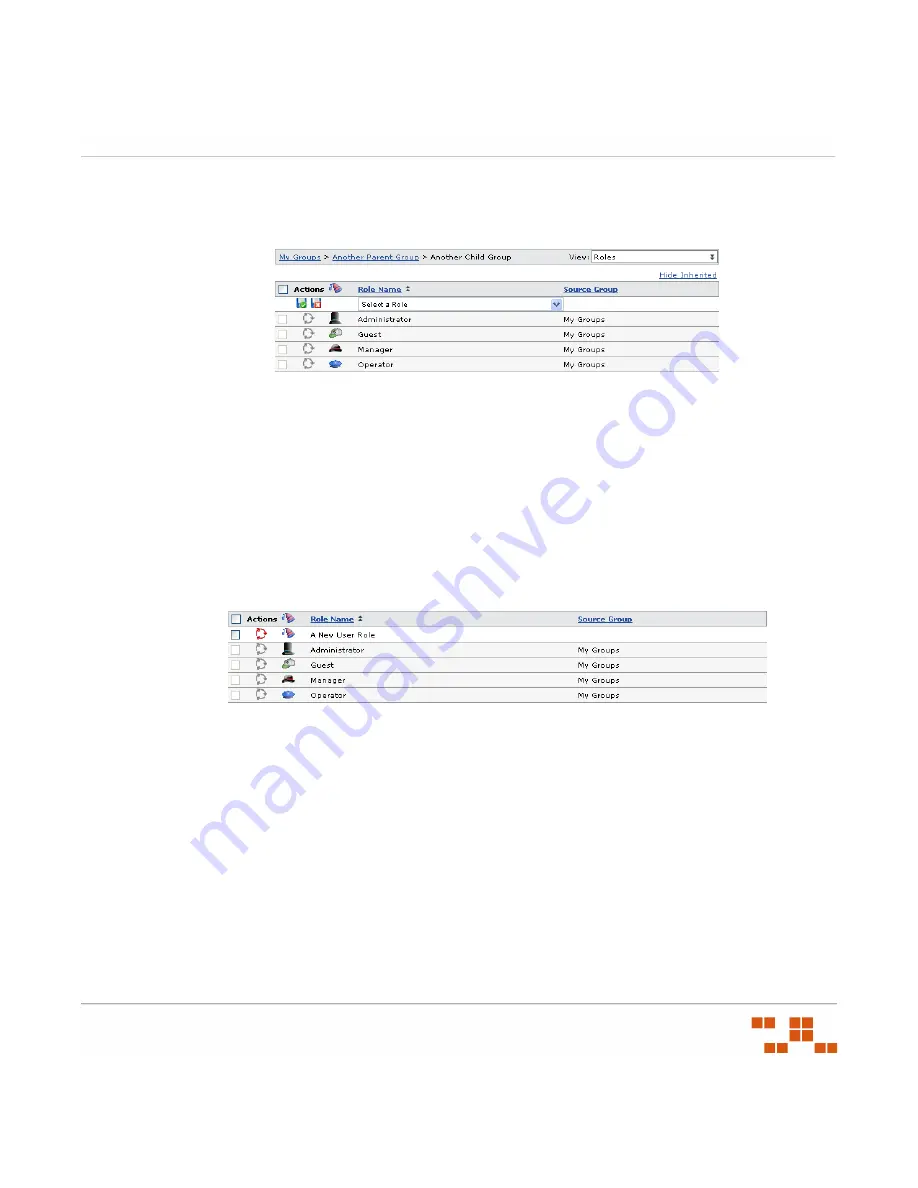
The
Select a Role
drop-down list displays in the
Groups
window.
Figure 6-16:
Add a Role
4.
Select a role from the
Name
list.
5.
Click the
Save
icon.
R
ESULT
:
The role is saved and associated with the group.
Removing a Role from a Group
Complete the following steps to remove an established role from a group.
1.
In the
Groups
page, select
Roles
from the drop-down list.
S
TEP
R
ESULT
:
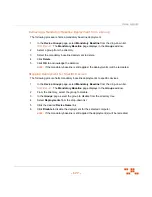
The
Roles
page displays in the
Groups
window.
Figure 6-17:
Roles Page
2.
Select a group from the directory tree.
3.
Select the check box associated with the role you want to remove.
4.
Click
Remove
.
5.
Acknowledge the removal by clicking
OK
.
R
ESULT
:
The role is removed and no longer associated with the group.
Summary of Contents for ZENWORKS PATCH MANAGEMENT 6.4 SP2 - SERVER
Page 1: ...User Guide ZENworks Patch Management 6 4 SP2 ...
Page 44: ...USING ZENWORKS PATCH MANAGEMENT 28 ...
Page 138: ...WORKING WITH DEPLOYMENTS 122 ...
Page 212: ...USING GROUPS 196 ...
Page 236: ...REPORTING 220 ...
Page 308: ...CONFIGURING DEFAULT BEHAVIOR 292 ...
Page 332: ...USING THE AGENT 316 The Agent Control Panel opens Figure 10 19 Agent Control Panel ...


