54
Chapter 10
The Edit List
Include Areas Where There is No
Image Data
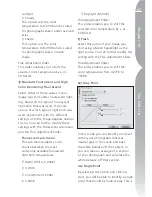
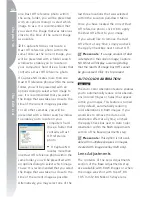
By default, the Include Areas Where
There is No Image Data option will be
turned off, cropping off any area where
image information is not present.
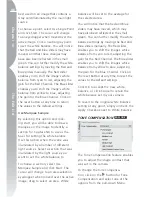
Turn the Include Areas Where There is
No Image Data option on to display the
full image, including areas where there
is no image data. This shows you the
full image after the fisheye-to-rectilin-
ear transformation. You will notice that
parts of the image have been curved to
transform the image into a rectilinear
image. Due to the process employed by
the fisheye-to-rectilinear transforma-
tion, there is more information along
the longest side of the image.
Some areas of the image will not
contain any image information due to
the transformation process.
Once you are satisfied with the result-
ing effect from the Fisheye Lens
feature, click OK. You can cancel this
feature at any time by clicking on the
Cancel button.
Light & Color Adjustments
The contents of the Light & Color
Adjustments section of the Base
Adjustments step can be applied to any
image, either NEF, JPEG, or TIFF format.
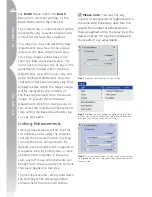
Please note:
Any feature applied
within the Light & Color Adjustments is
applied to the entire image and cannot be
adjusted using any of the Selective Tools.
The features located within the Light
& Color Adjustments Section are also
provided under the Menus, as well as in
the Adjust & Filter pull-down Menu of
Enhancement Steps of the Edit List. You
can selectively apply these features by
accessing them from either the Menus or
from the Adjust & Filter pull-down Menu.
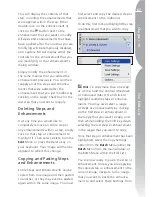
COLOR BALANCE
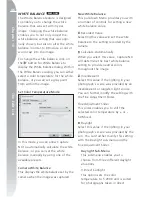
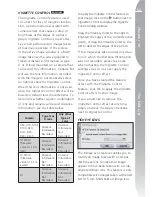
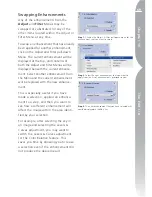
The Color Balance feature provides you
with simple controls for adjusting the
overall brightness, contrast, and color
balance of the entire image.
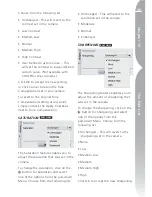
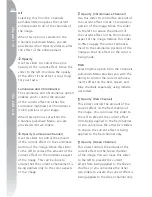
To apply the Color Balance feature, click
on the
button next to Color Balance to
display the Color Balance dialog.
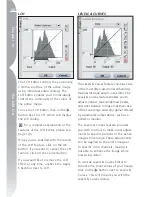
For a complete explanation of the
features of the Color Balance Tool,
please see page 150.
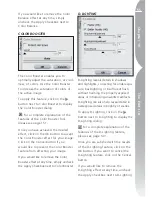
Once you have achieved the desired
effect, click on the OK button to accept
the Color Balance effect for your image.
Click on the Cancel button if you
would like to prevent the Color Balance
feature from affecting your image.
Summary of Contents for 25338
Page 1: ... N 5SER S ANUAL ...
Page 6: ...iv C h ap ter 1 Ta ble o f Co nte nts iv ...
Page 10: ...4 ...
Page 13: ...7 ...
Page 14: ...8 ...
Page 17: ...11 C h ap ter 3 U Po in t Te ch nol og y Before After ...
Page 21: ...15 ...
Page 22: ...16 ...
Page 33: ...27 ...
Page 34: ...28 ...
Page 41: ...35 ...
Page 42: ...36 ...
Page 44: ...38 ...
Page 46: ...40 ...
Page 48: ...42 ...
Page 76: ...70 ...
Page 79: ...73 ...
Page 80: ...74 ...
Page 85: ...79 ...
Page 86: ...80 C h ap ter 1 3 80 ...
Page 90: ...84 ...
Page 93: ...87 ...
Page 94: ...88 ...
Page 101: ...95 ...
Page 102: ...96 ...
Page 104: ...98 ...
Page 109: ...103 ...
Page 110: ...104 ...
Page 114: ...108 ...
Page 118: ...112 ...
Page 129: ...123 ...
Page 130: ...124 ...
Page 141: ...135 ...
Page 142: ...136 ...
Page 166: ...160 ...
Page 178: ...172 ...
Page 186: ...180 ...
Page 199: ...193 ...
Page 200: ...194 ...
Page 207: ...201 ...
Page 208: ...202 ...
Page 211: ...205 ...
Page 212: ...206 ...
Page 215: ...209 ...
Page 216: ...210 ...
Page 232: ...226 ...
Page 237: ...231 ...
Page 238: ...232 ...
Page 239: ......

