Configuring Your Server 4-13
Security
The Security menu appears if you move the cursor to the position of "Security."
Press
Enter
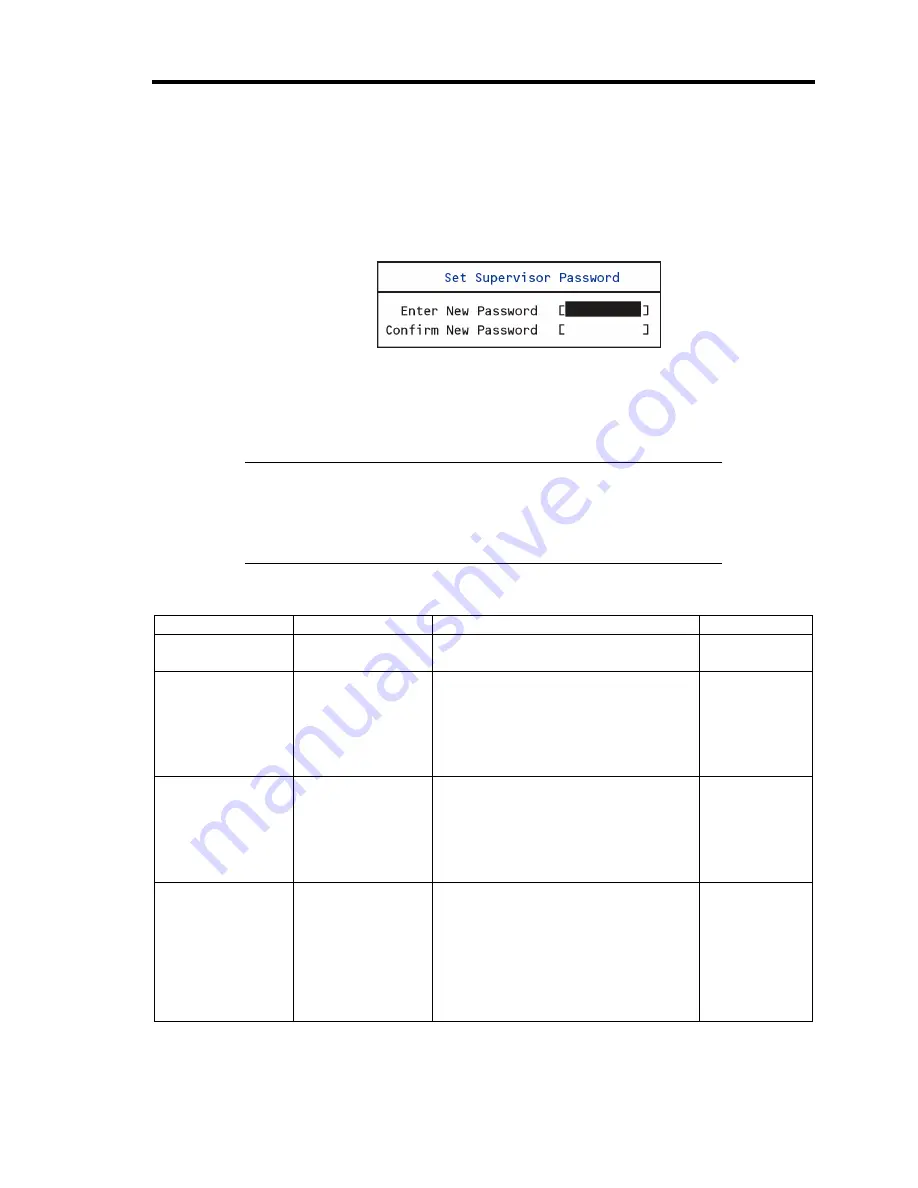
on "Set Supervisor Password" or "Set User Password," to display the following screen.
Enter the passwords on the dialog box. Passwords may have up to eight characters including
alphanumerics and symbols.
IMPORTANT:
User password can be set only when Supervisor password is already
set.
Set the passwords only after OS is installed.
See the table below for the items.
Option
Parameter
Description
Your Setting
Security Chip
Configuration
–
Security Chip Configuration submenu
is displayed.
Supervisor
Password Is
Clear
Set
Status only, user cannot modify.
Once set, this can be disabled by
setting it to a null string, or by clearing
password jumper on system board
(see Configuring Mother Board
Jumpers in this Chapter).
User Password Is
Clear
Set
Status only, user cannot modify.
Once set, this can be disabled by
setting it to a null string, or by clearing
password jumper on system board
(see Configuring Mother Board
Jumpers in this Chapter).
Set Supervisor
Password
Up to eight
alphanumerics
When the <Enter> key is pressed, the
user is prompted for a password;
press ESC key to abort. Once set, this
can be disabled by setting it to a null
string, or by clearing password jumper
on system board (refer to Configuring
Mother Board Jumpers in this
chapter).
Summary of Contents for Express5800/120Rj-2
Page 16: ...x This page is intentionally left blank ...
Page 19: ...Notes on Using Your Server 1 3 Internal View ...
Page 34: ...1 18 Notes on Using Your Server This page is intentionally left blank ...
Page 90: ...3 24 Setting Up Your Server This page is intentionally left blank ...
Page 164: ...4 74 Configuring Your Server 3 Setting menu for VD 0 is displayed ...
Page 172: ...4 82 Configuring Your Server This page is intentionally left blank ...
Page 240: ...7 12 Maintenance This page is intentionally left blank ...
Page 354: ...9 78 Upgrading Your Server This page is intentionally left blank ...
Page 364: ...C 2 IRQ This page is intentionally left blank ...
Page 412: ...E 24 Installing Windows Server 2003 This page is intentionally left blank ...
Page 414: ...F 2 Using a Client Computer Which Has a CD Drive This page is intentionally left blank ...
Page 418: ...G 4 Product Configuration Record Table This page is intentionally left blank ...


