4.6.3
Assigning Decks to the FX Unit and Bringing In the FX
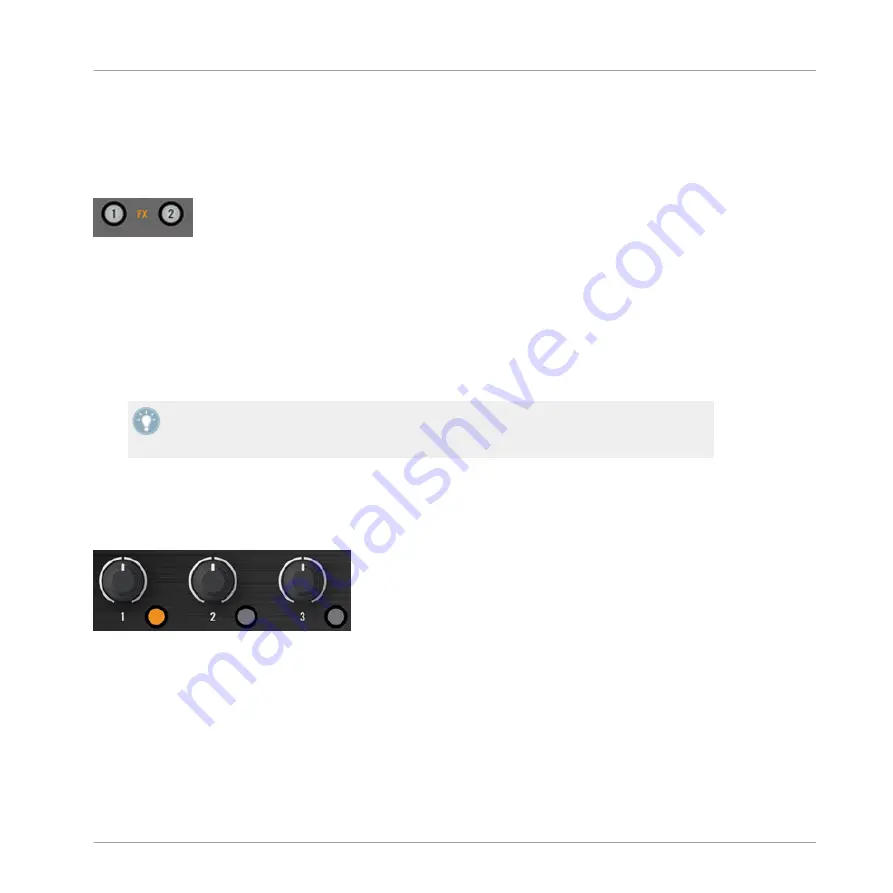
Now we need to assign this FX Unit to a Deck. To do this, we use the FX Assign buttons at the
top of each channel on the Mixer (below the
GAIN/FILTER
encoder):
The FX Assign buttons on each channel.
Let’s assign the FX Unit 1 to Deck B:
1.
Press the left FX Assign button (labeled “1”) on channel B to assign Deck B to the FX
Unit 1.
2.
Slowly turn the
DRY/WET
knob clockwise to bring in the FX.
→
You now hear the track on Deck B being processed by the FX Unit 1.
You can also assign another channel to the same FX Unit. For example, if you also want to
apply these FX to the samples loaded on Deck C or D, simply press the FX Assign button
“1” on the corresponding channel(s) in the software.
4.6.4
Controlling the FX Unit
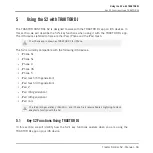
You can control each FX in this FX Unit by turning the respective FX Knob 1-3:
The FX Knobs 1-3.
►
Play around with the FX Knobs 1-3 and listen to the result on the audio. You can also
activate/deactivate each FX individually by pressing the corresponding FX Buttons 1-3 be-
low.
Changing the FX in a Slot
You can load another FX in each slot. Let’s switch the first FX slot to the Gater:
Tutorials
Adding FX
Traktor Kontrol S2 - Manual - 56
Summary of Contents for TRAKTOR KONTROL S2
Page 1: ...Manual...


