56
/132
MxEasy User Manual: Getting Started
© MOBOTIX AG • Security-Vision-Systems • Made in Germany
www.mobotix.com • [email protected]
•
Deleting time periods:
Select the window with the mouse and press the
delete
key
on the keyboard (or right-click the time period and choose
Remove
in the pop-up
menu) to delete a time period.
•
“Background” time period:
The areas that are not assigned to specific time periods
(times and days) fall into a collective time period. This period can also be assigned a
particular recording mode, alarm sensors and alarm notifications. Right-click outside
a defined time period in the calendar field and make the desired settings using the
pop-up menu (see following sections).
Hint
Make the settings for the “background” time period first. Then configure the indi-
vidual time periods.
Important
Selecting Time Periods
The settings for recording mode, alarm sensors and alarm notification described in
the following sections always apply to the time periods that are currently selected.
At least one time period is selected at all times: one or more explicitly defined time
periods or the background time period. You can select multiple time periods by click-
ing these areas while pressing down the
command key
. You can determine whether
or not areas are selected by noting their color: selected time periods are darker.
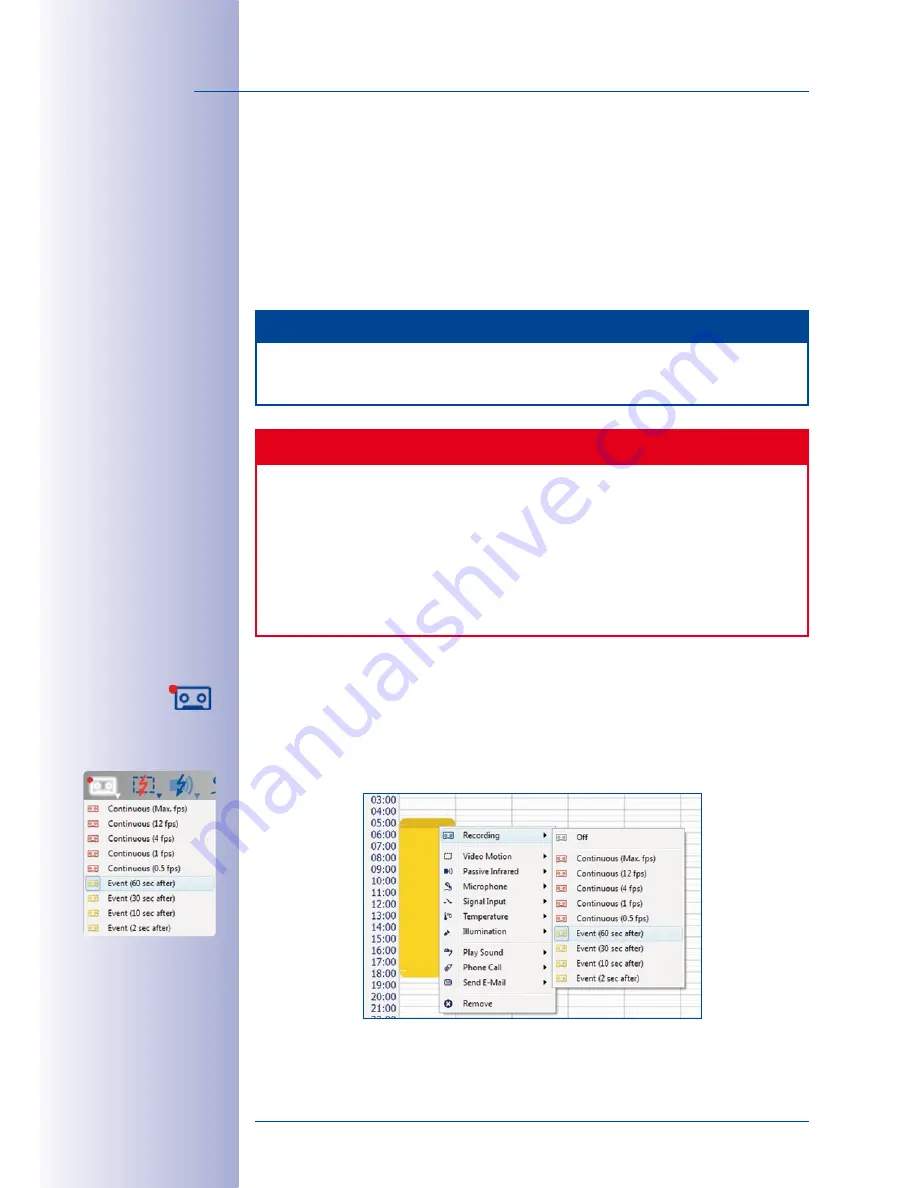
3.6.4 Setting The Recording Mode
You can set up a
continuous or event recording using the
pop-up menu of the time period
(right-click the time period). If you have activated a time window in the Alarm Planner, you
can also set up the recording mode for this window using the pop-up menu of the button
(right-click the button).
The camera continuously records data for
continuous recording
and for
event record-
ing
, the camera begins recording when an alarm sensor is triggered (see
Section 3.6.5,


