73
/132
Saving, Printing And Exporting
© MOBOTIX AG • Security-Vision-Systems • Made in Germany
www.mobotix.com • [email protected]
systems using different applications (see
Section 4.1.5, “Playing Back Exported
Audio/Video Data”.
Note
MxEasy can play back data server structures and MxPEG clips. You can do
this in the dialog located under
File > Open Clip
(see
Section 3.8, “Playing
Back And Evaluating The Recordings”).
5. Select the export settings (using the
Settings
button). You can now specify differ-
ent options for the export, including a
file size limit
as well as
audio
and
video
encoding options
with which you can define parameters such as the resolution
or video codec.
6. To start the export, click
Export
.
The time required for the export to fin-
ish depends on a number of factors,
including the processing speed of your
computer, length of the selected time
range, number and size of individual files
and type of recording (event or continu-
ous recording). In particular, converting
to an
*.avi
file can take a long time.
4.1.4 Export Options
When exporting the audio/video data, you can choose between different options depend-
ing on the export format selected in the
Export
dialog (
MxPEG clips
/
AVI clips
). Note that
File server structure
does not allow selecting any options. The preselected options pro-
vide for maximum compatibility of the exported data on the different operating systems
(Windows, Mac OS X, Linux).
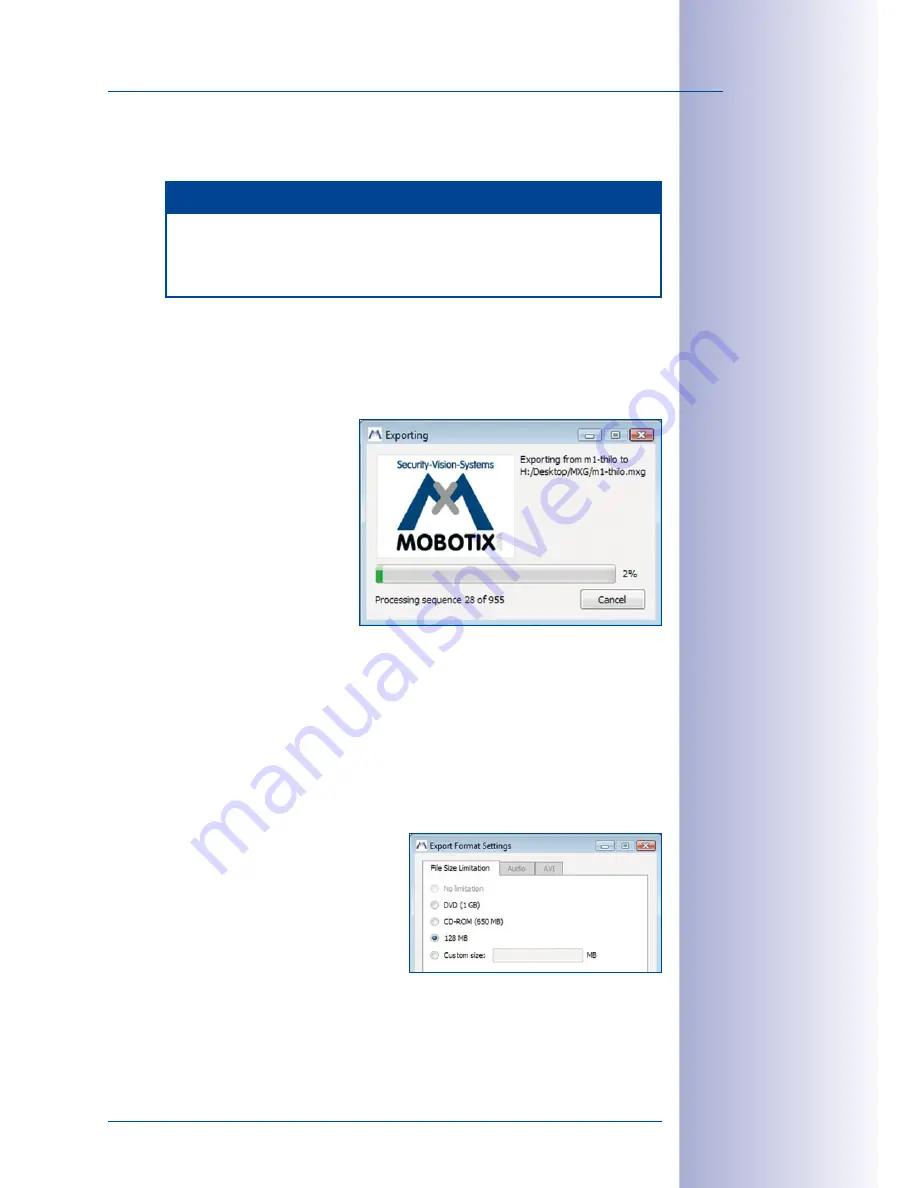
File Size
This tab allows setting the maximum size of
the individual files. If the data are larger than
specified here, MxEasy automatically creates
additional files with the same name and a run-
ning number.
You can set most of these options for
MxPEG
clips
and
AVI clips
.


