51
/132
Image Sections And Digital Zoom Functions (PTZ)
© MOBOTIX AG • Security-Vision-Systems • Made in Germany
www.mobotix.com • [email protected]
3.5.2 Panning And Tilting The Image Section
You can use the following features once you have defined an image section:
• Use the mouse to drag the zoomed image area in the desired direction.
• Press the arrow keys on the keyboard to drag the image section as desired.
• Move the joystick left, right, up or down to pan and tilt the image section as desired.
After you have defined the image section, you can save this view to be used later.
3.5.3 Digital Zoom In MxEasy And In The Camera
A digital zoom of an image is carried out in two steps:
1. Application zoom:
Often, the camera records images with a higher resolution (e.g. MEGA 1280 x 960 px)
than that of display in the MxEasy main window (e.g. VGA 640 x 480). In the display,
multiple pixels are combined,
reducing the size of the pixels
. Note that the digital appli-
cation zoom is active now.
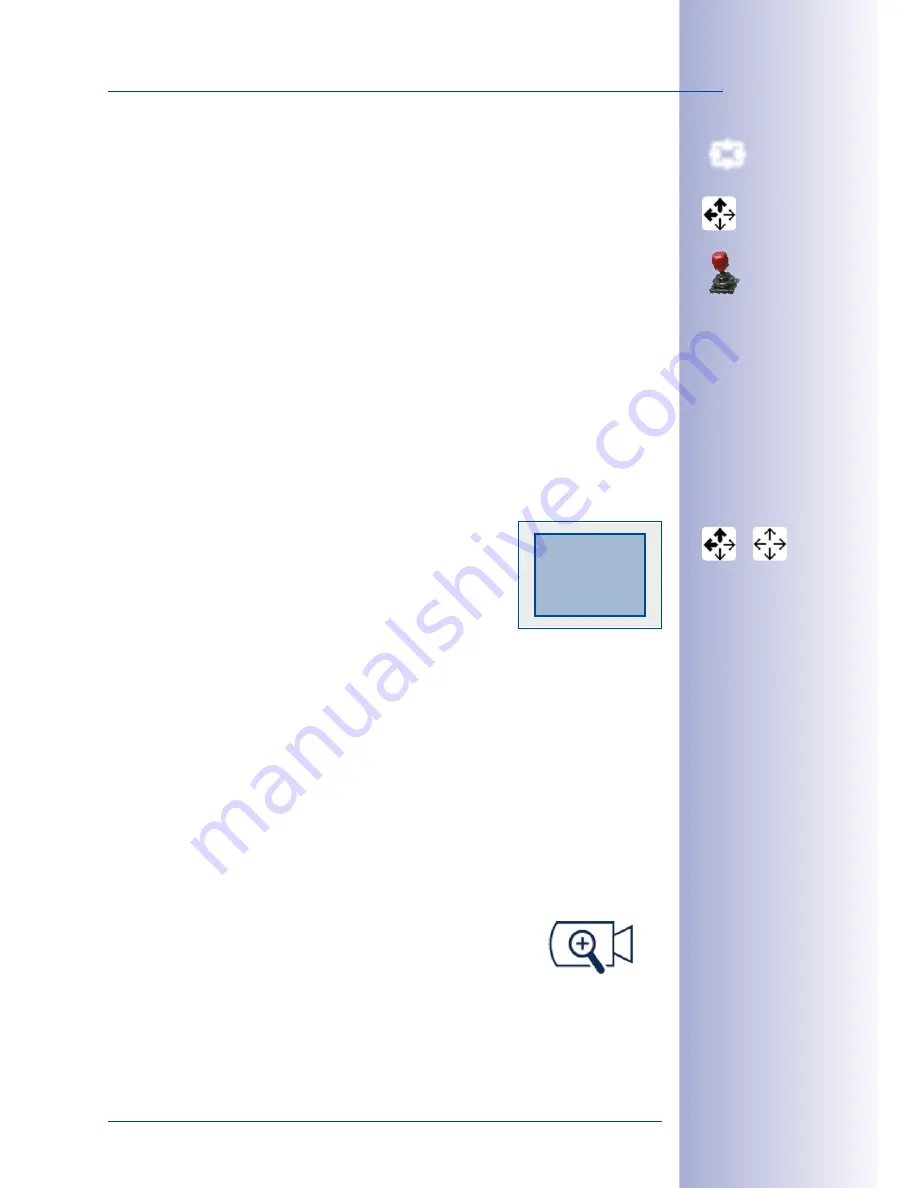
The software displays an
arrow cursor
over the live image. When
you move the mouse or the joystick, the highlighted black arrows
of the cursor indicate the direction in which the image is being
moved.
In this case, a digital zoom causes the main window to display
an image section instead of the entire camera image. This first step - the “application
zoom” - is visualized by a small rectangle in the upper right-hand corner of the image.
This visualization shows the displayed image within the entire camera image.
If you perform any panning or tilting commands while the image is zoomed, these motions
will only affect the area inside the entire camera image. These motions also are visualized
by the small rectangle.
As you continue to zoom, the application zoom is used until the selected section of the
camera image is as large as possible in the main window (until the pixels are no longer
reduced). The pixels will not be enlarged if you continue to zoom. Instead, the zoom func-
tion is taken over
by the camera
.
2. Camera zoom:
When zoom and PTZ commands are carried out inside the camera,
the camera reads and displays a smaller section of the image
sensor. This way, more pixels are available for displaying a smaller
image section and more details are visible. The transition from application zoom to camera
zoom and PTZ commands carried out by the camera is visualized in the upper right-hand
corner of the image, this time by a camera symbol instead of a rectangle.


