7-18 Structure and Assembly/Disassembly
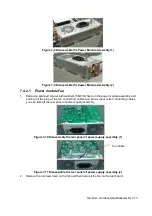
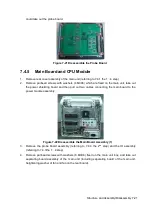
Figure 7-12 Disassemble the Power Module Fan
7.4.2.2
DC-DC Power Board
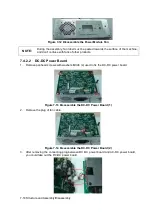
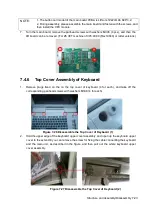
1. Remove panhead screws with washers M3X6 (4) used to fix the DC-DC power board.
Figure 7-13 Disassemble the DC-DC Power Board (1)
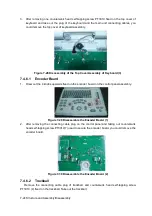
2. Remove the plug of fan cable.
Figure 7-14 Disassemble the DC-DC Power Board (2)
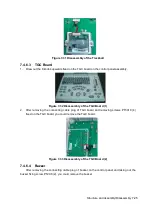
3. After removing the connecting plug between DC-DC power board and AC-DC power board,
you could take out the DC-DC power board.
NOTE:
During the assembly, fan label must be pasted towards the surface of the machine,
and don’t confuse with fans of other products.
Summary of Contents for Z6
Page 2: ......
Page 14: ......
Page 16: ...2 2 Product Specifications Left side 9 4 7 5 6 8 ...
Page 72: ......
Page 119: ...Structure and Assembly Disassembly 7 35 图 7 59 Disassembly of Speaker 8 ...
Page 120: ......
Page 132: ......
Page 142: ......
Page 152: ......
Page 168: ......
Page 171: ...Phantom Usage Illustration B 3 ...
Page 172: ......
Page 173: ...P N 046 010452 00 5 0 ...

