Disassembly Instructions
Repair Information
3 - 8
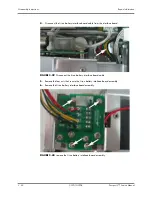
8.
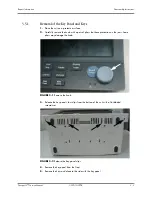
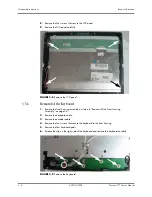
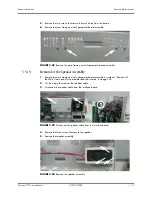
Remove the four screws that secure the LCD panel.
9.
Remove the LCD panel carefully.
FIGURE 3-8
Remove the LCD panel
3.5.6
Removal of the Keyboard
1.
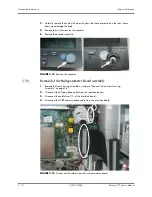
Remove the front housing assembly as stated in “Removal of the Front Housing
2.
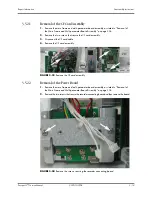
Remove the keyboard cable.
3.
Remove the encoder cable.
4.
Remove the four screws that secure the keyboard to the front housing.
5.
Remove the four keyboard pads.
6.
Release the clip on the right side of the keyboard and remove the keyboard carefully.
FIGURE 3-9
Remove the Keyboard


