6
1.2 Wiring
Preparation
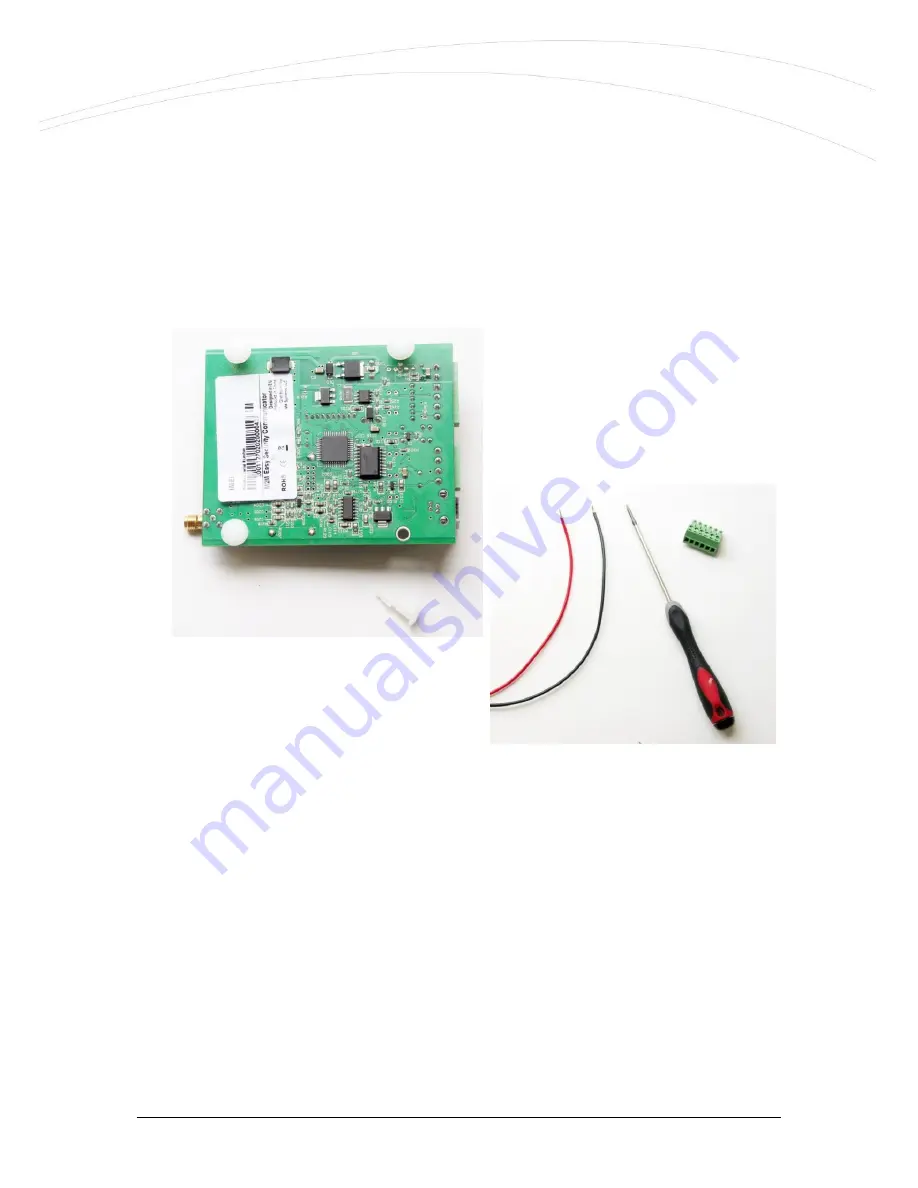
Take the 4 spacer fixing tabs provided with the device, and place them into the PCB holes as
shown in the picture.
Prepare a screwdriver, the 2 terminal blocks
provided with the device, and the stripped
wire pair necessary for connection, with
appropriate distinctive colors (power
connector
–
e.g. black-red, input-output wire
pairs
–
e.g. black-blue, alarm input
–
e.g.
black-white).
Connecting the inputs
The device has 2 input lines (
IN1, IN2
),
where sensors can be connected by connecting its wire pairs, in accordance with the standard
connection method shown below, by fixing the cable wire pairs for each input.
In case of voltage inputs make attention to the order of polarity (+/-), the assembly must be
done according to the inputs line titles (on PCB board). Take care for the proper position of the
input line jumpers.
The device is able to detect wire cut on its input lines.
The inputs may also be used for anti-sabotage purposes
–
e.g detecting/monitoring the
opening of the alarm system cover (magnetic switch).


