Operation
37
Subject to technical changes.
200114
BA-42820-02-V03
Water sampling station
EASYPRO
Operating instructions
3.
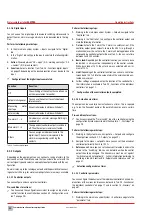
You can set the scaling of the individual trend display for every value
individually. Press on the “Scaling” tab, select a sensor and define
"minimum” and “maximum”.
ü
Trend display configured.
9.4 Manual mode
You can manually control a controller output in the menu item “Manual
mode” and set an output capacity between 0 and 100 %.
If a controller is in manual mode, this is indicated by a blue Y display in
the main view and by a hand icon.
Working in the menu item “Manual mode”, you can also switch the auto-
matic switching of the setpoints on or off (see section 9.6 „Setpoints and
reference sets“ on page 41).
9.5 Calibration
i
New electrodes or initial start-up requires the renewed cali-
bration of all measuring cells after 1 - 2 days initial running
time.
You must first calibrate the sensors before you can detect the correct
measured values. All calibration processes in the device are monitored
for plausibility (zero point and slope) and the measured values document-
ed. Measured values resulting from an uncalibrated sensor are marked in
the main overview. In this case, the measured values are displayed in red.
If the measurement input is displayed individually in the main view, the
information “Calibration not OK” will be displayed.
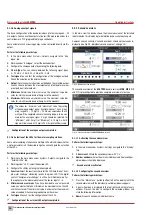
The current calibration and slope can be found in the “Calibration” menu
in the “Overview” tab.
9.5.1 Calibrating a double version water sampling station
The functions of the water sampling stations
EASYPRO 1/1
,
2/2
,
MBB-C
and
MEE-C
correspond to those of the water sampling stations
EASYPRO
1
,
2
,
MB-C
and
ME-C
, but enable users to control an additional process.
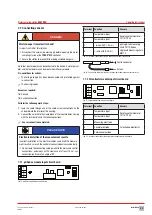
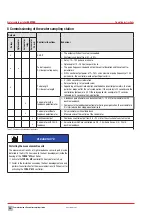
PLEASE NOTE
Avoid incorrect calibration!
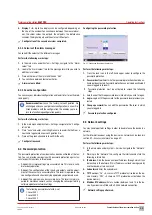
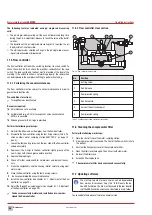
Comply with the numbering sequence when calibrating and replacing
the measuring cells.
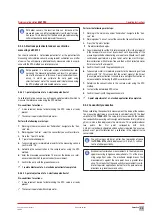
ð
Select measuring cells 1 and 3 for the left-hand area.
ð
Select measuring cells 2 and 4 for the right-hand area.
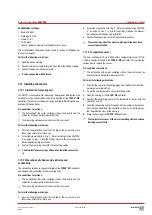
Fig. 32: View of the
EASYPRO
water sampling station as a double version
9.5.2 pH single-rod measuring cell
Calibration of the pH single-rod measuring cell can be performed as a
2-point calibration with 2 buffer solutions or a single point calibration
with subsequent input of the slope of the sensor.
The actual voltage of the single-rod measuring cell and the ideal value of
the set buffer solution is displayed during calibration.
The response time for a new single-rod measuring chain is a few sec-
onds and is set when the physical reading becomes stable. Older sin-
gle-rod measuring cells can have a longer reaction time.
i
To perform the calibration performed here, you will require a
buffer solution with a known pH value. Buffer solutions have a
restricted storage life and their pH value changes depending
on their duration of storage and the storage conditions.
Comply with the manufacturer’s instructions pertaining to the
correct storage; use buffer solutions only within the scope of
their life period and never submerge a sensor in a buffer solu-
tion immediately after removing it from a different buffer solu-
tion.
9.5.2.1 2-point adjustment of the pH value
Pre-conditions for actions:
ü
Two different buffer solutions are ready.
ü
The sensor is clean.
Perform the following work steps:
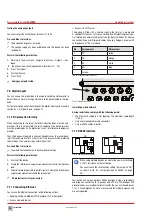
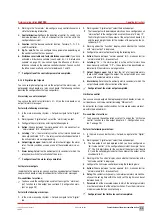
1.
Working in the main menu under “Calibration”, navigate to the “Sen-
sors” tab.
2.
Working under “sensor”, select the sensor that measures the pH val-
ue and which you wish to calibrate.
3.
Press the “2 points” button.
4
2-point calibration begins.
4.
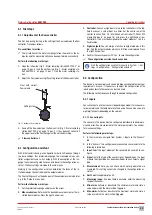
Shut off the sample water of the sensor block.
5.
Unscrew the pH single-rod measuring cell from the sensor block.
6.
Rinse the pH single-rod measuring cell with water and dab it dry.
Rubbing can cause electrical discharge on the glass membrane,
which results in a delayed display.
7.
Hold the dry pH single-rod measuring cell in the first buffer solution.
It is not important, which of the two buffer solutions you start with.
4
3
2
1

