Installation
21
Subject to technical changes.
200114
BA-42820-02-V03
Water sampling station
EASYPRO
Operating instructions
7.4 Installation multi-channel controller TOPAX
®
MC
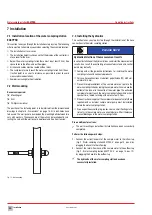
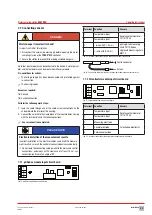
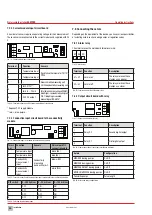
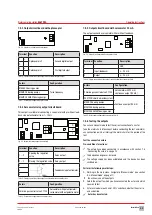
Make sure that the installation location complies with the following re-
quirements:
n
The display is easily accessible and is visible.
n
Plan to leave min. 20 cm free space for the installation of the cable
underneath the device. You must be able to install the cable without
kinking or damage.
n
Various lines (e.g. voltage supply, data cable and sensitive lines for
measuring purposes) must be installed separately. The different lines
should only cross at 90° so as to prevent falsifications.
n
Electrical, magnetic and electromagnetic fields affect signal transmis-
sion and can destroy electronic components.
n
Compliance with the permissible ambient temperatures (see section 5
„Technical data“ on page 12).
7.5 Electrical installation
The voltage supply to your device can now be performed via a normal
Schuko plug or a control cabinet. Perform the specifications of this sec-
tion for devices without a pre-fitted Schuko plug.
Pre-conditions for actions:
ü
The device was installed in accordance with section 7.2 „Wall
mounting“ on page 20.
ü
A voltage supply with 100 − 240 V AC (50/60 Hz) is available.
ü
The voltage supply is deactivated before the start and secured
against reactivation.
ü
The housing is open.
Resources required:
@
Schuko plug
@
Wire end sleeves 0.75 − 2.5 mm²
DANGER!
Mortal danger from electric shock!
Improperly installed or damaged components in the electronics instal-
lation can cause injury.
ð
Ensure that all work on the electrical installation is performed by a
qualified electrician.
ð
Ensure that all work on the electrical installation is performed in a
de-energised state.
ð
Ensure that the power supply is secured with a fault current prote-
ctive circuit.
ð
Replace damaged cables or components without delay.
Perform the following work steps:
1.
Fit wire end sleeve to the cable ends if the supply cable does not
have them.
2.
Open the device housing.
3.
Lead the supply cable through a cable screw connection to the un-
derside of the device.
4.
Turn the cable screw connection union nut until the line is fixed in the
screw connection so that the screw connection performs strain relief.
Ensure that the feed cable is installed loosely.
5.
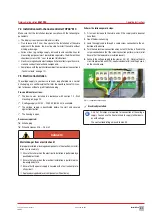
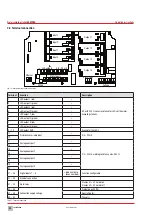
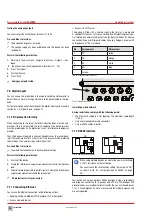
Connect the voltage supply to the clamps 44 − 52. Observe the divi-
sion into protective earth (PE), neutral conductor (N) and the phase (L)
on the circuit board.
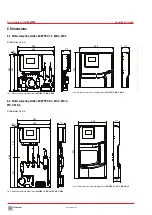
Fig. 13: Connected voltage supply
ü
Electrically installed
i
Only 3 of 9 clamps are required for connection of the voltage
supply. You can use the free terminals to supply further devic-
es with voltage.
The contact load rating amounts to max. 4A.

