11. Select
Exit
to save the route and return to the
chart application.
Note:
If you place a waypoint at the wrong
position, select
Undo Waypoint
.
Building a route using the waypoint list
From the chart application:
1. Select
Menu
.
2. Select
Navigate
.
3. Select
Build Route
.
The build route menu is displayed.
4. Select
Use WPT List
.
The waypoint list is displayed.
5. Select the required waypoint.
You will be taken back to the build route menu.
6. Add subsequent waypoints to the route.
The route is saved and displayed as each
waypoint is placed.
7. When your route is complete select
Finish Build
.
The finish route build pop up message is
displayed.
8. Select
Follow
to immediately follow the route. or
9. Select
Edit
to change the route name or change
the route color. or
10. Select
Exit
to save the route and return to the
chart application.
Note:
If you select the wrong waypoint, select
Undo Waypoint
from the route menu.
Adjusting chart range while building a route
From the Build Route menu:
1. Use the on-screen
Range In
and
Range Out
icons to range in and out of the chart.
Adjusting the chart range while building a
route
From the Build Route menu:
1. Use the
Range In
and
Range Out
buttons to
range in and out of the chart.
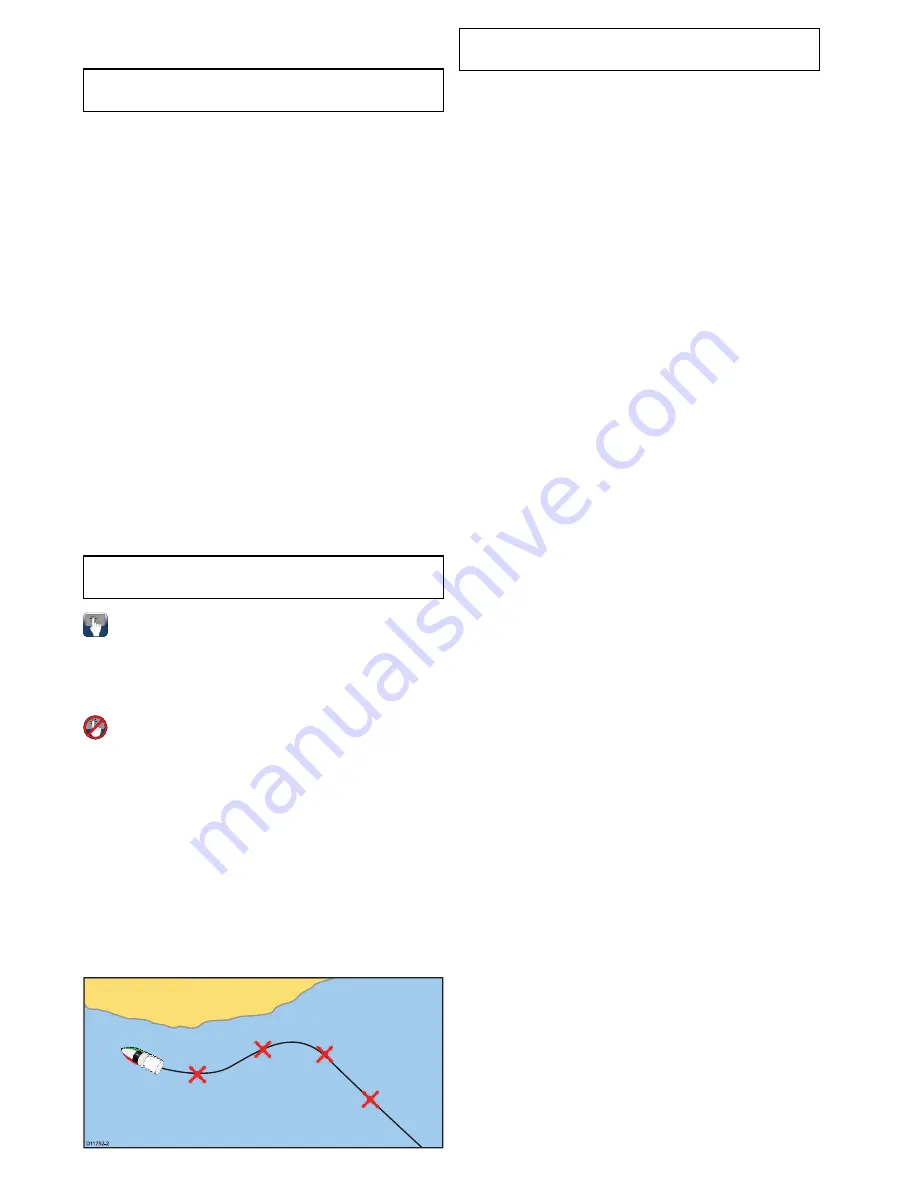
Build a route from a track
You can create a route from a recorded track.
When a track is converted the system creates the
closest route through the recorded track, using the
minimum number of waypoints. Each waypoint
created will be saved with the depth and temperature
data (if applicable) for that position.
D
11752-2
Note:
If a track break occurs, only the last segment
is converted to a route.
Building a route from a track
From the Track List:
• accessed from the homescreen:
My Data >
Tracks
• accessed from the chart application:
Menu > My
Data > Tracks
1. Select the Track you want to convert to a route.
The track options dialog is displayed.
2. Select
Create Route From Track
.
On completion, the maximum deviation of the
route from the recorded track is displayed in a
dialog and the new route is added to the route list.
It can now be displayed, edited and erased etc.
in the same way as other routes in the system.
3. Select
Ok
to confirm.
4. Select
Edit
to change the name and line color of
the created route.
Building a route from a track displayed on the
chart
From the chart application:
1. Select the required track.
The track context menu is displayed.
2. Select
Create Route From Track
.
On completion, the maximum deviation of the
route from the recorded track is displayed in a
pop up message and the new route is added to
the route list. It can now be displayed, edited
and erased etc. in the same way as other routes
in the system.
3. Select
Ok
to confirm.
4. Select
Edit
to change the name and line color of
the created route.
208
gS Series
Summary of Contents for Raymarine gS 195
Page 2: ......
Page 26: ...26 gS Series...
Page 43: ...D 36 mm 1 4 in E 39 2 mm 1 5 in F 90 mm 3 5 in Planning the installation 43...
Page 44: ...44 gS Series...
Page 110: ...110 gS Series...
Page 146: ...146 gS Series...
Page 174: ...174 gS Series...
Page 178: ...178 gS Series...
Page 196: ...196 gS Series...
Page 218: ...218 gS Series...
Page 328: ...328 gS Series...
Page 362: ...362 gS Series...
Page 418: ...418 gS Series...
Page 438: ...438 gS Series...
Page 439: ......
Page 440: ...www raymarine com...


