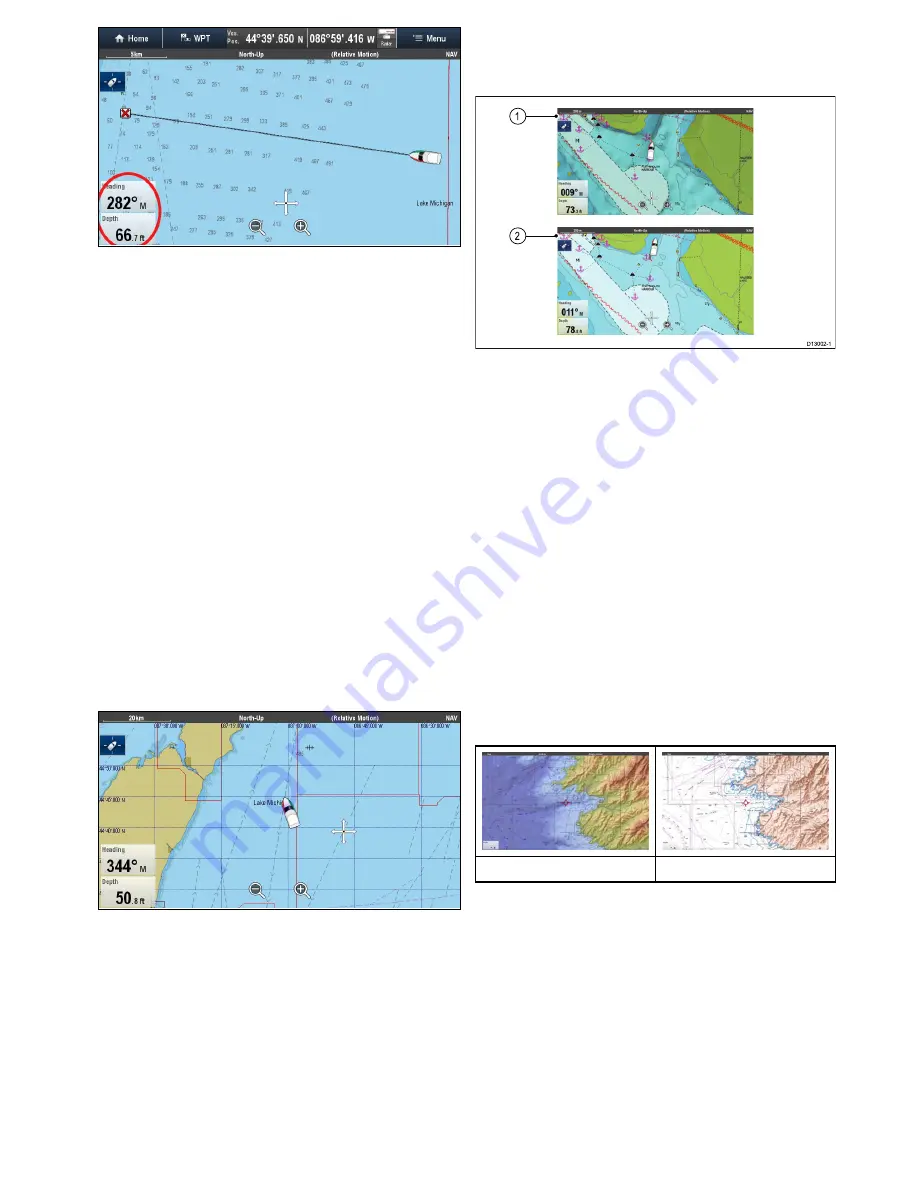
Customizing databoxes in the chart application
To switch databoxes on and off and to select data to
display follow the steps below.
From the Chart application menu:
1. Select
Presentation
.
2. Select
Overlay
.
3. Select
Databoxes
.
4. Select
Databox 1 > On
.
5. Select
Databox 2 > On
.
6. Choose the
Select Data
option for the relevant
databox.
7. Select the category that reflects the type of data
you want to display in the databox. For example,
Depth data.
8. Select the data item.
The data you selected is displayed onscreen in
the appropriate databox.
Chart grid
You can overlay a grid onto the Chart application
The Chart grid represents the lines of latitude and
longitude.
By default the Chart grid is switched off.
Switching the chart grid on and off
The Chart grid can be switched on and off by
following the steps below.
From the Chart application menu:
1. Select
Presentation
.
2. Select
Overlays
.
3. Select
Chart Grid:
so that On is selected to turn
the grid on, or
4. Select
Chart Grid:
so that Off is selected to turn
the grid off.
2D shading
If supported by your cartography type, you can
switch shading of land and sea contours on and off.
D13002-1
1
2
1.
2D shading On.
2.
2D shading Off
By default 2D shading is switched on.
Switching 2D shading on and off
2D shading can be switched on and off by following
the steps below.
From the Chart application menu:
1. Select
Presentation
.
2. Select
Overlays
.
3. Select
2D Shading:
so that On is selected to
turn the shading on, or
4. Select
2D Shading:
so that Off is selected to
turn the shading off.
Relief shading
Relief shading is available when using
Jeppesen
®
cartography and provides an overlay that indicates
the depth and altitude of terrain.
Relief shading On
Relief Shading Off
Switching relief shading on and off
From the
Overlays
menu:
Menu > Presentation
> Overlays
.
1. Select
Relief Shading:
so that On is selected to
turn the shading on, or
2. Select
Relief Shading:
so that Off is selected
to turn the shading off.
Chart application
237
Summary of Contents for Raymarine gS 195
Page 2: ......
Page 26: ...26 gS Series...
Page 43: ...D 36 mm 1 4 in E 39 2 mm 1 5 in F 90 mm 3 5 in Planning the installation 43...
Page 44: ...44 gS Series...
Page 110: ...110 gS Series...
Page 146: ...146 gS Series...
Page 174: ...174 gS Series...
Page 178: ...178 gS Series...
Page 196: ...196 gS Series...
Page 218: ...218 gS Series...
Page 328: ...328 gS Series...
Page 362: ...362 gS Series...
Page 418: ...418 gS Series...
Page 438: ...438 gS Series...
Page 439: ......
Page 440: ...www raymarine com...


