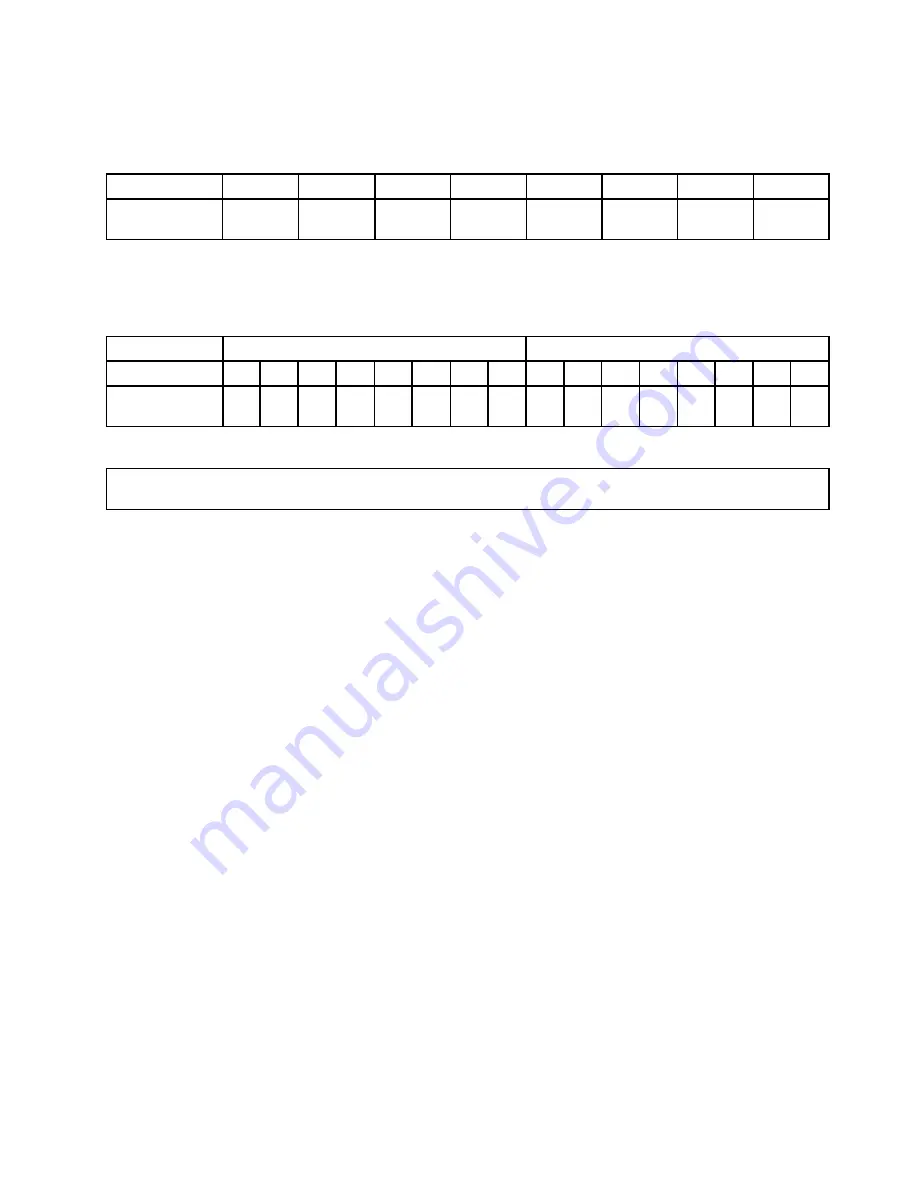
The following table explains the memory module installation order for servers that have only one
microprocessor (CPU1) installed.
Table 10. Memory module installation order in lockstep mode for servers with one microprocessor
CPU1 DIMM
A1
A2
B1
B2
C1
C2
D1
D2
DIMM
installation order
1
5
2
6
3
7
4
8
The following table explains the memory module installation order for servers that have two microprocessors
(CPU1 and CPU2) installed.
Table 11. Memory module installation order in lockstep mode for servers with two microprocessors
CPU1 DIMM
CPU2 DIMM
A1
A2
B1
B2
C1
C2
D1
D2
A1
A2
B1
B2
C1
C2
D1
D2
DIMM
installation order
1
9
2
10
5
13
6
14
3
11
4
12
7
15
8
16
Installing a memory module
Attention:
Do not open your server or attempt any repair before reading and understanding “Safety information”
on page iii and “Guidelines” on page 67.
Before you begin, print all the related instructions or ensure that you can view the PDF version on another
computer for reference.
Notes:
• To optimize system performance, ensure that you follow the memory module installation rules when
performing the operation. See “Memory module installation rules” on page 80.
• Use any documentation that comes with the memory module and follow those instructions in addition to
the instructions in this topic.
To install a memory module, do the following:
1. Remove all external media from the drives and turn off all attached devices and the server. Then,
disconnect all power cords from electrical outlets and disconnect all cables that are connected to
the server.
2. If the server is installed in a rack cabinet, remove the server from the rack cabinet and place it on a flat,
clean, and static-protective surface. See the
Rack Installation Instructions
that comes with the server. If
the server is in tower form factor, lay the server on its side for easier operation.
3. Remove the server cover. See “Removing the server cover” on page 70.
4. Remove the cooling shroud. See “Removing the cooling shroud” on page 73.
5. Locate the memory slots on the system board. See “System board components” on page 44.
6. Remove any parts and disconnect any cables that might prevent your access to the memory slots.
Chapter 6
.
Replacing hardware
85
Summary of Contents for ThinkServer TD350 70DG
Page 14: ...xii ThinkServer TD350 User Guide and Hardware Maintenance Manual ...
Page 18: ...4 ThinkServer TD350 User Guide and Hardware Maintenance Manual ...
Page 20: ...6 ThinkServer TD350 User Guide and Hardware Maintenance Manual ...
Page 66: ...52 ThinkServer TD350 User Guide and Hardware Maintenance Manual ...
Page 192: ...178 ThinkServer TD350 User Guide and Hardware Maintenance Manual ...
Page 202: ...188 ThinkServer TD350 User Guide and Hardware Maintenance Manual ...
Page 217: ...guidelines 69 Copyright Lenovo 2014 2015 203 ...
Page 218: ...204 ThinkServer TD350 User Guide and Hardware Maintenance Manual ...
Page 219: ......
Page 220: ......


