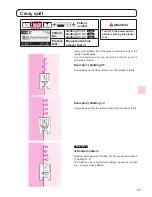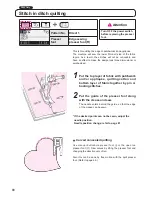
51
5
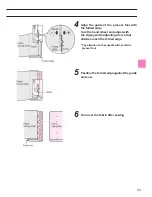
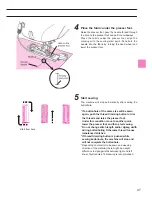
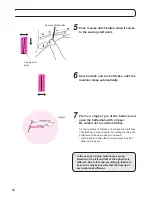
Push reverse stitch button when it comes
to the sewing start point.
Sewing start
point
Stopper pin
Ripper
6
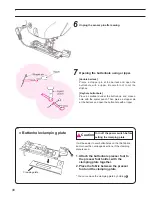
Sew bartack and lock stitches until the
machine stops automatically.
7
Pierce a stopper pin at the bartack and
open the buttonhole with a ripper.
Be careful not to cut the stitches.
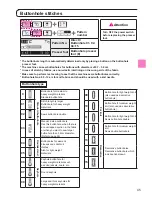
As the numbers of stitches of both right and left lines
of buttonhole is memorized in the sewing machine, the
buttonhole of the same size can be sewn.
* If you want to change the memory, select the stitch
pattern once again.
Reverse stitch button
* In the case of a 2-step buttonhole, sewing
direction of the left and that of the right side is
different. Due to this and according to fabrics to
be sewn, it may be possible that the density of
each side looks different.
53
52
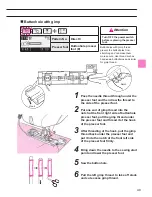
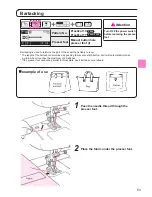
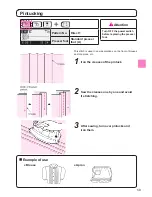
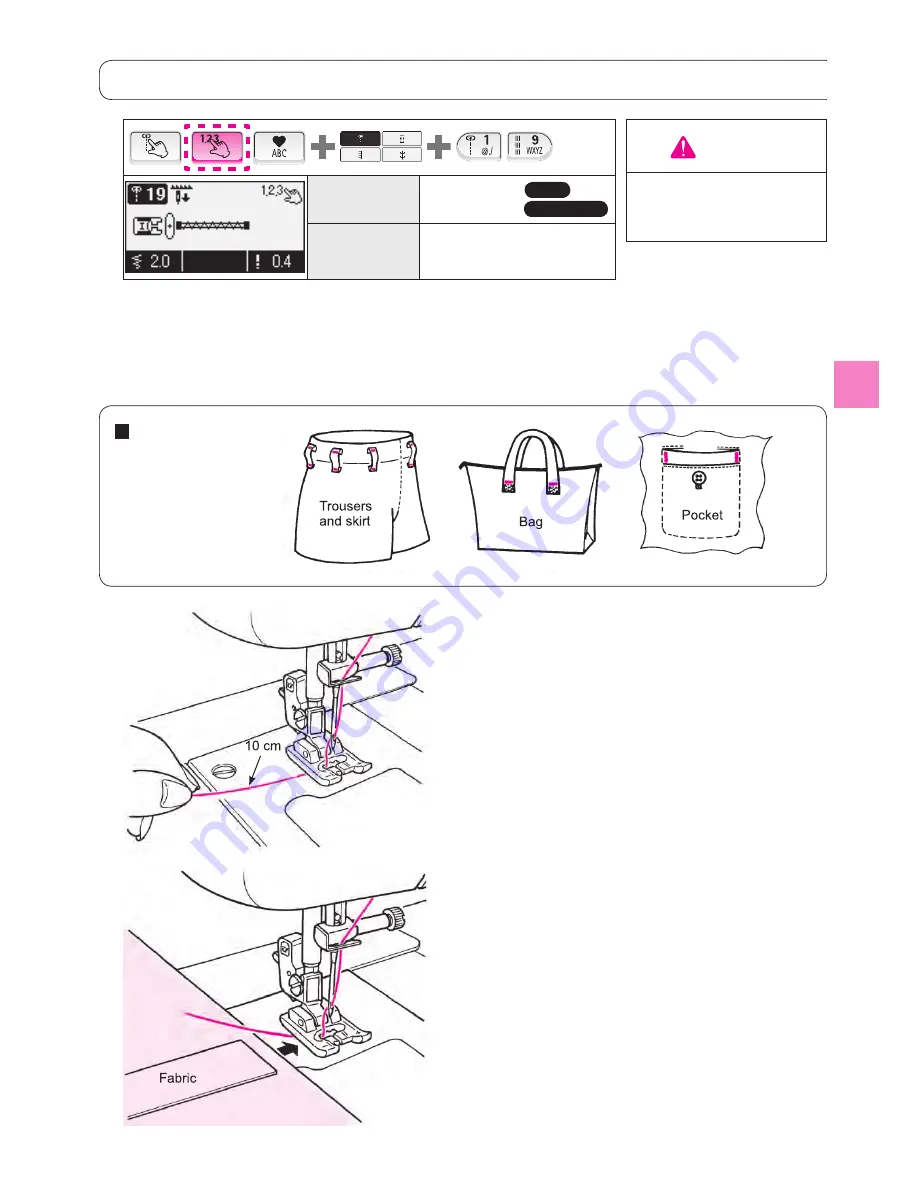
Bartacking
Bartacking is used to reinforce the part of the seam that is likely to ravel.
* The length of the bartack is determined by pushing the reverse stitch button, but it will automatically make
a u-turn when it reaches the maximum of 20 stitches.
* If the presser foot cannot be parallel to throat plate, use
fi
ller fabric or cardboard.
Fabric
example of use
Trousers
and skirt
Bag
2
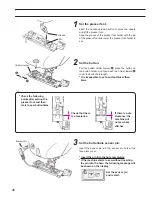
Place the fabric under the presser foot.
10 cm
1
Pass the needle thread through the
presser foot.
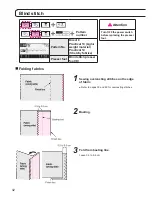
Pattern No. Practical 19
Practical 17
Presser foot Manual buttonhole
presser foot (I)
Attention
F400 / F300
F600
Turn OFF the power switch
before replacing the presser
foot.
Summary of Contents for HZL-600
Page 2: ......
Page 12: ...10 ...
Page 75: ...73 ...
Page 100: ...List of stitch patterns 97 F600 Patterns for crazy quilt 98 ...
Page 101: ...Pattern for elongation 98 Letters numbers signs One point 99 ...
Page 102: ...List of stitch patterns 99 F400 100 ...
Page 103: ...100 One point Pattern for elongation Letters numbers signs 101 ...
Page 104: ...List of stitch patterns 101 F300 102 ...
Page 105: ...102 One point Pattern for elongation Letters numbers signs 103 ...
Page 107: ......

