
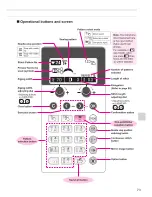
73
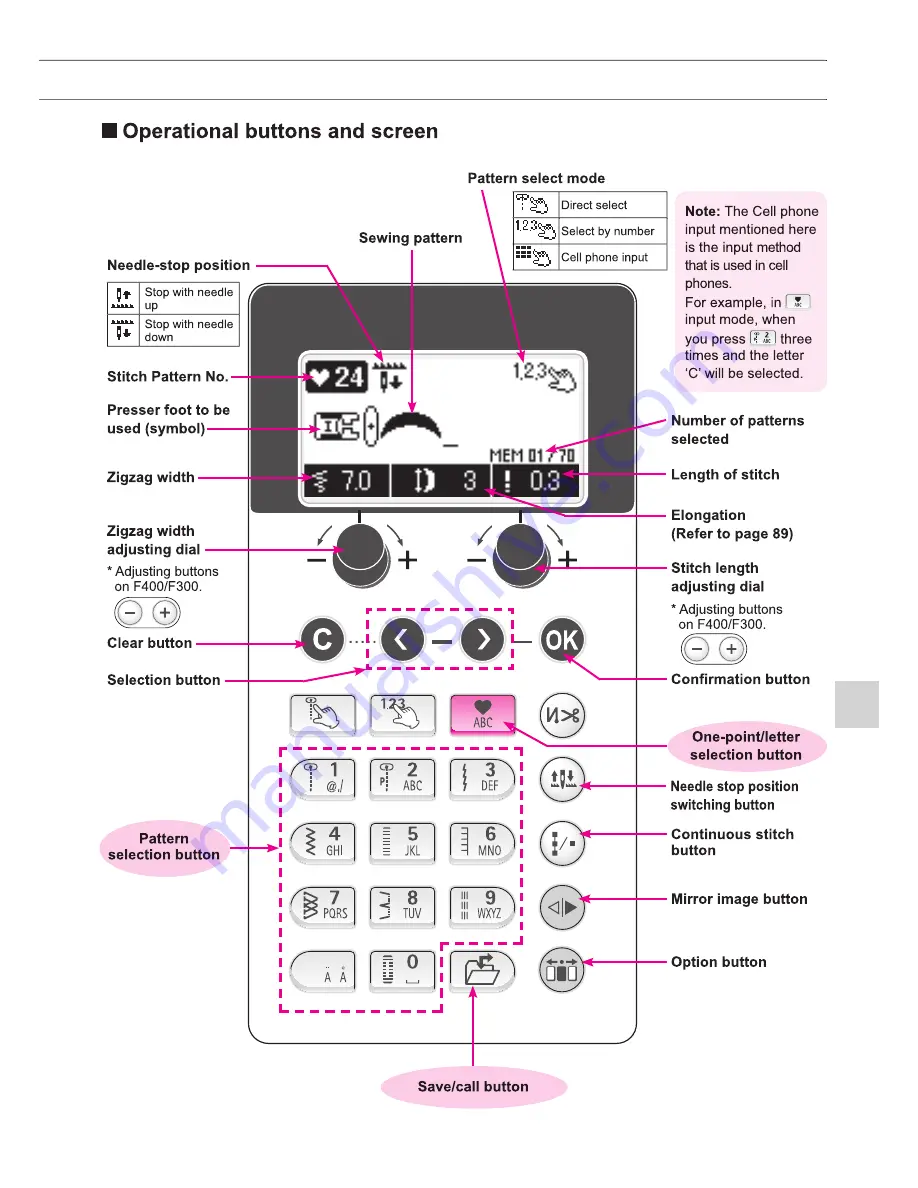
Pattern adjustment dial
71
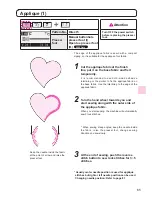
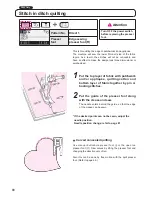
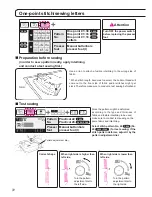
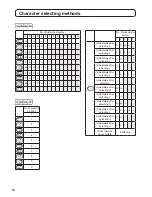
One-point stitch/sewing letters
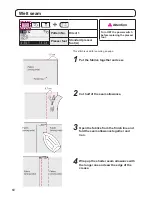
(in order to sew a pattern neatly, apply interlining
and conduct a test sewing first.)
Use an iron to attach a fusible interlining to the wrong side of
fabric.
* When stitch length becomes too small, the bobbin thread will
come out to the front side of fabric and/or stitches might get
stuck. Therefore make sure to conduct a test sewing beforehand.
Fabric
Since the pattern might be deformed
according to the type and thickness of
fabric and fusible interlining to be used,
make sure to conduct test sewing on the
same fabric and interlining.
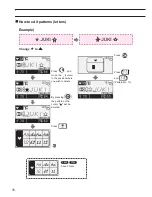
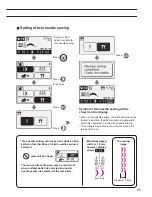
Select stitch pattern N
o.
22
F600
(No
.
20
F400 / F300
)
for test sewing; If the
stitch pattern deforms, adjust it by the
pattern adjustment dial.
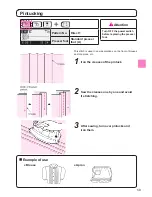
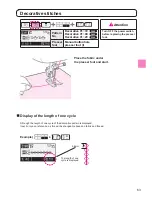
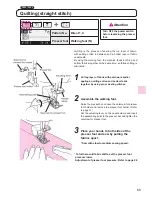
Preparation before sewing
Correct shape
Test sewing
When right side is higher than
left side,
When right side is lower than
left side,
Turn the pattern
adjustment dial to
the left side.
Turn the pattern
adjustment dial to
the right side.
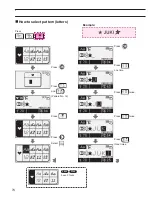
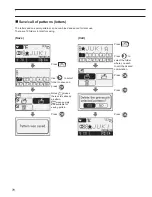
Pattern
No.
One point 01~38
One point 01~33
One point 01~18
Letters
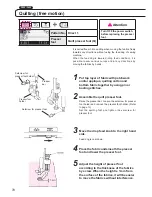
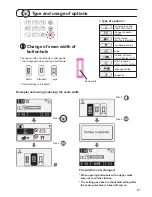
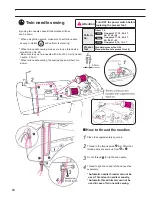
Presser
foot
Manual buttonhole
presser foot (I)
Pattern
No.
Practical
22
Practical
20
Presser
foot
Manual buttonhole
presser foot (I)
F600
F400
F300
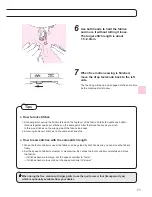
Attention
F600
F400
F300
F400 / F300
F600
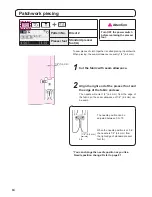
Turn OFF the power switch
before replacing the presser
foot.
Summary of Contents for HZL-600
Page 2: ......
Page 12: ...10 ...
Page 75: ...73 ...
Page 100: ...List of stitch patterns 97 F600 Patterns for crazy quilt 98 ...
Page 101: ...Pattern for elongation 98 Letters numbers signs One point 99 ...
Page 102: ...List of stitch patterns 99 F400 100 ...
Page 103: ...100 One point Pattern for elongation Letters numbers signs 101 ...
Page 104: ...List of stitch patterns 101 F300 102 ...
Page 105: ...102 One point Pattern for elongation Letters numbers signs 103 ...
Page 107: ......


