43
43
43
43
The second decision will determine if the drive can be used exclusively for recording audio or exclusively for
archiving audio. This allows RADAR
24 to treat the drives differently and prevent accidental erasure or
alteration of archived data.
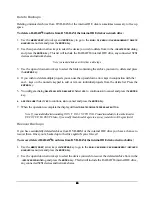
To initialize a disk:
1. Use
the
MENU/PREV
, arrow keys and
ENTER
key to go to the
MAIN / DIAG MENU /
INIT DISK
dialog and press the
ENTER
key.
2. Select the SCSI ID number of the disk that you wish to initialize.
3. When prompted with the question
INIT DISK X?
use the right and left arrow keys to select
YES
and press the
ENTER
key.
4. If this drive will be used for archiving select
YES
at the
INIT FOR BACK UP?
prompt, otherwise select
NO
and
press the
ENTER
key.
5. If you wish to see waveforms displayed in
RADAR View
select
YES
at the
INIT FOR WAVES?
prompt,
otherwise select
NO
and press the
ENTER
key.
6. Before initializing proceeds the
ERASE OLD DATA?
prompt appears as a last warning to ensure that you really
want to perform this operation. Select
YES
and press the
ENTER
key to proceed with the initialization.
Check Disk
The
CHECK DISK
routine performs a check of the selected SCSI drive and reports any errors found in the file
system including the FAT and directory structure of the disk. This function is safe and will not alter the data
on the selected disk at all. The resulting report can be viewed in either the
Session Controller
or
RADAR
View
displays and can also be output to a text file as a part of the debug file. See O
PERATIONS
: D
ISK
D
IAGNOSTICS
: S
AVE
D
EBUG
for more details.
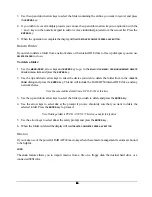
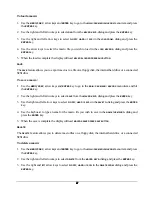
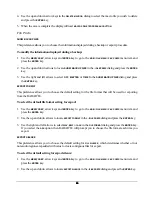
To check a SCSI disk:
1. Use
the
MENU/PREV
, arrow keys and
ENTER
key to go to the
MAIN / DIAG MENU /
CHECK DISK
dialog and press
the
ENTER
key.
2. Use the up and down arrow keys to select the SCSI ID that corresponds to the drive you wish to check
and press the
ENTER
key.
3. Select
YES
to the
CHECK DISK X?
prompt and press the
ENTER
key.
4. The check will proceed. The disk will be un-mounted and re-mounted and a report will be generated and
displayed in the
DISK ERRORS:
dialog. To view the details use the up and down arrow keys to scroll through
the list. This information will be stored in the debug file that can be saved and sent to iZ technical support
if required. See O
PERATIONS
: D
ISK
D
IAGNOSTICS
: S
AVE
D
EBUG
for more details.
5. Press
the
CANCEL
key to resume normal operation.

