EonStor S12E-R1132-4/G1133-2 Installation and Hardware Reference Manual
Work Procedures:
Case 1
: Upgrade memory in a single-controller system (512MB to
1/2GB)
1-1.
Shut down host computer(s).
1-2.
Power OFF the RAID system.
1-3.
Remove the RAID controller and replace its memory with a
1GB or 2GB DIMM.
1-4.
Restore firmware defaults using the Restore Default button
or the LCD keypad panel.
1-5.
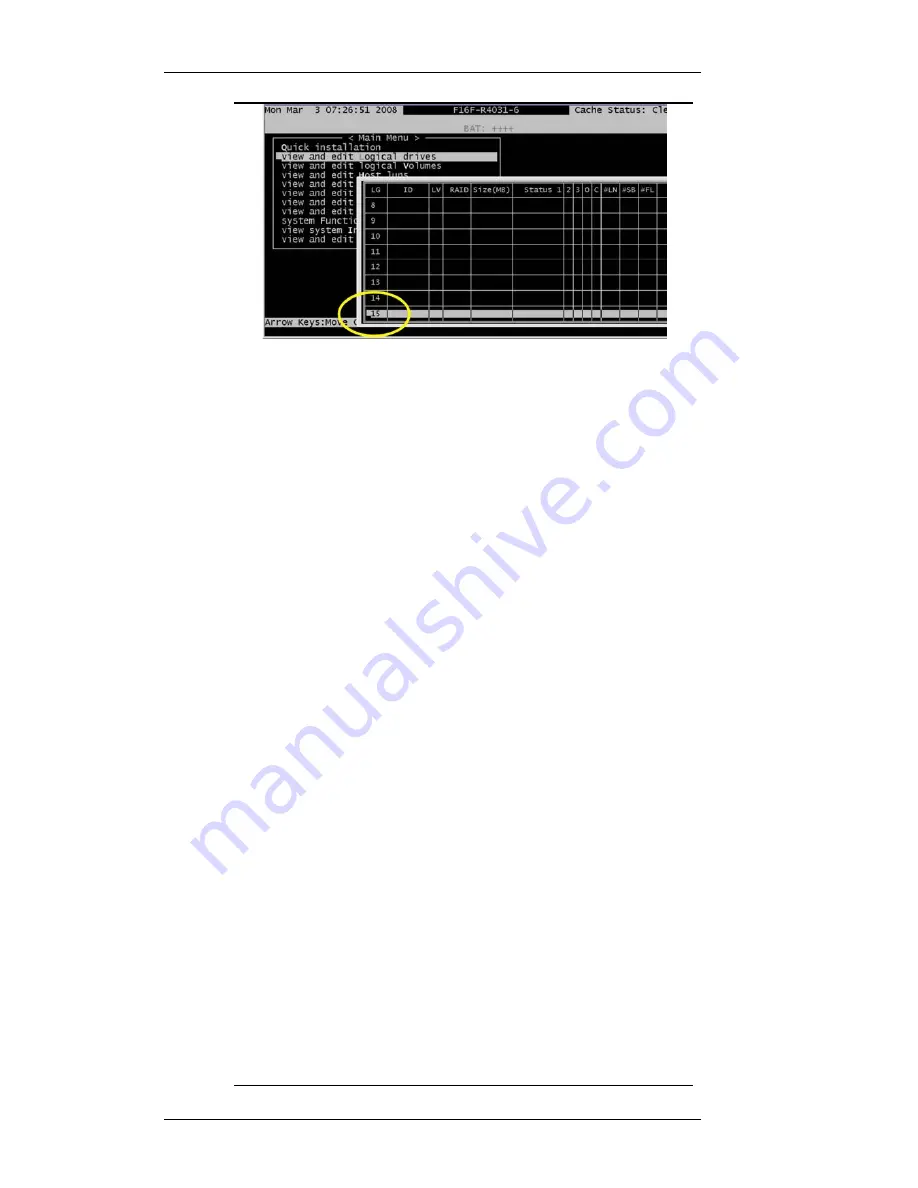
Power ON the RAID system and check in “Main Menu” ->
“View and Edit Logical Drives” to see whether the
supported number of LD has become 32.
1-6.
Power on host computer(s).
Case 2
: Upgrade memory in a Redundant-controller system (512MB
to 1/2GB)
2-1.
Shut down host computer(s).
2-2.
Power OFF the RAID system.
2-3.
Remove the RAID controllers and replace their memory
with a 1GB or 2GB DIMM.
2-4.
Restore firmware defaults using the Restore Default button
or the LCD keypad panel. You should restore controller
defaults each at a time by removing a controller from
chassis.
2-5.
Power ON the RAID system and check in “Main Menu” ->
“View and Edit Logical Drives” to see whether the
supported number of LD has become 32.
2-6.
Power on host computer(s).
Case 3
: Replacing a failed controller in a redundant-controller RAID
system equipped with 1G/2G size cache memory.
3-1.
Check through the firmware configuration utility -> “Main
Menu” -> “View and Edit Logical Drives” to see whether
the supported number of LD is 32. If the screen shows 32
logical drive indexes, then the firmware running on the
5-10


