1. Read the safety information that begins on page vii and “Installation guidelines”
2. Make a note of where the drives that you plan to remove are installed; then,
remove them (see “Removing a simple-swap hard disk drive” on page 293).
3. If the system-board tray is installed in a chassis, remove it (see “Removing the
system-board tray from a 2U chassis” on page 279).
4. Remove the system-board tray cover (see “Removing the system-board tray
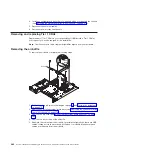
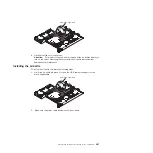
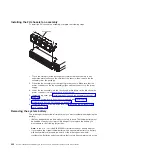
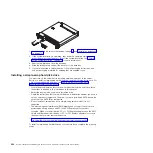
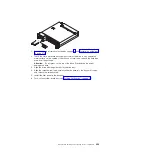
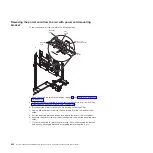
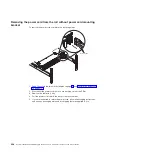
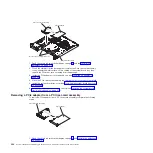
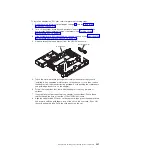
5. Press inward release latch on the hard disk drive bracket and cable assembly;
then, lift the assembly off the mounting tabs and out of the system-board tray.
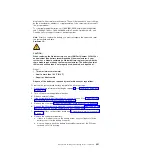
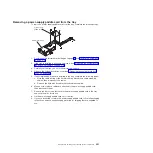
6. Push down on the release lever at the top of the drive bay; then, grasp the
simple-swap SAS/SATA drive cage and pull it from the hard disk drive bay until
the cage is out of the hard disk drive bay.
7. If you are instructed to return the simple-swap SAS/SATA drive cage, follow all
packaging instructions, and use any packaging materials for shipping that are
supplied to you.
Installing a simple-swap SAS/SATA drive cage
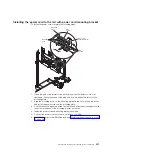
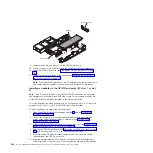
To install a simple-swap SAS/SATA drive cage, complete the following steps.
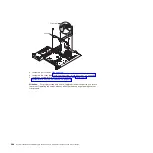
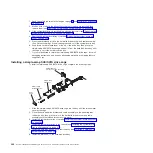
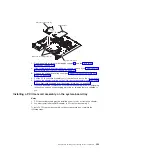
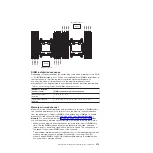
Hard disk drive
bracket and cable assembly
1
3
2
4
Filler
panel
Simple-swap
hard disk drive
Simple-swap
drive cage
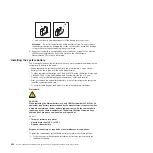
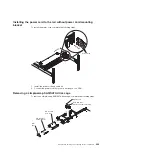
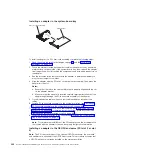
1. Slide the simple-swap SAS/SATA drive cage into the bay until the release lever
secures the cage.
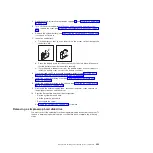
2. Place the hard disk drive bracket and cable assembly on the mounting tabs
inside the tray; then, press down on the hard disk drive bracket and cable
assembly until the release latch clicks into place.
3. Install the system-board tray cover (see “Installing the system-board tray cover”
4. Install the system-board tray in the chassis (see “Installing the system-board
tray in a 2U chassis” on page 279).
5. Install the hard disk drives, if you removed any (see “Installing a simple-swap
hard disk drive” on page 294).
6. Install the filler panel to the hard disk drive bay.
300
System x iDataPlex dx360 M4 Types 7912 and 7913: Problem Determination and Service Guide
Summary of Contents for System x iDataPlex dx360 M4 7912
Page 1: ...System x iDataPlex dx360 M4 Types 7912 and 7913 Problem Determination and Service Guide...
Page 2: ......
Page 3: ...System x iDataPlex dx360 M4 Types 7912 and 7913 Problem Determination and Service Guide...
Page 22: ...4 System x iDataPlex dx360 M4 Types 7912 and 7913 Problem Determination and Service Guide...
Page 278: ...260 System x iDataPlex dx360 M4 Types 7912 and 7913 Problem Determination and Service Guide...
Page 292: ...274 System x iDataPlex dx360 M4 Types 7912 and 7913 Problem Determination and Service Guide...
Page 392: ...374 System x iDataPlex dx360 M4 Types 7912 and 7913 Problem Determination and Service Guide...
Page 399: ......
Page 400: ...Part Number 46W8218 Printed in USA 1P P N 46W8218...

