


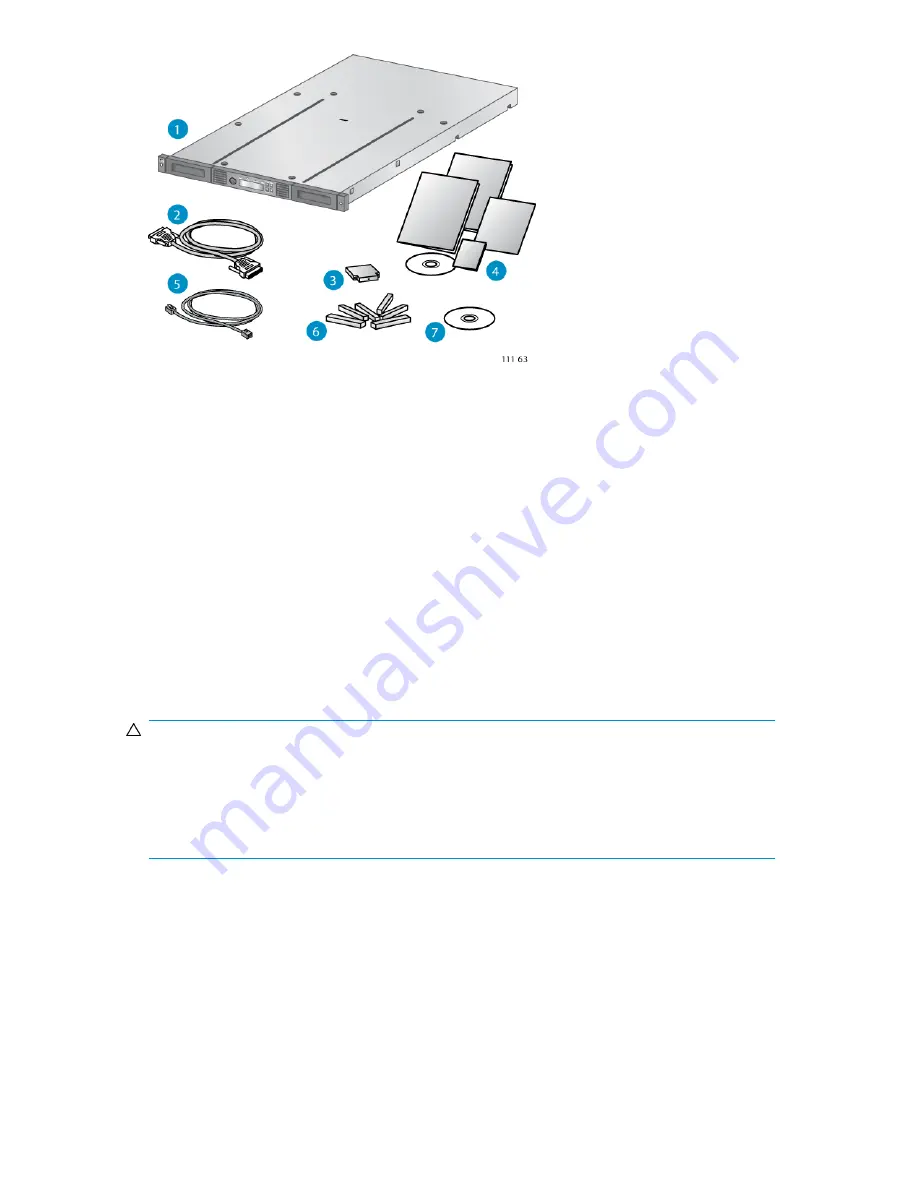
Figure 8 Product components
.
2. Parallel SCSI or SAS interface cable (parallel SCSI
and SAS Autoloaders only)
1. Autoloader
4. Product documentation
3. SCSI terminator (parallel SCSI Autoloaders only)
6. Six support feet
5. Ethernet cable
7. HP OpenView Data Protector Express Single Server
Edition CD
Attaching the feet
If you plan to mount the Autoloader in a rack or in the optional Tabletop Conversion Cover, skip this
step and continue with “
Removing the shipping lock
” on page 34.
CAUTION:
The Autoloader must be supported under both side edges to operate properly. If the Autoloader is
not mounted in a rack or in the tabletop conversion kit, you must apply the feet.
Do not put anything on top of the Autoloader. Weight on top of the Autoloader can prevent the robotic
inside from moving properly. If you must place items on top of the Autoloader, install it in the optional
tabletop conversion cover, which can support up to 15 kg (33 lb).
You need the six support feet from the accessory package for this procedure.
To attach the feet:
HP StorageWorks 1/8 G2 Tape Autoloader User and service guide
33
Summary of Contents for StorageWorks 1/8
Page 14: ...14 ...
Page 26: ...Features and overview 26 ...
Page 106: ...Operating the Tape Autoloader 106 ...
Page 156: ...Troubleshooting 156 ...
Page 168: ...Upgrading and servicing the Tape Autoloader 168 ...
Page 172: ...Support and other resources 172 ...
Page 174: ...Technical specifications 174 ...
Page 179: ...HP StorageWorks 1 8 G2 Tape Autoloader User and service guide 179 ...
Page 188: ...Battery replacement notices Dutch battery notice Regulatory compliance and safety 188 ...
Page 190: ...Italian battery notice Japanese battery notice Regulatory compliance and safety 190 ...
Page 192: ...Regulatory compliance and safety 192 ...
Page 194: ...Electrostatic discharge 194 ...
Page 204: ...204 ...