relay
You can set details of the relay.
•
Digital Output : You can select a digital output channel.
•
Relay Mode : Select either bi or mono stable modes.
•
Relay Idle State : Select either open or closed relay standby modes.
•
Delay Time : Select the relay operation waiting time.
event
You can set details of the event.
•
Available events (camera) : It shows the list of all the events supported by a camera by using the ONVIF
protocol.
•
NVR supported events : You can map the list of events supported by a camera to events that the NVR can
detect. There is no default value. It only shows the value sent by a camera.
camera Setting
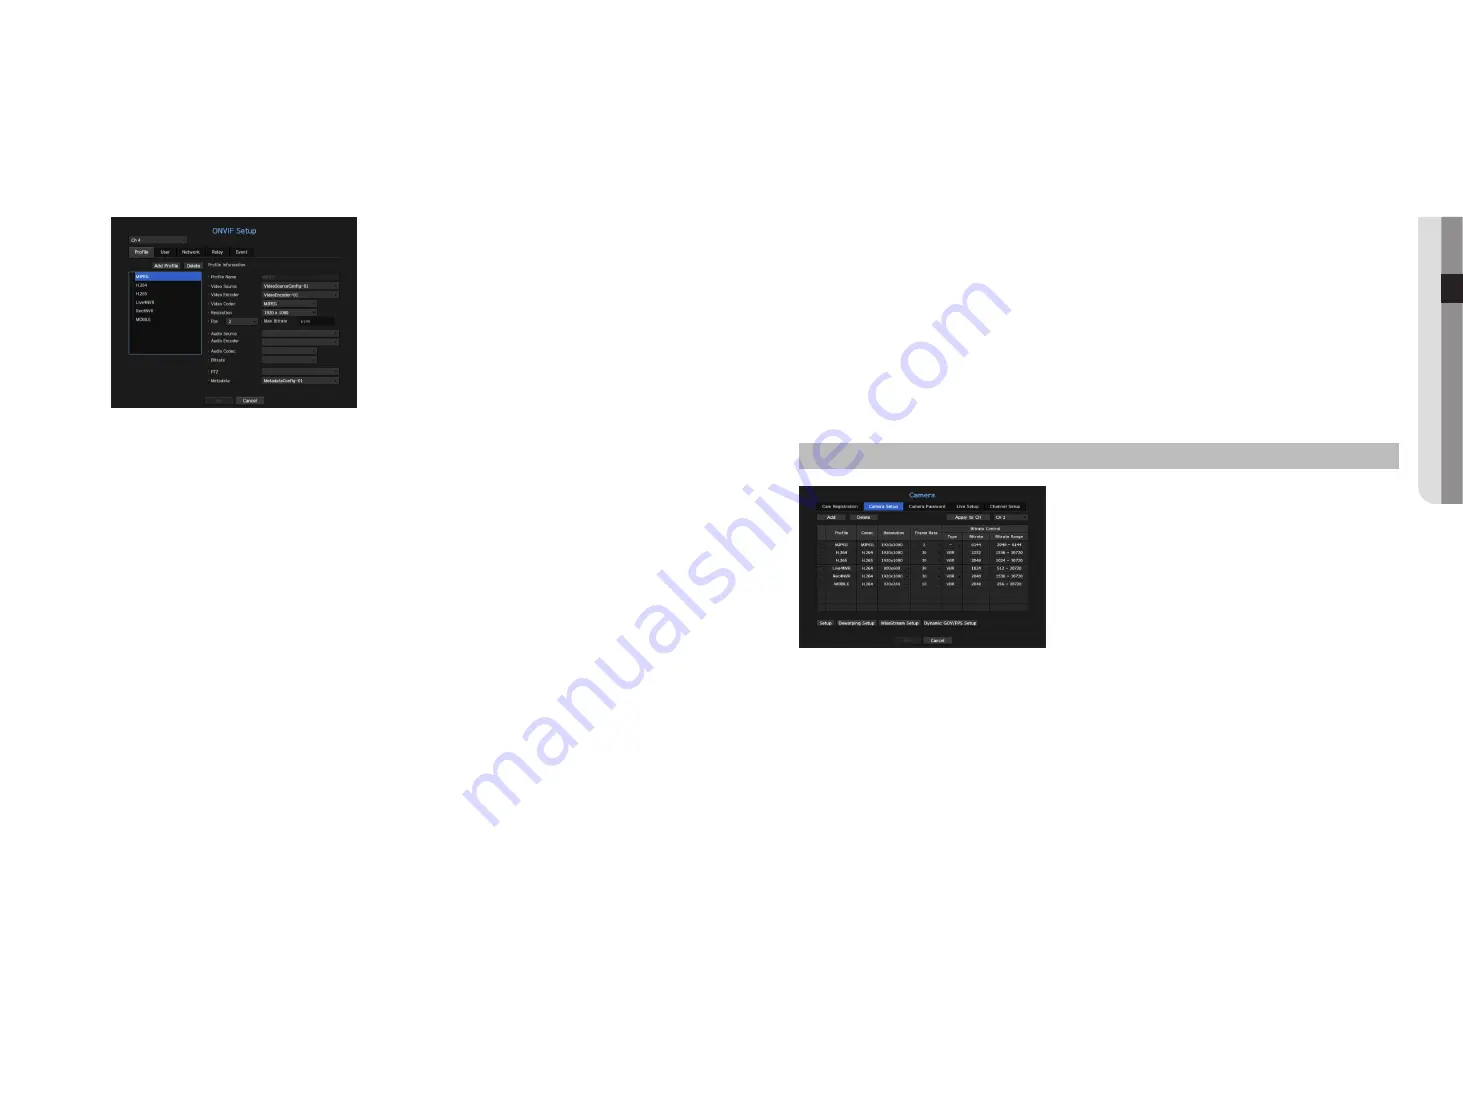
You can change the video settings of a registered network camera for each channel.
menu > device > camera > camera Setup
•
Add : You can add camera profile. Click on the Add button to launch the addition window.
Enter the information and click on the <
ok
> button to add it to the list.
•
Delete : You can delete the selected profile from the list.
•
Channel Selection : You can select camera channels to change their video transmission settings.
•
Profile : You can check the video profile of the camera connected in the camera setup.
•
Codec : You can check the codec for the selected channel.
•
Resolution : You can change the resolution of the selected channel.
•
Frame Rate : You can change the frame rate of the selected channel.
•
Bitrate Control : You can change the bitrate of the selected channel.
onvif Setup
In the bottom of the camera addition screen, click on the <
onvif Setup
> button to set additional settings for
cameras with the ONVIF protocol.
`
You can change the information only if the user account (camera account used for camera registration) is used to read the user
information and a connection is made with the admin privilege.
profile
•
CH : You can set the list of channels for a camera registered using the ONVIF protocol.
•
Add Profile : You can add camera profile.
After adding a profile, click on the <
ok
> button to add it to the list.
•
Delete : After selecting the profile to delete, click on the <
delete
> button to delete the selected profile.
•
Profile information : You can set the details of the selected profile.
After finishing setting each item, click on the <
ok
> button to save changes.
user
•
Add User : You can add a camera user.
After adding a user, click on the <
ok
> button to add them to the list.
•
Delete : After selecting the user to delete, click on the <
delete
> button to delete the selected user.
•
User Information : You can set the details of the selected user.
network
You can set the details of the network.
•
IP Type : Select from either the IPv4/IPv6 IP types.
•
DHCP : Select whether to use the DHCP.
•
DNS / NTP Server : Only if the DHCP setting is <
on
>, the DHCP checkbox will be activated.
`
If the DHCP is checked, you can manually enter the IP address.
English
_29
●
menu
Setup


